


 |
 |
 |
| Home | Research | Delivery | Empennage | Wings | Fuselage | Finish | Engine | Electrical | GRTDecode | Previous|Next|Latest |
| Research | QB vs SB | Timeline | Engines | Building Primer | Websites | |
Building primer for non-builders | |
| This section is meant for the non-builder audience that have either stumbled across this site by accident or are just wanting to try and understand my ramblings. For a more technical reference / background on rivets and using them Dan C has a useful page here | |
| So what is all this fuss about smoothing, riveting, drilling, cleco'ing and dimpling anyway? Let's start with some underlying principles. We are building an Aluminium plane. The various pieces of sheet and stock (angle, tube etc..) are held together with a mixture of screws, bolts & nuts and rivets. There are two major types of rivets with various sub-types. The first is commonly know as a 'pop' rivet (or blind rivet) and look ugly and generally aren't all that strong (from a plane structural perspective) - so we don't use them unless we REALLY have to. The second is the more common in this aircraft and is a solid rivet. These come in two types AN426 and AN470. The AN470 has a 'domed' head and the AN426 is a countersunk flush rivet (as shown). Generally the AN470's are used inside the aircraft where they can't been seen. The AN426's are used on the outer skin of the aircraft. Why you might ask? Well we want to go quickly through the air, that means we want minimal drag, that means we want a smooth flat surface. Therefore we use countersunk rivets - hence AN426's. The rivets also come in different sizes, both width (AD3 & AD4) and height (-3, -4, -5 ...) but I won't confuse things (myself) more by talking about that.... | 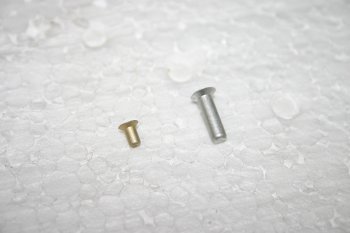 |
| The short version: To join two parts with a single flush rivet the following steps are needed:
| |
| So the process in detail..... For the purpose of illustrating I've taken photos during the preparation of the lower right wing skin. Firstly the two (or more) components are cleco'd together. A cleco (the silver thing) is a clever little device that provides a temporary method of fixing things together. There is a central shaft that is a rivet width across (eg Silver = AD3 or Bronze = AD4) plus two 'legs' that extend out when you squeeze the top. So the principle is squeeze, insert in hole, release. | 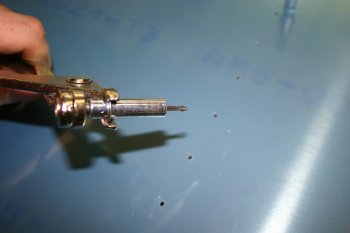 |
| So the first step was to attach the skin to the ribs in the wing with clecos. | 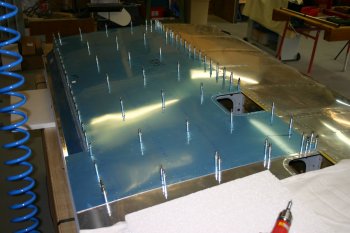 |
| All the non-cleco'd holes are then match drilled (this aligns the holes exactly and opens them up to the final size for the rivet). Then we move the clecos to drilled holes and go back and match drill the remaining locations so that all holes have been drilled. | 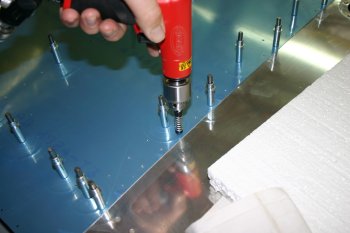 |
| Then we un-cleco the skin. | 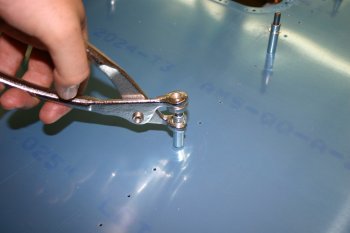 |
| Next we have to debur each hole in the wing ribs. This is done by using a countersink drill bit and only requires a turn or two. | 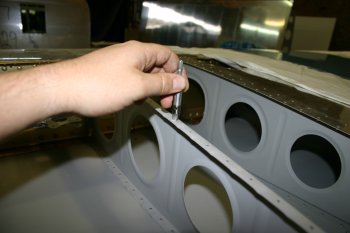 |
| And the hole has two sides, so we do the second side as well. | 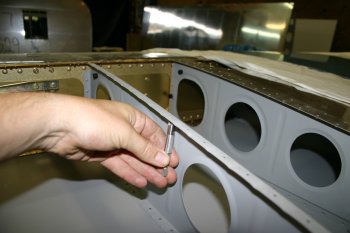 |
| Most of the aluminium sheet is covered with a protective plastic sheet. This helps reduce scratching and marks that might damage the skin. However to work on the newly drilled holes we have to remove it. Rather than exposing the whole skin to scratches, I used a soldering iron to melt an edge and removed just the protective material on the holes. This actually takes quite a bit of time and has to be done carefully (to avoid scratching the skin too much). | 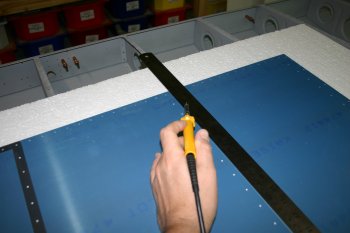 |
| And of course we have to do the plastic on both sides of the skin. | 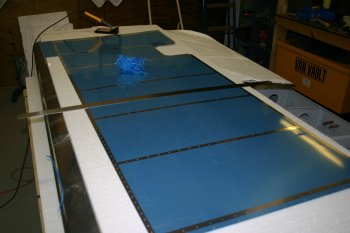 |
| Then we have to do the same deburring process with the countersink drill bit for each of the skin holes. Oh - and remember there are two sides to each hole. | 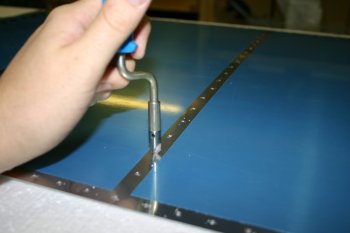 |
| The next step is to dimple the two layers (skin and ribs) so the AN426 (the countersunk rivets) can sit flush with the outer skin surface. The dimple is created by a male & female dimple die (the two round things bottom of picture). These come in various sizes (eg AD3 & AD4) and fit into either the pneumatic or hand squeezer. The black parts on the end of the squeezers are the yokes and are interchangeable. |  |
| So the next step is to dimple the wing rib. This can be done with either the pneumatic or the hand squeezer - I like the repeatability of the finish of the pneumatic, but it is heavy after a while. | 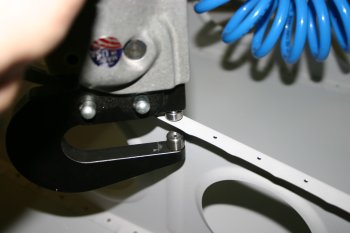 |
| Then to help the dimple seat the upper surface, a single turn of the countersunk is done on each dimple. | 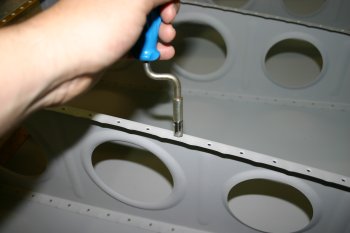 |
| Obviously all the ribs in the wing need to be dimpled. | 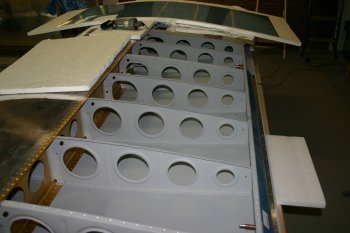 |
| Then we move onto the skin itself. The first stage is to finish the edges. As delivered from the factory the shapes have been pressed by machine, this leaves little 'ridges' every 4 inches or so along the straight edges. I found the simplest method of smoothing these and get a good true edge is a simple fine grade finishing file. | 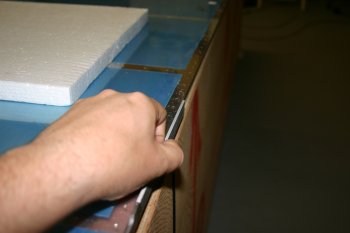 |
| Then the sharp right angled edges need to be 'broken'. A number of methods can be used including scrapers and rotating scotchbrite wheels, however for the thin wing skins this little V shape scraper seems to work OK. | 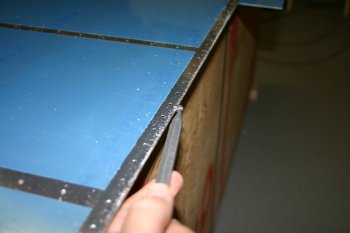 |
| The final edge prep is by hand with a scotchbrite pad. This is sort of like a kitchen scouring pad but results in nice satin smooth finishes. | 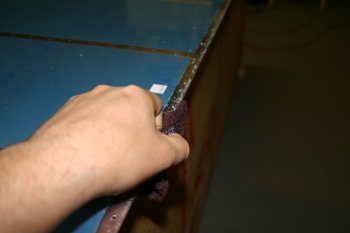 |
| Then we have to dimple all the skin holes. The locations on the edges of the skin can be dimpled with a squeezer. | 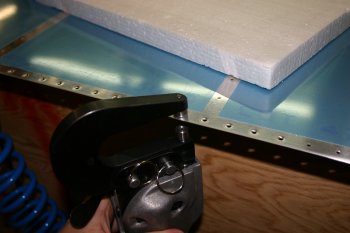 |
| The holes that are too far away from the edge for the squeezer yoke have to be done on the C-frame. This holds the same dimple dies in vertical alignment and you then 'give it a good smack' with a hammer to set the dimple. Two people makes handling the large skin for this process MUCH easier. | 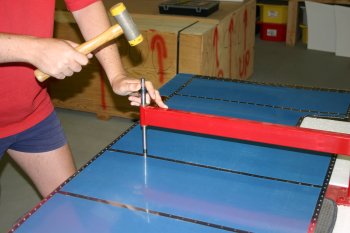 |
| Then it is the same deal for all the dimples. A manual turn of the countersink to help seat the rivets and keep them flush. | 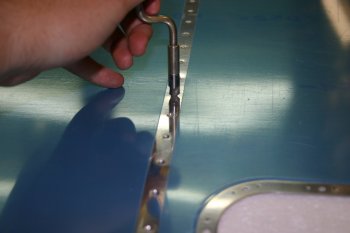 |
| The finished skin ready for priming (another whole process) and then riveting (yet another process) onto the wing. | 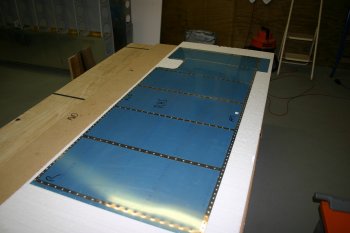 |
| For the moment, I just cleco'd the skin back onto the wing for safe storage. | 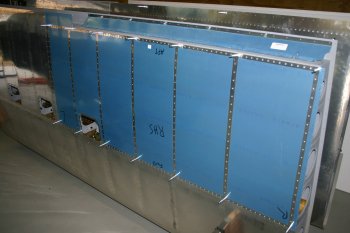 |
| I hope that this has explained some of the basics and why we seem to spend hours working on various parts but the before and after photos look very similar! Any further question let me know, I'll try and sound as if I know what I'm doing....... | |
| Home | Carl Morgan | Previous|Next|Latest |