Sat 10 January 2004 |
| The front spar of the HS presents several things for the new builder to work on. One of the 'challenges' is the line up and drilling of the four holes through the inboard web and rib in conjunction with the front spar and the 2 reinforcement bars. The drawings are a little lacking (if we are being generous) with most of the dimensions given being of limited use. | 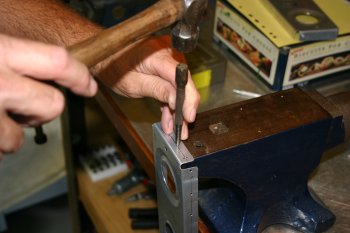
|
| This was our best second guess (the first one was slight off), and it ended up with 1/4 inch in from the edges and 1 1/8 from the flange ends although I think now a slightly reduced distance for the mid - upper hole in for the front rib would be better. | 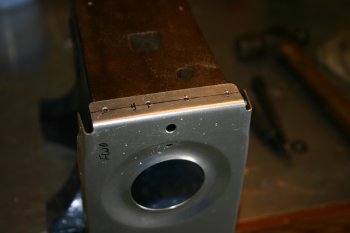
|
| We then used #40 pilot drills with an angle drill adapter to match drill from the aft side forward. | 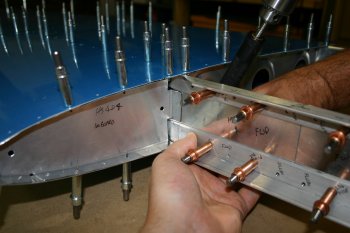
|
| Both the upper and lower reinforcement angle need to be held firmly by hand whilst drilling forward as they have no fix further outboard at this point in the process. Just watch out for the fingers..... | 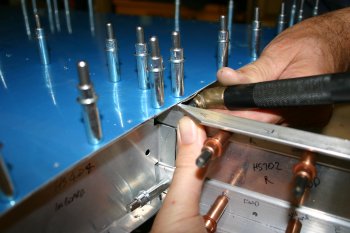
|
| We then cleco'd the top and bottom holes and moved onto the forward rib holes. Again we drilled from the aft side forward as instructed, but it is a little difficult to know where you are going to end up. Drill clearance is also very tight even with an angle adapter. | 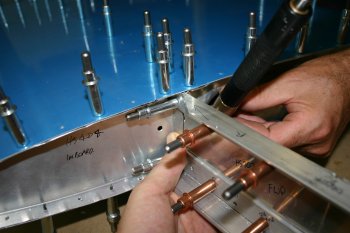
|
| The final stage is to drill back towards the aft end of the HS with a #30 drill. | 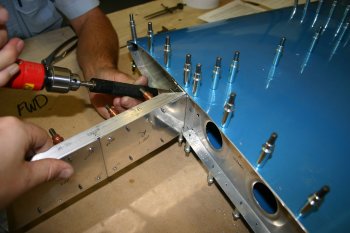
|
| The finished product, not quite perfect but sufficient for the needs of this step. Just makes you realise how 'spoilt' we are with the modern VANs kits and all the pre-punched CNC'd holes. I sometimes think a well cleco'd aircraft would be a bit draggy but still fly...... | 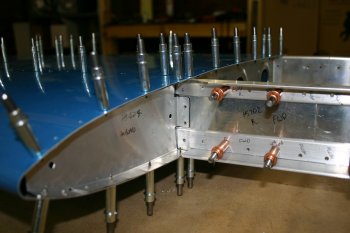
|
| We then went round drilling out all the skins to the required #40 ready for deburring and dimpling. | 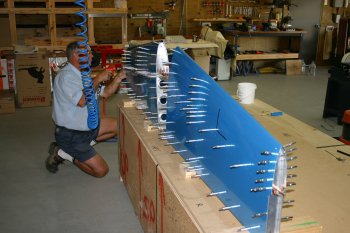
|
| I then started the deburring and dimpling. Manage to get a few HS pieces done before packing up for the day. | 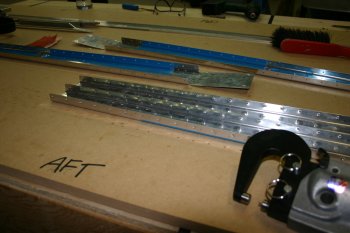
|


