Tue 20 January 2004 |
| Dad gave me a hand first thing and we flipped the wing and I finished butchering the lead edge for the land light installation. | 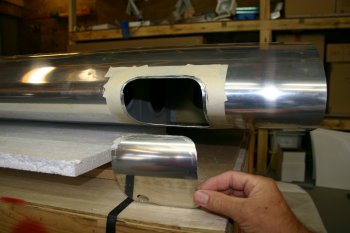
|
| Next I used the rotary burr to get close to the shape we wanted. This is a another scary tool in such a critical location. It is the right tool for the job but it is literally just like using a hot knife slicing through butter. You can be very accurate but need to be very careful. | 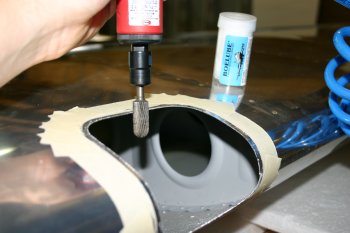
|
| The resulting product after using the rotary burr. | 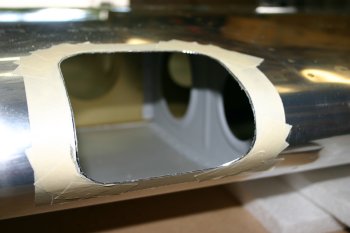
|
| The edges were then finished by hand with a file, sandpaper and scotch brite pads. A good result, but it takes a little longer than a couple of hours (as quoted by duckworks :-). | 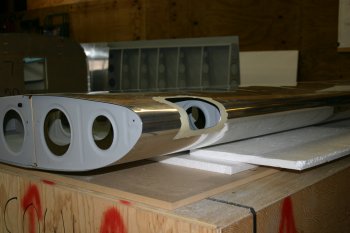
|
| Whilst I was waiting for assistance for moving wings etc I cleaned up the aileron and flap mounting brackets. Yet another case of completing a piece of preparation so that when we need the part it is ready to go. | 
|
| Next up I started sorting the aileron bell crank sub assemblies. These transfers the left/right movement of the stick to changing the angle of the aileron in the wing. Spent a bit of time finding all the parts in the various brown paper bags. (Hint: The brass bushing are in the large bag with all the close tolerance spar bolts.) | 
|
| The brass bushing need to be opened up to 1/4" for the bolts. We used a reamer in the pillar drill which worked fine. | 
|
| I then moved on to the smaller push rods. These have to be crossed drilled for two large AD4 rivets. I started with a pilot. | 
|
| And then moved up to a #30 and then re-drilled with the threaded plug. All the drilling for a single hole was done with out moving the drill configuration. | 
|
| Then cut the tube to the correct length with the powered hacksaw which results in a really clean square cut. | 
|
| And finally repeat the process for the other end. Finish by deburring and then add it to the pile for priming (the internals need to be primed, the outside is powder coated by VANs). | 
|
| Dad filed / cleaned the edges of the right wing landing light hole. | 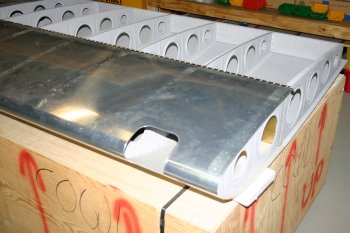
|


