Wed 28 January 2004 |
| Dad spent the day working with the airflow fuel pump and its mountings. | 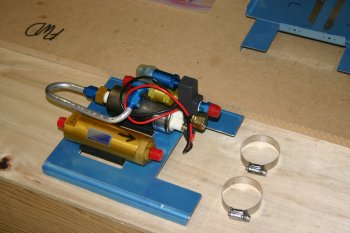
|
| Also the covers and plates were put through the normal processes, smoothing, drilling, deburing, dimpling..... | 
|
| The bends for the first section of tubing are 'interesting', considering this is the first use of the pipe bender it is even more so.... | 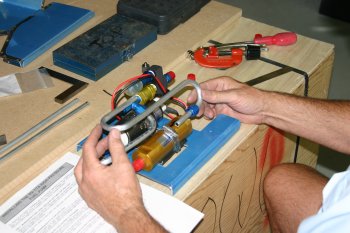
|
| It all came out well in the end, even with a few challenges with the pipe cutter and flaring tool. The bends makes it too tight to use the tools so you have to open the shape back up a little. Then the trick is to not work harden the soft AL tube. Slow progress for half a days work, but we are still learning new techniques so hopefully things will speed up as time progresses. | 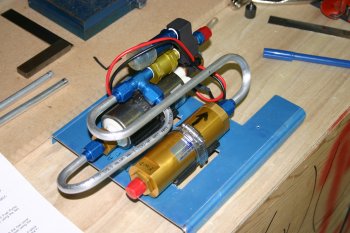
|
| I spent the day continuing with the seat backs. They look pretty simple but with no pre-punched holes and being fairly visible I took my time marking up and drilling. The rivet fan (received yesterday from Avery) makes things a little easier. | 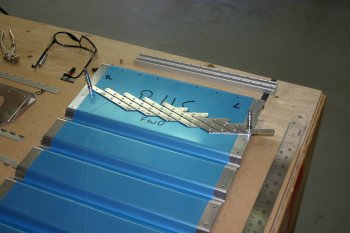
|
| After centering the upper piano hingeand cleco'ing, the other holes were easy to sort. Everything is being drilled as #40 at this point. | 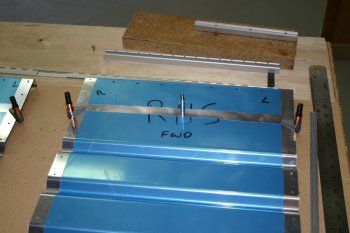
|
| The vertical angle down the left and right sides of the seats has to be rebated for one side of the floor piano hinge. I went a bit high tech (probably more so than needed) and used a rotary burr and a cross slide in the pillar drill to end up with nice neat, square rebates. Took a bit of extra time, but pleased with the results. | 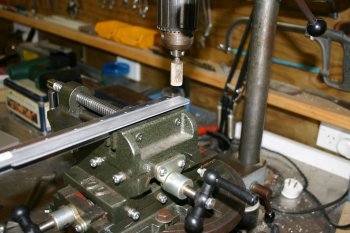
|
| The fully drilled seat backs, with hinge mounts attached. Next stage is to drill out to #30 on the remaining cross members. | 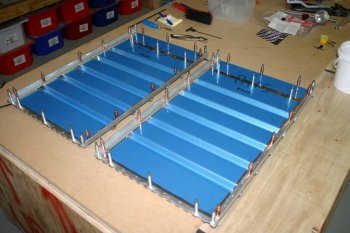
|
| The end view of the lower left corner of the left hand side seat. You can see the interface between the angle, skin and hinge. | 
|
| A shot of the seats cleco'd together laid out in the plane. A 20 minute distraction at the end of the day, and No I didn't sit in it and make aeroplane noises (I'll wait for things to be riveted together first....) | 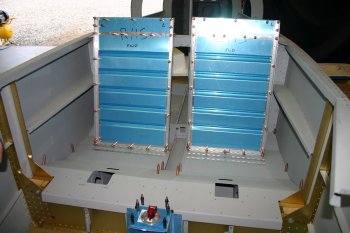
|
| Received the TruTrak autopilot pitch and bank servos from the USA today. The install kits looks good and should be simple to install. | |


