Fri 06 February 2004 |
| The rudder trailing edge has a special extruded strip which is angled on both sides. This needs to be countersunk and a the construction plans talk about a piece of angle for keep the edge straight. I have to admit I'm slightly confused / lost with the instructions for the rudder riveting.
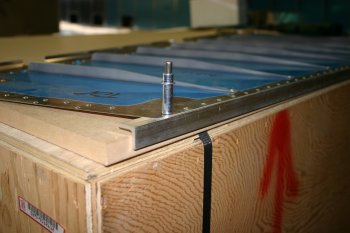
The first step seems to be to create a angle stiffener to keep the rudder straight during riveting. This is done by match drilling the skin to a piece of "spare" AL angle. We chose to use 0.125 angle as it seemed to provide a stronger, straighter edge.
| 
|
| I then used the new angle to drill pilot holes up against the edge of the work bench. | 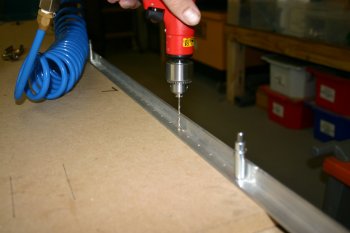
|
| Then I could cleco the AEX wedge onto the edge of the bench with no over / under hang. | 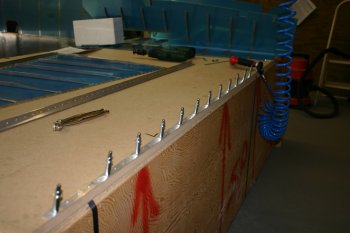
|
| The microstop was then used with a non-centred countersink to provide the relief for the 0.025 AD3 dimples in the trailing edge of the rudder. Both sides of the AEX have to be done. The holes didn't come out particularly smooth but are fit for purpose. | 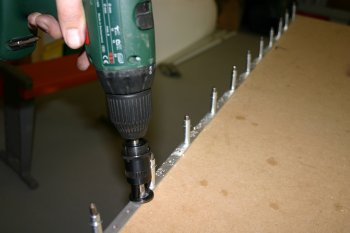
|
| The finished setup with. Now we need the pro-seal and prime the rest of the rudder parts. | 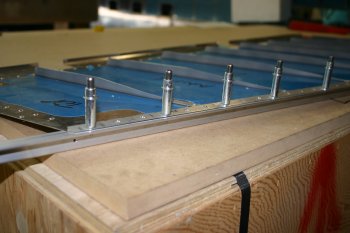
|
| Next I moved onto the aileron mounts. This seemed like a good idea at the time. The cleco'ing on of the brackets was easy. | 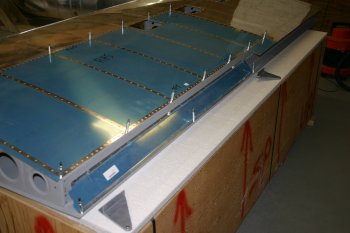
|
| The powder coated brackets that are fixed to the ailerons don't provide enough space to use a socket set / spanner, so we just held the head of the bolt with an adjustable wrench and went from there. At this point we didn't worry about torquing to specific values. | 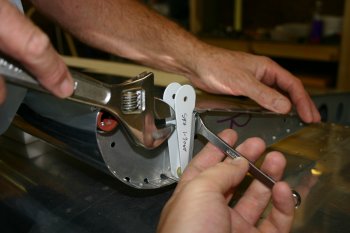
|
| The mounting of the aileron was fairly simple, although the outboard bracket didn't seem to line up very well with the outside edge. | 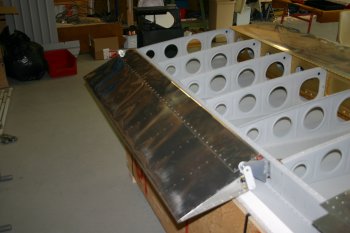
|
| Then I started looking at the clearance of the outboard end bracket. The aft most rivets in the construction manual for the support bracket called out for them to be flush head on the outboard side (which we did and can been seen). The pivot point has a call out of bolt, bracket, 2x -10 washers, support bracket, -10 washer, bracket, washer, nut. The problem is the aileron is then restricted in its up travel with the rivet interfering with the powder coated bracket.
One option is to add an extra -10 washer on the inboard side to increase the spacing, but I need to understand if that has other impacts. | 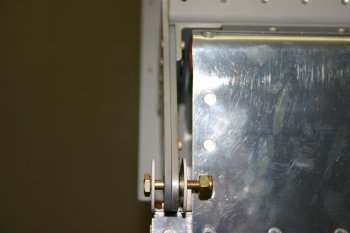
|
| The inboard bracket is a little simpler (or the flush rivet seam to be on the right side) and I made the couple of spacers. I may change one of the -10 to -10L to match the outboard end. Some emails to the lists and maybe one to VANs. | 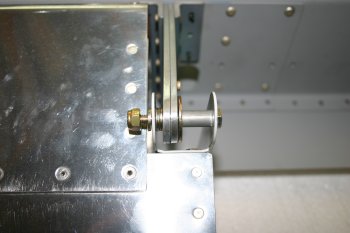
|
| Dad spent the afternoon making the flat surfaces for the bender. This is needed for forming the trailing edge of the elevator. The problem in Central Otago, New Zealand is with a 'normal' humidity of about 40-50% no pieces of wood stay close to straight or true for more than about a week. Therefore the first process was to use the 'original scary tool' electric planer to try and make a flattish surface. | 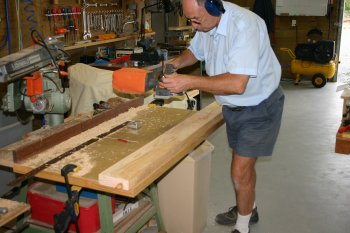
|
| This was then glued to a sheet of plywood...... | 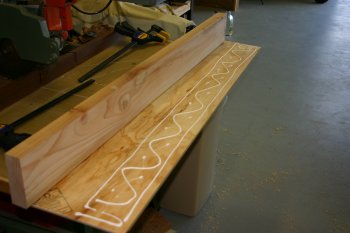
|
| .... and left to set overnight | 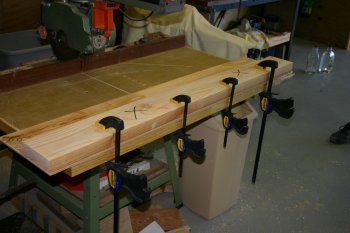
|


