Sat 07 February 2004 |
| Dad continued working on the folding brake. | 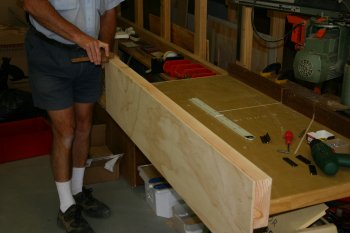
|
| I started match drilling the aileron mounts. I first drilled the outboard holes and then the aft ones. I found the aft holes were slightly out of alignment. A long #30 drill bit is needed here. | 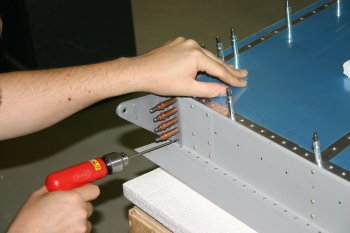
|
| Likewise the middle brackets were match drilled. | 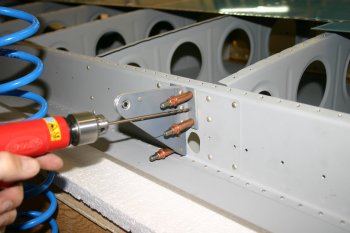
|
| I had missed during the predrilling phase of the aileron brackets that the lowest AD4 rivet was a AN426 (countersunk) so I had to use a long extension in the pillar drill. (Hint - countersink these before you rivet the bracket together!). | 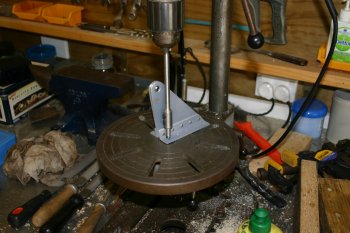
|
| Then onto riveting the aileron brackets to the wing. The Longeron yoke does fit but you have to insert the rivet sets after threading the yoke through the lightening. | 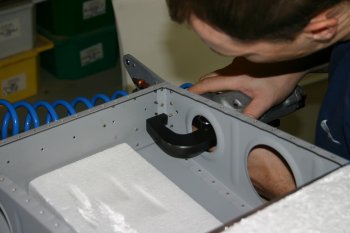
|
| The upper 2 rivets couldn't be squeezed on either bracket due to lack of clearance. Therefore it had to be shot & bucked. This is partially successful, a couple of drill out and reset but all came out OK in the end. Note: Don't use the double offset (the single is better) and having a second person for the bucking makes life a WHOLE lots simpler. (Don't ask me how I know!). | 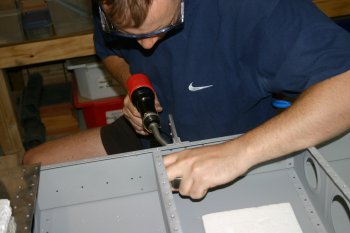
|
| Dad drilled the brackets for the left wing and countersunk the required locations. | 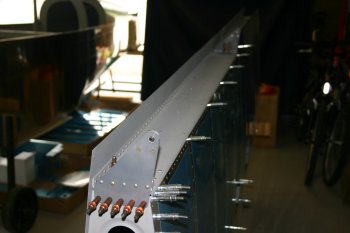
|
| The mounted aileron on the right wing. | 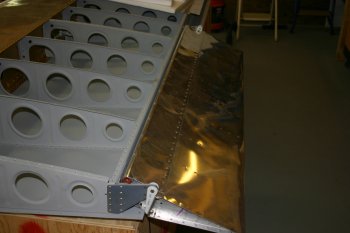
|
| The inner bracket I used a combination of the current plans that I have and the advice from other builders plus the preview plans (which have a different spacer callout). Firstly I over squeezed the aft flush rivets just slightly and I ended up with (from inboard to outboard ie. right to left) - Bolt, mount, spacer, -3, -10, bracket, -10, mount, -10, bolt. This seems nice and snug and moves the aileron one -10 inboard. | 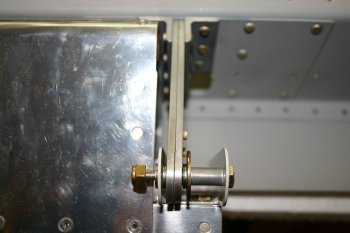
|
| The outboard bracket was slightly different from plans. We ended up with (from inboard to outboard again) Nut, -10, mount, -10L, -10, bracket, -10, -10, mount, bolt. This resulted in good clearance around all the rivets, rock solid pivoting and no deforming of the brackets. The ailerons are well balanced with the counterweighted front nose and really smooth and easy to move. | 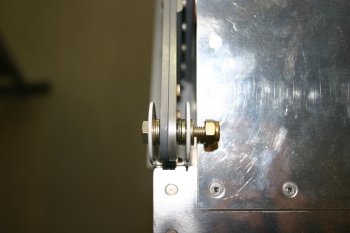
|
| Then it was on to use the new bending weapon. This is something I've been putting off a little. Although the concept is pretty simple, bend the trailing edge of the elevators with nice straight flat skins, and VANs helpfully shows what you don't want as a result the instruction on the actual bender and where you should place the skins are pretty slim (to say the least).
One of the reasons for waiting was because we weren't sure on how / if we were going to prime the insides of the skins. The conclusion we came today was that the ALCLAD protection (already on the skins) will probably be fine as long as we look after it and we will just prime the ribs and spars etc. I'm not sure yet about the HS & VS skins we will see. | 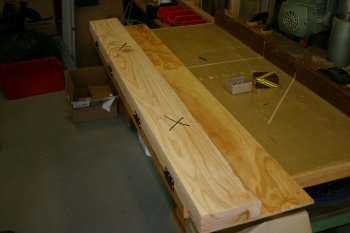
|
| We started cautiously and had the skin about 1" away from the hinges, this was a BAD idea. Progressively we moved the trailing edge closer and closer to the hinge line. | 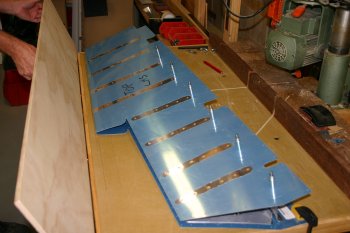
|
| This was the first attempt. Not crisp enough and a brilliant example of the 'don't do this' picture from VANs! | 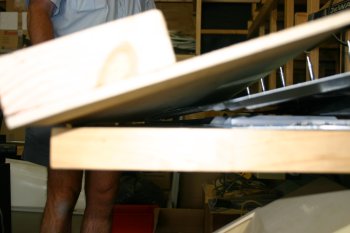
|
| We kept moving closer until we ended up with a standard 1/8" from the hinges (measured by a piece of 1X1X063 angle). This improved things dramatically and we were pretty happy with the results although not quite perfect. I suspect this is something where the 3rd aircraft is really simple (alternatively if you have access to someone that has done it before that probably works too). | 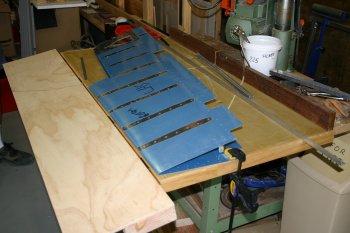
|
| We then moved onto the right elevator. This time we started straight off with the 1/8" angle distance and I was a little more assertive / confident with the pressure. This ended up with a tight flat apex, at first I thought I had overdone it and was not happy. However as we added the ribs and spar it all started to look just great and then the left elevator started to look the poor version. | 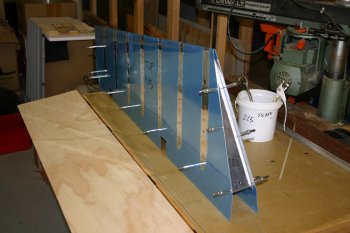
|
| The right elevator outboard end, I think this is what we are meant to end up with! | 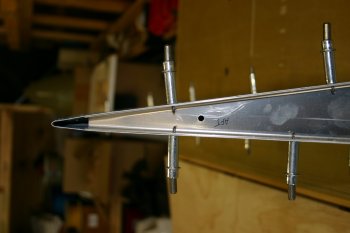
|
| Then the question was do we touch the 'OK' left elevator or leave well alone. I decided that it would bug me too much so I went for it. It all panned out OK and we now have both elevators with nice crisp trailing edges that look good. I'm pleased to have this little challenge out of the way safely, it isn't that hard, just unknown and very limited guidance. Also this bending system is relatively new to the RV7 empennage and a lot of the other builders web sites don't have information on this step.
I finished the day starting some of the work on the spar and rib alignment, more tomorrow. | 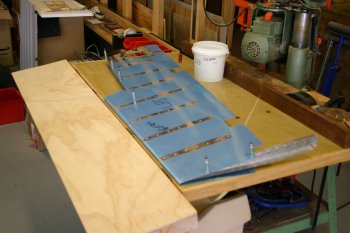
|


