Sun 15 February 2004 |
| Today we continued on the vertical stab skin. For these rivets we are using the bucking technique which has the rivet gun on the outside of the skin with a flush head set and a bucking bar on the inside. | 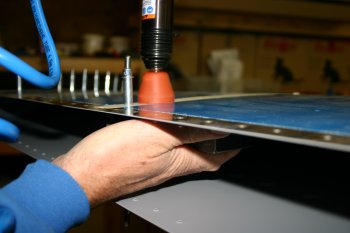
|
| The bucking bar is basically a large lump of steel that is polished to a provide a smooth flat surface. This is placed on the shop end of the rivet and acts as an anvil to deform the rivet. | 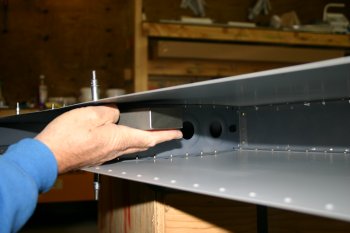
|
| This is what happens when the bucking bar is not held on a rivet and the gun is 'fired'. The skin gets a dent and the rivet isn't touched. Not at all good (a large understatement and we were very annoyed) , but we have learnt from it and hopefully we won't make the same mistake again! | 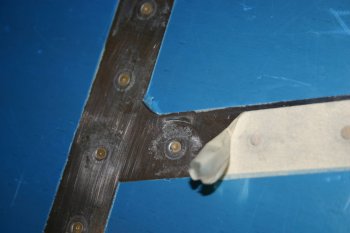
|
| Before the rear spar is put into place on the VS we ran a draw cord through the front of the spar to enable cabling for a 'beacon' on the VS tip if we want it. | 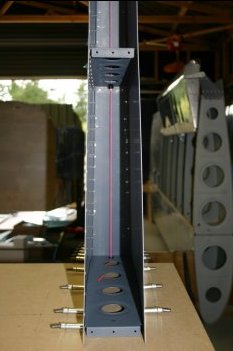
|
| I then worked evenly on both sides leading edge to spar on both the top and bottom ribs. All the rivets were fine apart from the two forward most rivets on the upper rib. We have left them for the moment and will think about the best method. (A long - no-hole yoke might work but that would be yet another purchase for a one-off tool.) | 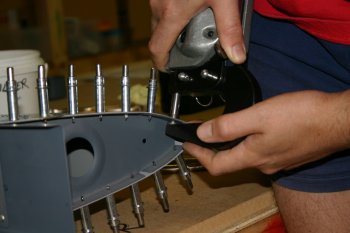
|
| Next I worked down the spar from top to bottom with the squeezer. | 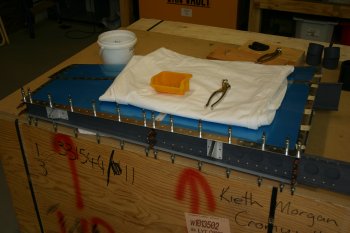
|
| Dan had a note about using the AD4's for the spar with the manufactured head on the aft of the spar which I followed. I now understand why it is important and the clearance is very tight but it does work. | 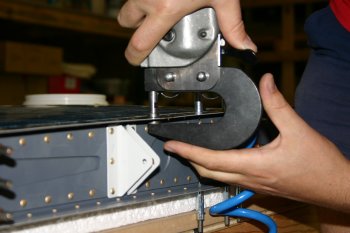
|
| The final step of the VS is to blind rivet the mid rib to the spar. | 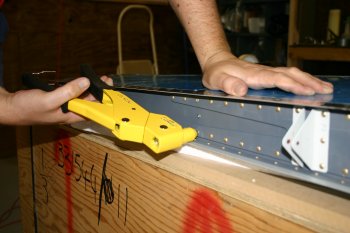
|
| The finished assembly (except for a couple of rivets). | 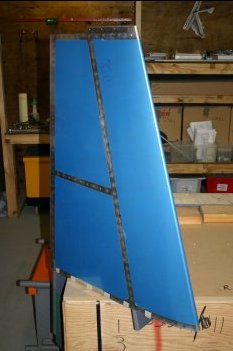
|
| Then we moved on to the horizontal stabiliser. Firstly I wanted to drill the #12 holes for the central bearing but the parts didn't seem to sit properly. | 
|
| Therefore I took the step to drill out all the rivets and start from scratch again. (Hint: A AN4 nut works well as a drift female for removing bat AD4's) | 
|
| Dad also did the red-oxide the steel HS parts that have exposed metal. | 
|
| I decided to remove the recesses for the elevator control horns before riveting the spar together. This would have been possible later, but much harder to complete without causing other damage. | 
|
| Then it was cleco the spar together and squeezer from centre to tips. | 
|
| It all came together nicely and then we bolted and verified the centre bracket was in proper alignment. The second riveting attempt went much better. | 
|
| We then moved onto the forward spar. In slight variation from the plans we haven't riveted the front inner rib on at this point. It is only the two inner rivets and we used it to help form the skin shape (see below). | 
|
| Next up is the skin. The instructions call out for just the upper skin and then the lower skin to be riveted at the forward mid rib. We decided to cleco both the end ribs into the structure along with both sides of the mid rib. This then meant the whole airfoil shape was completely formed and made bucking the shape easier. The rib was bucked top and bottom working from the forward spar to the leading edge. | 
|


