Sat 21 February 2004 |
| First thing this morning Dad did the right hand wheel. I'm sure he was more efficient than I, but same net result. | 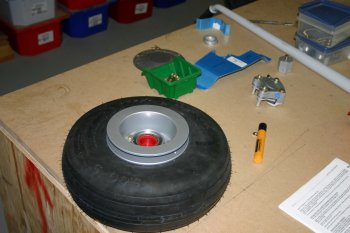
|
| I continued with the left wheel and finished the assembly off. It is now ready for the upper weldment to attach to a fuselage. | 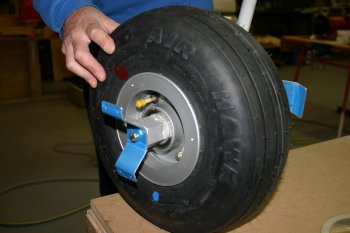
|
| For the rest of the morning I sorted the right hand wheel assembly. Same deal as the LHS, open up the brake mount with the scotch brite wheel. | 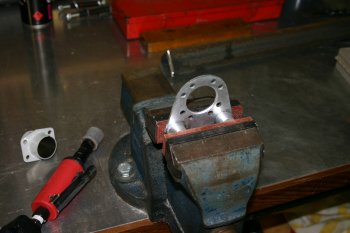
|
| Cross drill the axel for the close tolerance hex bolt. | 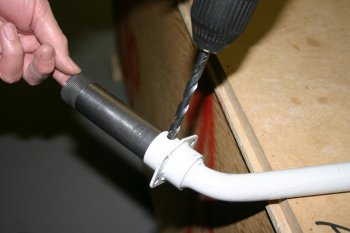
|
| Grind the washers for the sleeve mounting so that it doesn't interfere with the brake mount. | 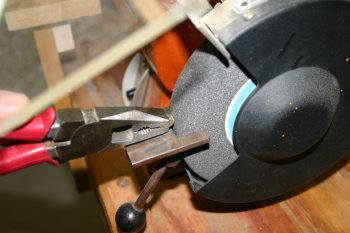
|
| Assemble axel parts. Things in real life aren't quite that simple. I had real problems getting the wheel pant support bracket (the AL sheet covered in blue plastic) to sit straight. A bit of investigation and opening up the brake mount a little more (only fractionally) and the bolts were all perpendicular to the mounting. Hint: The spacers do need to be slightly large than the plan call out to give spacing for the brake disk / wheel pant support. I used 1/2" to start with and the gap ended up as 5/32" all round. | 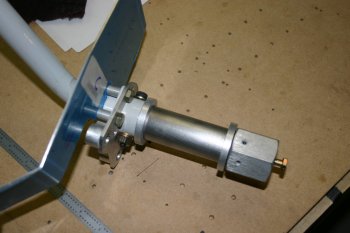
|
| The completed gear legs (lower sections). The wheel fairings work has to come after mounting them onto the fuselage. | 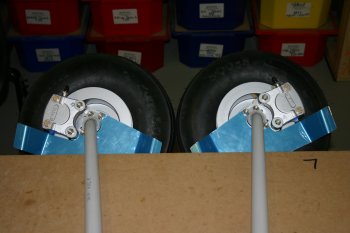
|
| Meanwhile Dad started work on the cut outs. We are taking the opportunity to practice on a scrap fuselage (don't ask) so hopefully the real thing will be an even better fit. | 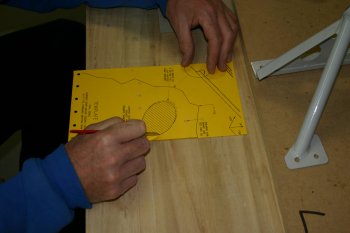
|
| Hole saw was used for the first major cuts. | 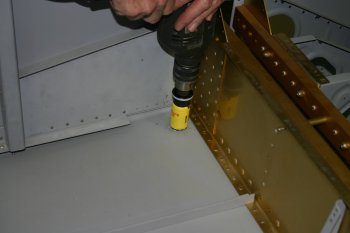
|
| Then back to scary tool #2 (rotary burr) to shape the hole further. | 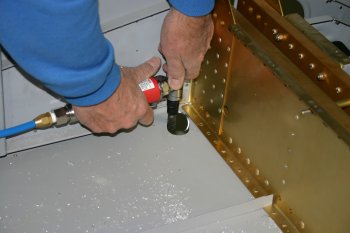
|
| Finishing with a file for the final tidy up. The results were pretty good and I took a template for my attempt on the right hand side. The hole ends up being significantly bigger than the template give by VANs but it will all be sealed and under cover. | 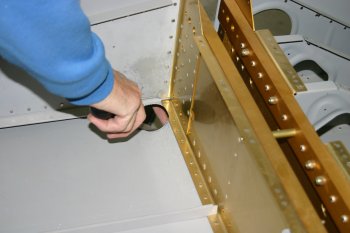
|
| Dad also ran a drill to clean off the powder coating from the gear leg weldment. | 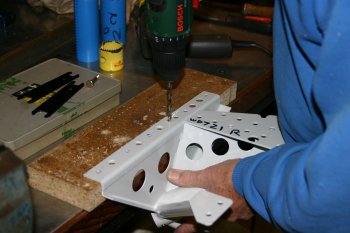
|
| I continued with the LHS gear leg, match drilling the fuselage / leg mount. | 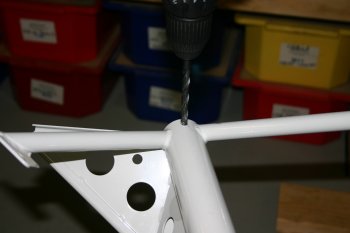
|
| I then started the LHS cutting. This is the template from VANs. A pilot hole was then drilled up into the cockpit. | 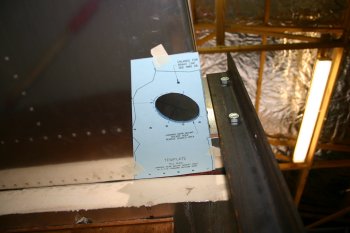
|
| First a single large hole saw in the center of the cutting. This used the pilot hole drilled from below. | 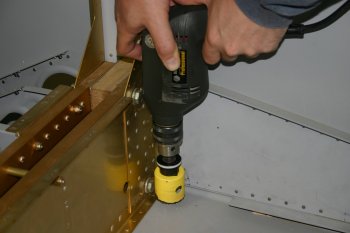
|
| This is the weldment without further shaping. | 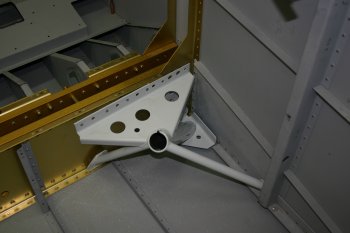
|
| The cutting might be big enough for the end shape, but not big enough to get it through / manoeuvred in. | 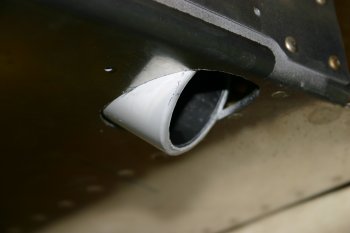
|
| After much shaping (rotary burr again) this is the final product. The outboard (hidden) spacing could be a little tighter but the inboard is about as tight as possible (this is quite a bit bigger than the VANs template (1/4"+ in places. | 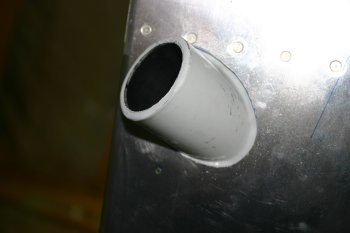
|
| Whilst I played with the fuselage, Dad set to work on the front wheel. | 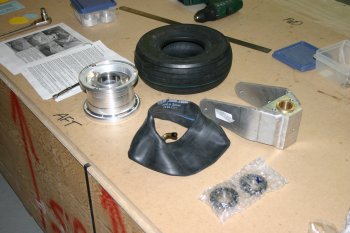
|
| This looks pretty simple, however not pinching the tube and getting the tire to sit properly on the hubs is not easy (to say the least). Start with lots of French chalk to aid in lubrication. Don't use soapy water as the chalk will 'set'. | 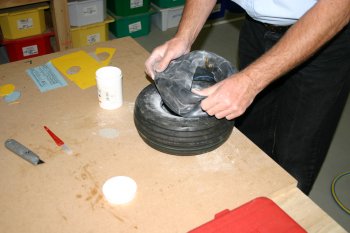
|
| Get the valve hub and tube into the tire and inflate slightly. | 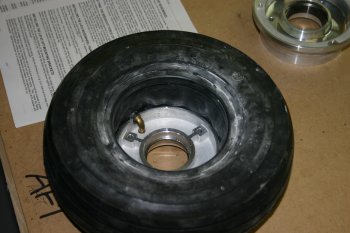
|
| Use some longer AN4 bolts to help align the hub sides. Then work around the hub bolts with just the bolts plus nut (no washers) to get the basic alignment. AT this point you still want 1/8" gap between the two halves. | 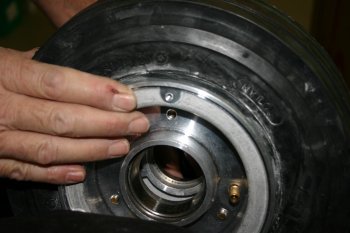
|
| Then inflate slightly (< 10 PSI) and make sure the valve is seating properly. | 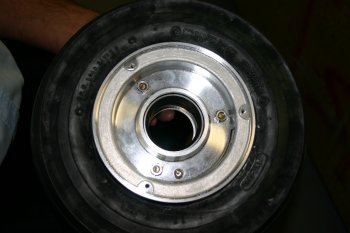
|
| Check the tube hasn't been trapped between the hub halves. This can be done by touch or with a little mirror (or both!). | 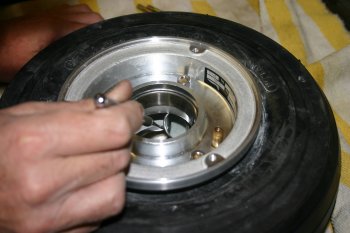
|
| Then change one bolt at a time, replacing with washers and lock nuts. Then pump up to ~ 30 PSI whilst checking inside for trapped tube. | 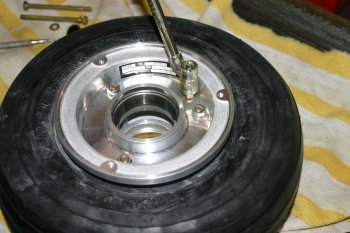
|
| Then torque up the hub bolts. | 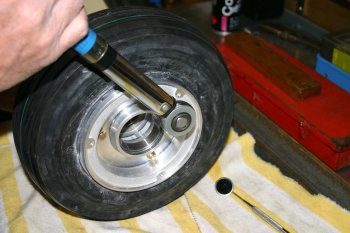
|
| And inflate to 60 PSI. The tires should 'pop' onto the hubs and then leave overnight to see if any tube damage has occurred. I'll let you know tomorrow! | 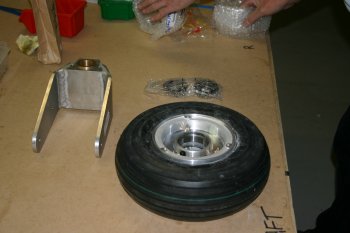
|


