Mon 23 February 2004 |
| First thing was the bucking of the upper skin rivets. This is difficult as the skin has no support and is rather flexible, so we didn't push our luck too much. | 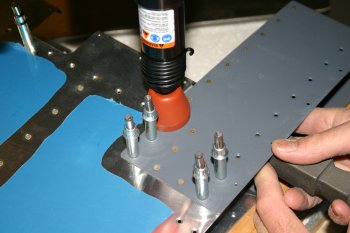
|
| Once the internal skin rivets are done, the top rib can be put in place. These can all be squeezed. | 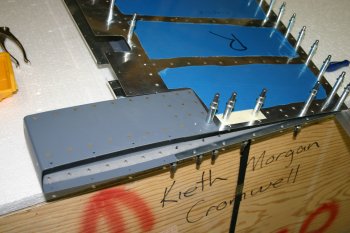
|
| Then it is the leading edge rivets on both sides, these were all set tip to bottom. The rudder was then put on one side waiting for Pro-Seal. It sounds like the NZ supplier might be able to sort something this week - we live in hope. | 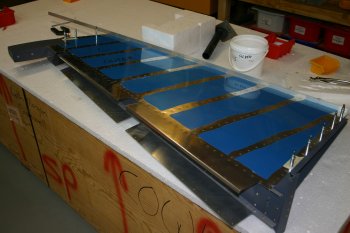
|
| Dad started looking at the external steps. Basically it is a hole cut in the side of the fuselage and fix the high density plastic bearing to an inner stiffener. The kit seems to some with a selection of rivets which seem fairly generous in number. | 
|
| On the first side Dad used 1 1/2" hole saw which was OK, but it needed opening out before the step would fit. On the second side we used a 1 9/16" saw which seemed to align everything much better. | 
|
| After initial fitting. One of our outstanding queries is the forward edge of the steps doesn't form to the shape of the outer skin, we are trying to work out if we need to bend the steel plate. | 
|
| More rotary burr work, the general shape is pretty simple. | 
|
| Rather than trying to mark out the steps via measuring, Dad used the 1:1 scale template photocopied onto card. | 
|
| Then the steel was drilled to #30 as a template - a bit of boelube helped. | 
|
| The plastic mounts were also drilled. | 
|
| Mid morning the rattle can primer was delivered so I could go back to the Horz Stab. I finished the rear spar spraying and remounted the hinge brackets. | 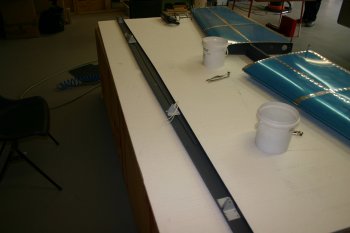
|
| Then I did both end ribs, leading edge to spar, top and bottom. | 
|
| Then the mid section, tip to spar again. | 
|
| Then the rear spar. I decided to lock the mid and end ribs / spar with the AD4 rivets before doing the skin to spar parts. | 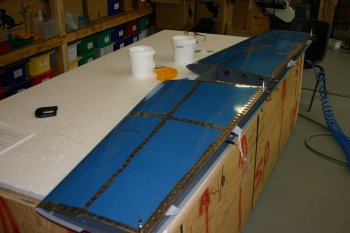
|
| For the skin to spar I started at the HS708 mid web and worked towards the centre on both sides top & bottom and then the HS708 / spar outboard. Seemed to work well. | 
|
| The final step of the process is to set the two blind pop rivets to hold the 708 to the rear spar. | 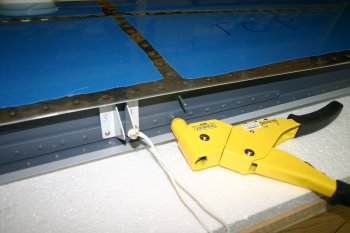
|
| The finished assembly. The only remaining work is the fibreglass tips, painting, mounting......... (and more that I'm sure we will come across). | 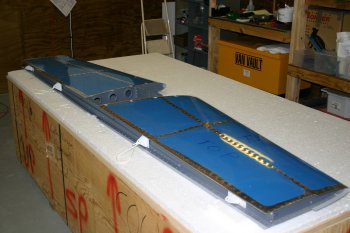
|
| Safely stored for future use. | 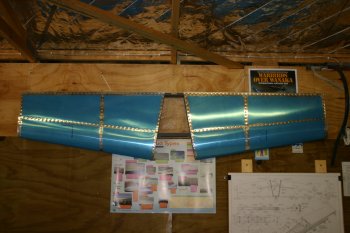
|


