Tue 24 February 2004 |
| Late start today, various housekeeping tasks to tidy up first thing. We decided to see how much of the elevators could be done without the pro-seal for the trailing edge. | 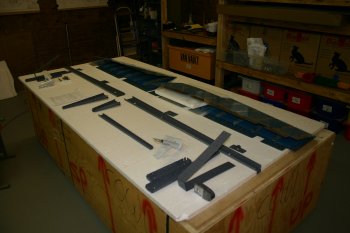
|
| First thing on the list for me was to reduce the lump of lead for the right elevator counter weight. It is still amazing to me that we lighten a few ounces of VS stiffener and then add pounds of lead weight, but I understand the concept. | 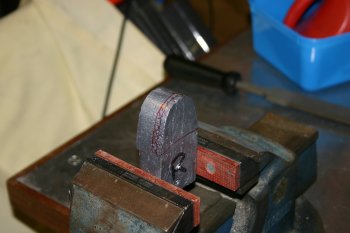
|
| I just used a course pitch handy saw and the vixen file for 'finishing'. Took a little while..... | 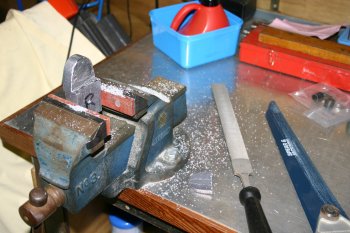
|
| Then it is into the riveting - the end counter balance rib is first. The longeron yoke was struggling to fit over the double flange so I tried shooting them with the vice holding the bucking bar. Worked OK but not as consistent as using the squeezer (probably more my technique / lack of practice than anything else). | 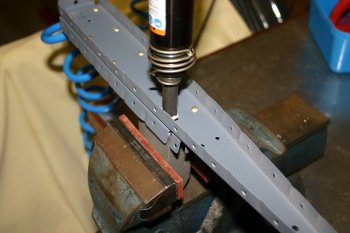
|
| Then the spar reinforcement and nut plates. | 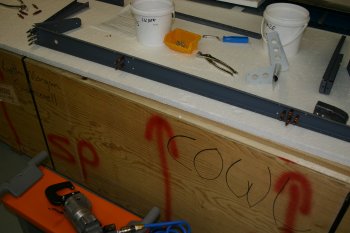
|
| Followed by the flush rivets for the end rib. | 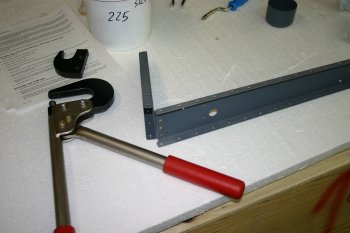
|
| Whilst Dad was using the squeezer / yokes on the right elevator (I was doing the left) I removed the blue plastic from the inner skin surfaces. Next time I would do it BEFORE crimping the trailing edge. | 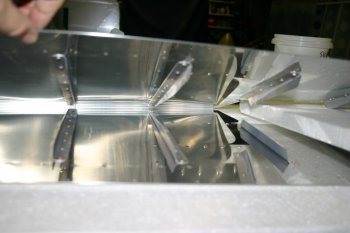
|
| Then the elevator horn. A few tight rivets but all OK. | 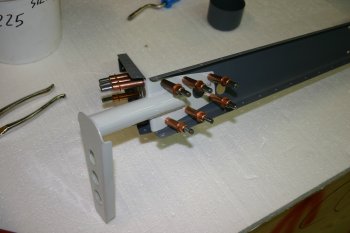
|
| The next stage is to rivet the 4 inner most AD3 skin rivets that join the counter balance skin with the main elevator skin. I just squeezed them carefully. | 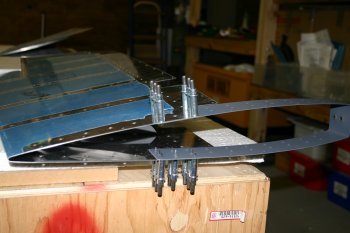
|
| Finally I cleco'd the whole assembly together (left and right). I need to do this to sort the final end rib / spar rivets. | 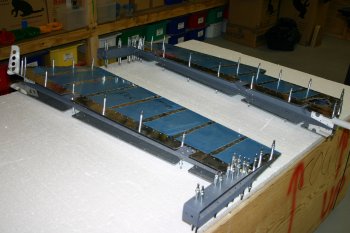
|
| This is the problem, all the other rivets line up and sit nicely but both elevators are out by the same amount. Tomorrow we will have to match drill and workout a plan of action. | 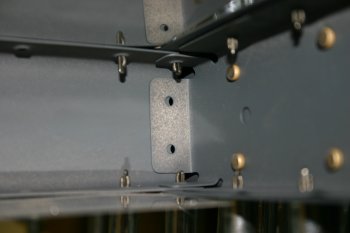
|


