Thu 26 February 2004 |
| I spent about another hour or so cleaning up the edges of the tabs that are to be bent, this is the last time they will be easily accessible. | 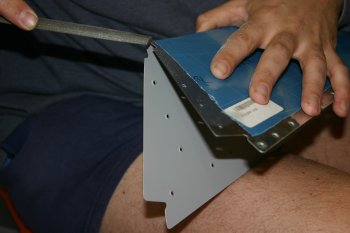
|
| Then it was bending the trailing edge and side tabs of the primed elevator trim tab. The short version for the rest of the day is - Completed five bends and drilled 3 holes. The result is better than yesterday but still not quite as good as I hoped for.
The long version with photo overkill follows:
I started be crimping the trailing edge of the trim tab. Yesterday we ended up with marks (slightly bowing) around the hinge locations. I therefore started thinking about other options. The best I could think of was using the back riveting plate, the problem was getting the angles right is almost impossible so we didn't use this option in the end and went back to the bending brake. | 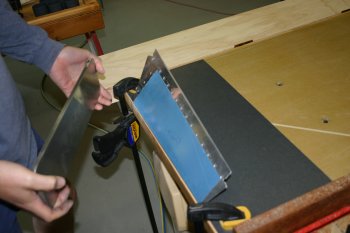
|
| Well I ended up being annoyed at myself, if you do the same thing, even being careful both times you end up with the same result! Difficult to tell in the photo but the skin is bowed in the centre AGAIN! | 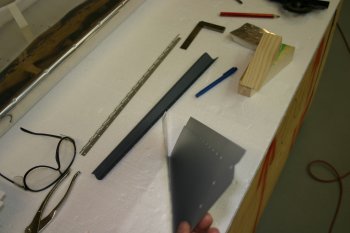
|
| After calming down a bit, we decided to make a Mark II bending brake - this time a steel piano hinge was used. This worked better and we managed to get a reasonable crimp, although the ends still have a little flare, we moved on to the next step. | 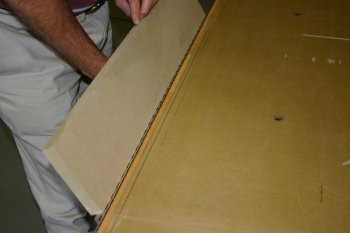
|
| Then it was the outboard tab end. I realised yesterday's wedge was incorrectly measured so I made a new one as I thought this might be causing the problems of marking / denting on the skins. Once the wedge blocks are clamp down the bow becomes even more pronounced. | 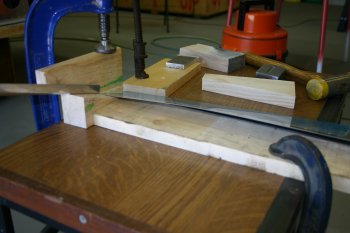
|
| Then I used a mixture of wooden block, AL drift and small bucking bar to shape the lower tab. The resultant line is fairly straight and it looks OK. | 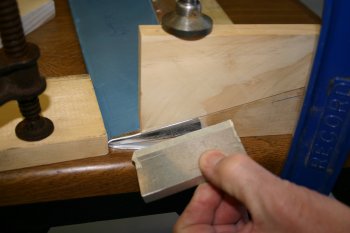
|
| The problem was then the tab rubbed against the upper skin, so I had to thread a piece of sand paper to remove some of the flange towards the tip. My advice for anyone else is be fairly generous with the trimming / sanding of the lower tab tip. It is a very slow process once it is bent. | 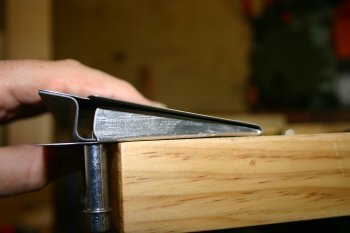
|
| Then it is a flip over and do the upper skin. This came out fine, although the tip is a little close so the fold isn't as neat as I would have liked. If I was doing it again, I would move the bend slight further towards the end of the trim tab. | 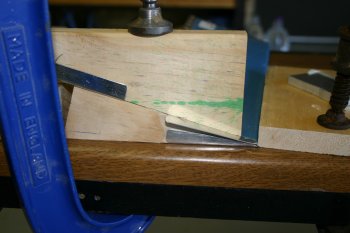
|
| I then moved round to the inboard end. I started with the same wedge but I realised before clamping where some of the dents had come from yesterday. | 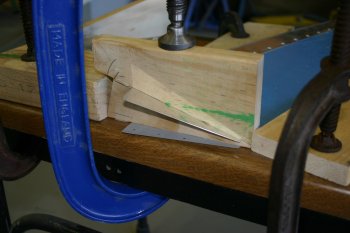
|
| I'll try to explain - the 16 ish degree angle is perpendicular to the trailing edge (not the leading edge) but the wedge has to be rotated for the inboard tab. This leaves an outboard side of the wedge below the skin level. The problem then comes if a large support (eg the upper part of the wedge) is clamped above the wedge and it forces the skin around some 'bad' edges. This then results in the dents. | 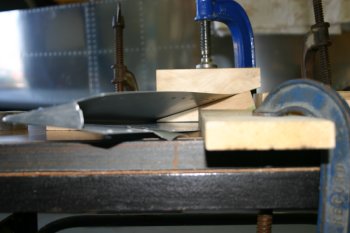
|
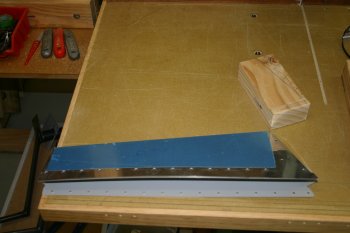
| Once I understood the problem, I then set about trying to fabricate an 'improved' wedge that didn't have this problem. The problem with the new wedge is it is a compound shape (ie multiple non perpendicular edges). Therefore I'll try and explain how I got to something that worked.
| 
|
| Take a single largish block of wood. Get 4 square edges and mark one as the reference. Then duplicate the bend angle from the skin to the block. | 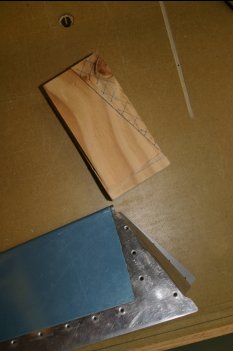
|
| Then you have to make the 16 degree cut from the lower surface top edge (top left in the picture) to the upper rearward surface (lower right edge). | 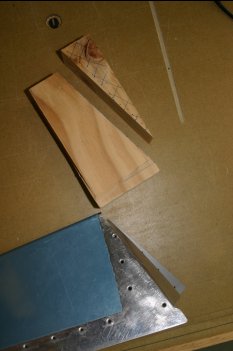
|
| The two left block are after the cut, the middle block being rotated by 90 degrees. | 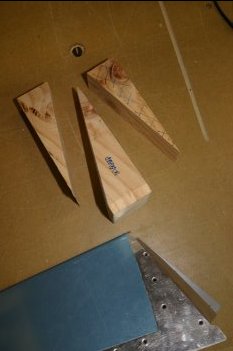
|
| Then as I had already dimpled the skin (pre-priming) I marked and counter sunk the wedge in the appropriate locations. Here you can see the wedge right way up ready to go back into the skin. | 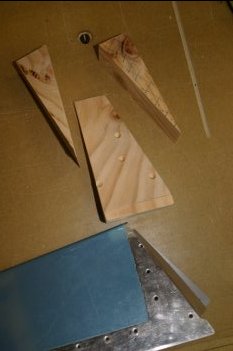
|
| The new wedge is flush along the bend line. | 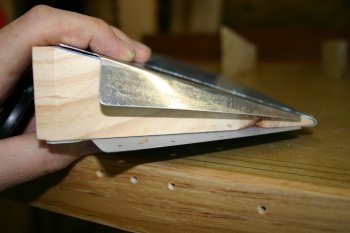
|
| But also fills the skin angle correctly and therefore provides the proper support for clamping. | 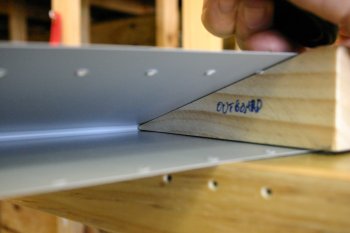
|
| Here you can see the original and new versions of the wedge. The one on the right was used from this point on and worked quite well. | 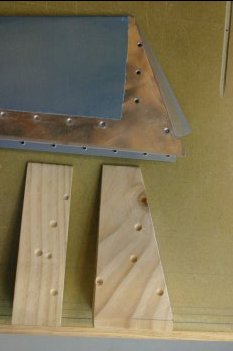
|
| So with the new version, I went back to forming the lower tab bend on the inboard end. | 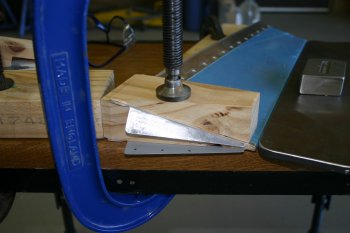
|
| The result - a nice crisp clean line bend - the best yet. Again the lower tab was a little too big (this was after some additional trimming but it all worked OK). | 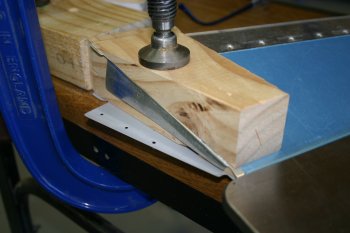
|
| Then flip over and do the upper surface. I helped support the upper wedge from slipping with some masking tape doubled back on itself. Then the normal range of weapons for do the actual forming. | 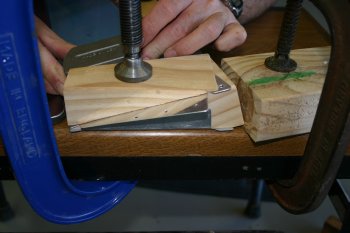
|
| The finished inboard end. Not too bad, although there are still some slight marks on the skins where the upper support overlapped the lower wedge. Other people will be hard pressed to find it, but I know it is there! | 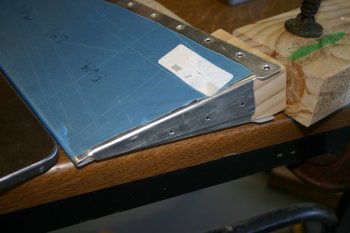
|
| The final step of drilling for the trim tab is the control horn, just a cleco on and match drill a few holes. I finished there for the day. Tomorrow I guess it will have to be the left elevator tab bending - what fun..... | 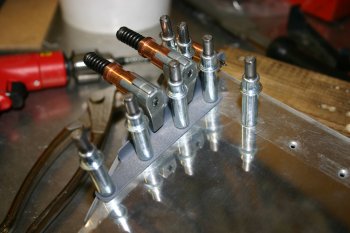
|
| Some summary thoughts. I wish all builders the best of luck with this part of the project! I'm not sure if we are being overly cautious, paranoid, picky, unlucky or stupid. So far this has been the most difficult piece of the project in terms of getting a result that I'm really happy with. I guess I'm being a perfectionist but I've generally found worst case by the second attempt at something I've got the hang of the techniques needed. This is not the case with the trim tab bending. I ordered an extra skin (which I'm really glad I did) and practiced on that, and even now with what I suspect is a perfectly fine trim tab (functionally and aesthetically) I'm still not particularly happy with it.
Until I've finished dimpling and riveting the part together, and then presenting it up against the elevator trailing edge I won't know for sure whether the bowing and problems will all evaporate. The kit is so well designed that I suspect it will work out and I'll just get to a point and move on, we will see. I'll also be far more interested in looking at other RV trim tabs.....
With regard to the instructions from VANs, I'm not sure if I just didn't interprete them well enough or (what I think might be the case) as the new empennage kits now don't require any jigging the skin formers that used to be readily available / constructed (and the drawings to go with them) are now only being needed for tab bending. I'm struggling to get tools accurate enough when the comments are 'create a wodden block' but no angles / dimensions are given. This leads to damage of parts which isn't really necessary but difficult to aviod as a first time builder. | |


