Sun 29 February 2004 |
| Dad continued working on the rudder support bracket. The rotary burr in the pillar drill again. | 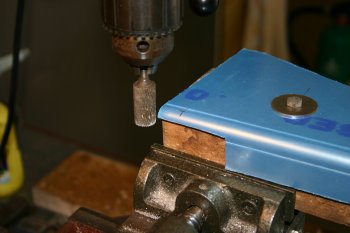
|
| The vertical flange needs drilling for the firewall stiffener. | 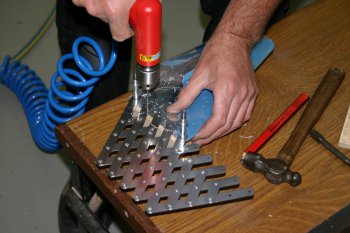
|
| And rather than trimming the support we decided to just put the lightening holes in instead. Hole saw made a racket but worked fine. | 
|
| The final step was to clean and debur all the edges and smooth with the scotchbrite wheel. | 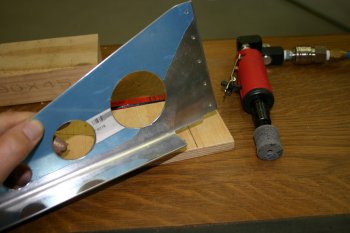
|
| Meanwhile I continued with the rudder pedals. After remaking one of the angle supports that I damaged yesterday during the rotary burr work I moved onto the main and the side plates countersinking. | 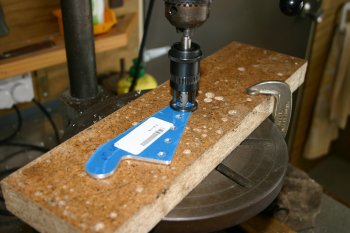
|
| Then it was the normal shaping, filing, smoothing and scotchbriting. I also did the angle shaping at the base of the supports. | 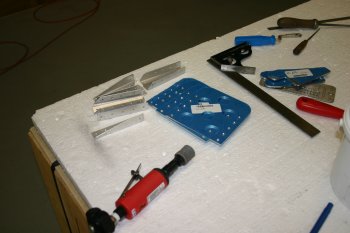
|
| VANs have a very specific call out for 3/16" drills (as oppose to #12's which are normally used for AN3 bolts) so I did as the instruction said. I opened the pivot points on the pedal side brackets and the powder coated swinging rudder controls. | 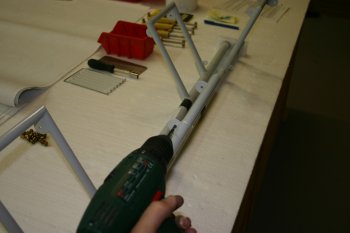
|
| The problem was the 3/16" drill was too "accurate" and didn't provide enough clearance for the bolts. But it was VERY close so I ran a 3/16" reamer through by hand. | 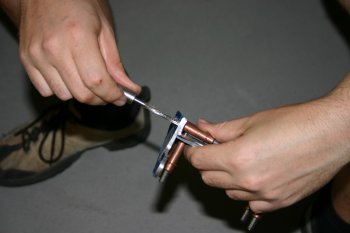
|
| I then located and organised all the bolts need and put the whole assembly together. The pedals are a very tight fit and the -10L washers are going to be a 'challenge'. | 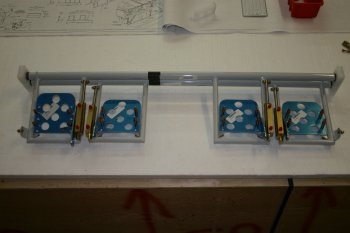
|
| The next step is the drilling of the brake master cylinders to pedal horn. I'll sort out a good way of centering everything first. More research needed. | 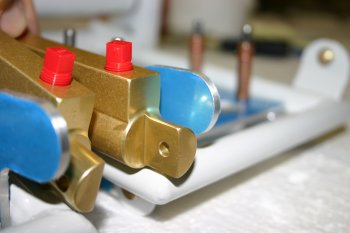
|


