Sun 07 March 2004 |
| I tried again with the C-Frame to rivet the other wing aileron push rod. Looks OK from the plan view. | 
|
| But the side view shows how much the rivet has bent over. Conclusion, we will be ordering some additional 1/2" steel tube and getting the ends welded. | 
|
| Then it was back to the elevators. I started with the right hand side and removed the skeleton so the lead weight can be located. | 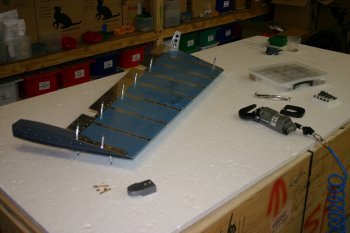
|
| The Pro-Seal was still fairly sticky so I tried to not flex the skins more than needed. | 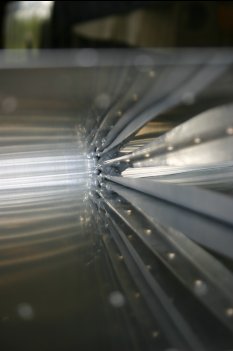
|
| Then re-aligned everything and cleco'd both sides thoroughly. | 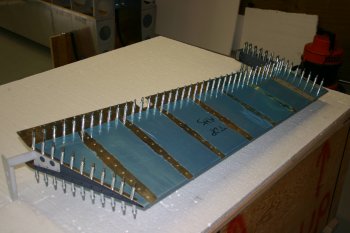
|
| I then started the riveting process, starting at the forward end of the counter weight, alternating top and bottom surfaces. The outboard end was completed first, then the leading edge (top and bottom). | 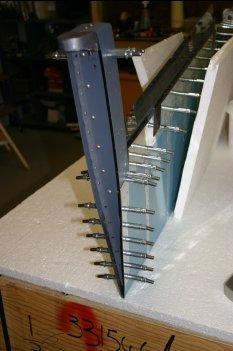
|
| Finishing with the inboard edge (spar to trailing edge). End result was good with only the rolling of the leading edge left to do. | 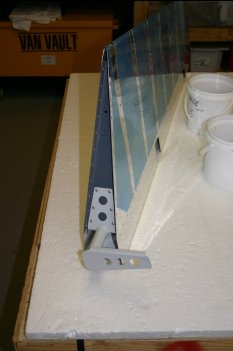
|
| Then left hand elevator. Same principles applied. | 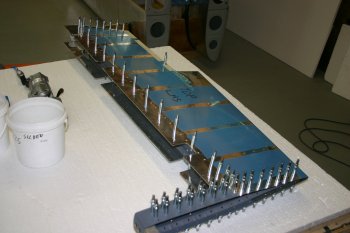
|
| However I set the 8 MK-319-BS pop rivets on the trailing edge spar before working on the solid rivets. | 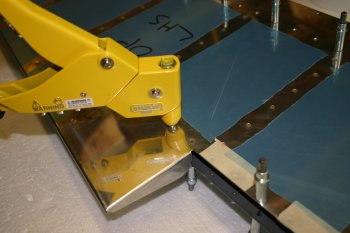
|
| Same process, outboard leading to trailing, leading edge spar, to trailing tip of inboard edge. | 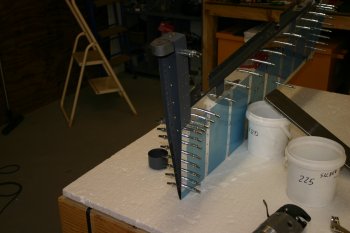
|
| Then set the two AD3 rivets for the tailing edge spar. These are AN426's so it would have been easier to dimple before assembly (HINT). | 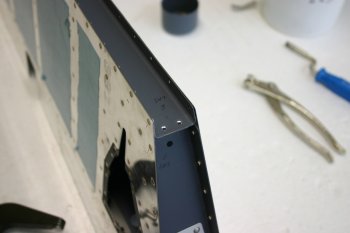
|
| The final part for today was back to the elevator trim tab. | 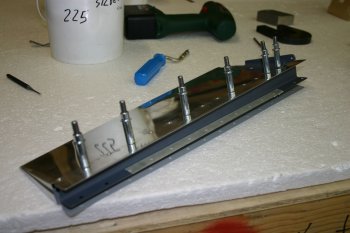
|
| We aligned the trailing edge and upper surfaces with a couple of straight edges and clamped the piano hinge. | 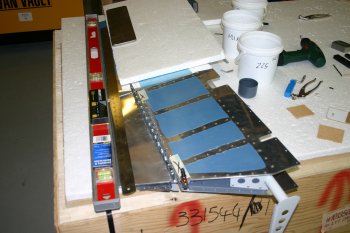
|
| The gap between the trim and the elevator skin has to be a minimum of 3/32" which isn't a huge distance, but we still have the V shaped gap. | 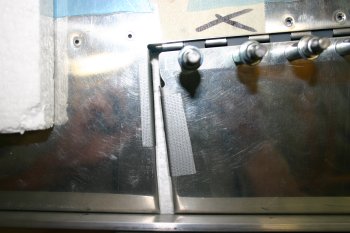
|
| I drilled and pop'd the elevator tabs to assist with the alignment process. | 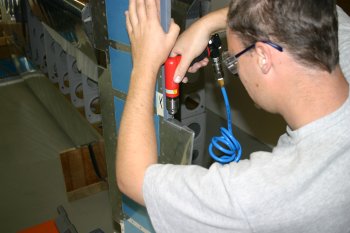
|
| Then the hinge was drilled in one of the mid locations to provide better line up. | 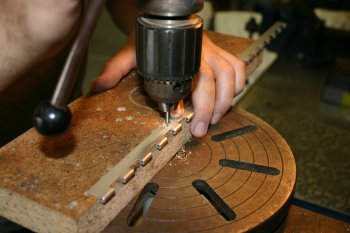
|
| VANs talk of being able to change the 'twist' in trim tab with the pop rivets in the ends being set to hold the twist. We set just the one at each end however this didn't seem to work particularly well but a little variation was possible. | 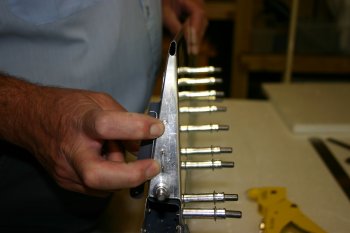
|
| Then I riveted the upper side of the trim tab spar. | 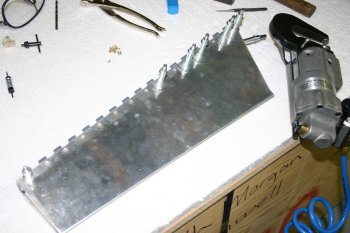
|
| And remounted the trim. The final position hasn't been fixed yet, I'll look at the drilling again tomorrow. I think I may have made a mistake with the trimming of the piano hinge which may mean I need some work P2 hinge. I'm still not very happy with the whole trim tab part, I will consider if I should order a replacement from VANs when I next have a shipment being sent, the idea of being reminded EVERY pre-flight of something I'm not 100% happy with may be enough 'justification' for another try at this part.
I also managed to spray one side of the bench legs plus some other tidying items. | 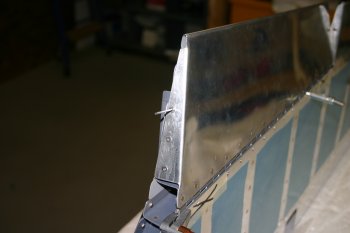
|


