Sat 13 March 2004 |
| Dad started the day drilling out the motor mount. | 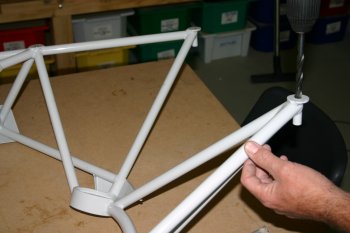
|
| And drilled the upper mount points on the fuselage. The stainless steel is very tough, we ended up drilling the #12 from front to aft, then 1/4" then final drilling to 3/8". | 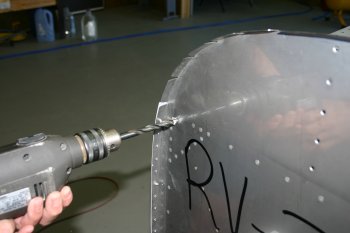
|
| Only the upper AN6 bolts were used but this should help give us a better understanding of the overall firewall forward layout. | 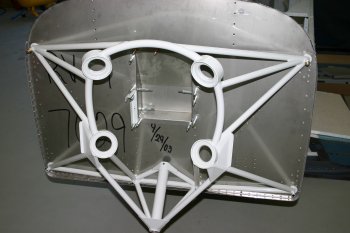
|
| I laid out the battery holder for drilling. I started using the pillar drill with the pilot drill. The problem was the 'structure' was too springy and the drilling wasn't accurate enough. | 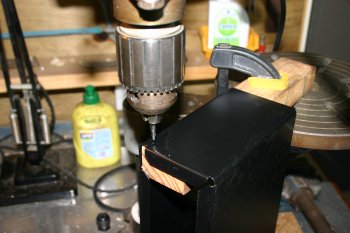
|
| I ended up cleco'ing the side brackets to the bench and match drilling from there. | 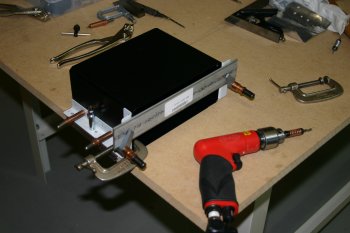
|
| Something that I didn't see from the drawings initially is the AN426 (counter sunk) rivets do not require the battery box to be machine counter sunk. Although it is steel, it will dimple OK with the pneumatic squeezer (trust me). I needed a combination of the 4" yoke and the longeron yoke. | 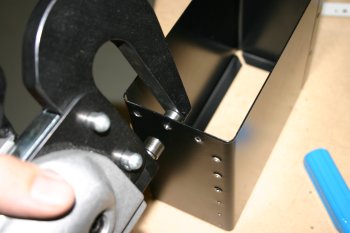
|
| The steel angle brackets are thicker however so they have to be counter sunk. | 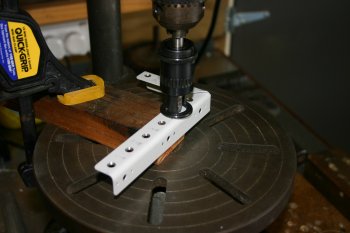
|
| The next stage is the lightening holes. The hole saw worked slowly for the first one, but is quite blunt, so the obvious decision was to wait until Monday and get a new one. | 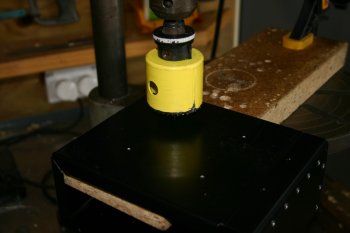
|
| As both the seats were cured nicely by mid afternoon - I proceeded to riveted them together. Didn't take long and another finished assembly ready for (touch up priming) and top coat painting. | 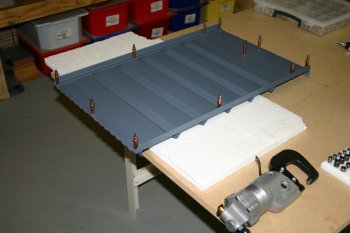
|
| The upper piano hinge rivets are out of reach for the yokes so I'll use the C-frame, but it is easy with two people so I'll wait until Dad is back tomorrow. | 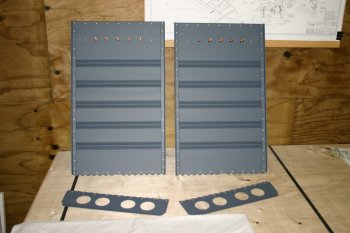
|
| I spent a hour or so to finish with, looking at the tip-up canopy parts. I'm lead to understand this is probably one of the harder parts of the fuselage so a bit of thinking time will be useful. It looks like there are multiple parts to fabricate so tomorrow it might be back to making / edging / smoothing parts again (at least I understand that!). | 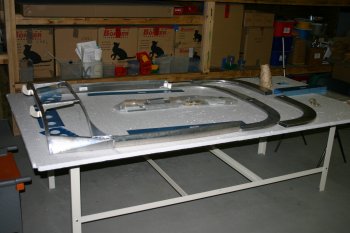
|


