Mon 22 March 2004 |
| Dad started by shaping the canopy frame ties. They need to be significantly bevelled to allow for the front & back frame to sit flat. | 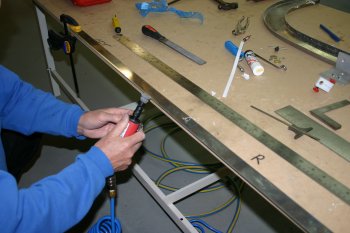
|
| Dad then moved on to a more edging and smoothing, all rather boring but needs to be done at some point. | 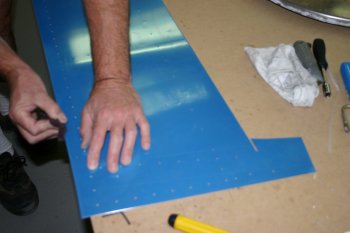
|
| Also the fuselage was stripped down of all the previous bits of work we have done over the past few weeks. The new fuselage should be here mid week. | 
|
| I continued with the canopy frame. First up was drilling the lower brace to the two rigged aft halves. | 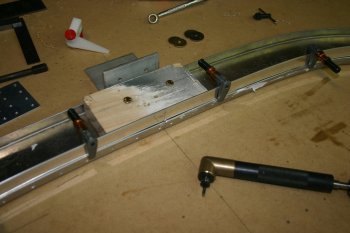
|
| I found the right-angled extension worked quite well, but the work needed clamping very tightly. | 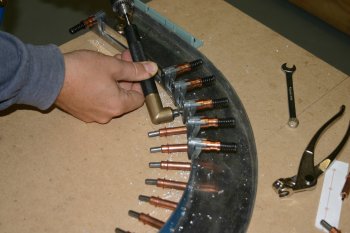
|
| The finished lower brace. | 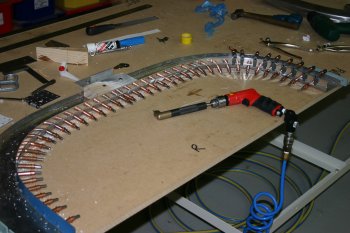
|
| Then onto the upper locations. I took Dan C advise and went with 1.25" spacing again. | 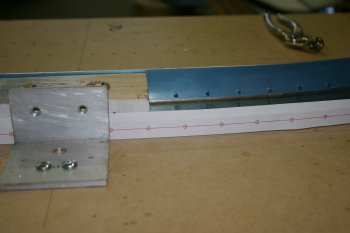
|
| However I decided not to drill it be free hand again (I wasn't very pleased with the aft hoops) so Dad made a drill jig. This worked really well at providing a constant 3/8" up from the front face. | 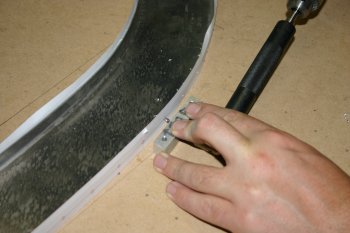
|
| Then the upper brace was drilled. I struggled to keep stop it riding up but lots of clamping and taking it slowly, it came out OK. | 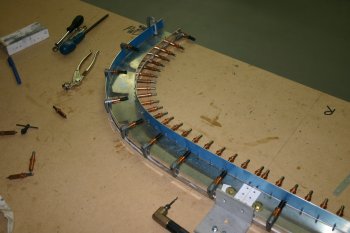
|
| The next step is joining the halves together. I started finding some spacers and blocks for setting the finished size, but decided it was too late to start making real 'decisions'. | 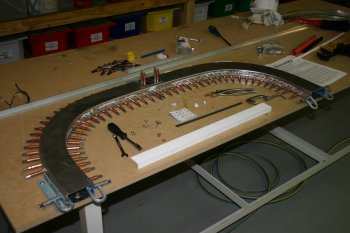
|
| Other 'distractions' for the day, various shipping companies either need paper work filled in or payments made or whatever. If you are building in NZ - get yourself registered with Customs (Form 224) - it will save you hassle (don't ask me how I know....) | |


