Wed 15 December 2004 |
| I spent the day with the wing tips. The first area was the lens. First step is to split the lens in two. | 
|
| The angle die grinder worked well. | 
|
| Then it was a trim along the bottom and then a simple trim at the back. | 
|
| Then it was just a slow iterative process, of mark up, trim and re-fit. | 
|
| The lens can move forward / back and finding the 'right' location is a bit tricky. I ended up sorting the front / side and then the top / bottom points. | 
|
| | 
|
| Then it was more iterative work, this time with the sander - all came together OK, just slow. | 
|
| Getting there. | 
|
| Finished product, only the fixing options needed. I will probably go with a single screw top / bottom, but it may be better with a couple to reduce the stress in the corner of the lens. | 
|
| Good news - one completed, next job the other side. | 
|
| The second time was quicker, as I had some idea of what I was aiming at. | 
|
| Same process, all came together eventually | 
|
| Then I went onto fitting the tip to the wing. | 
|
| First thing was to rebate the trailing edge, the iterative burr works on the fibre glass. | 
|
| | 
|
| Then I realised that the step for the wing skin needed 'cleaning up'. | 
|
| | 
|
| And the flange needs to be trimmed dramatically. I ended using the rasp file, which worked well if a little slow. | 
|
| I manage to complete trimming of the LHS tip, tomorrow hopefully mounting it. | 
|
| Dad was still working on the weldments, particularly the lower spar bolts. | 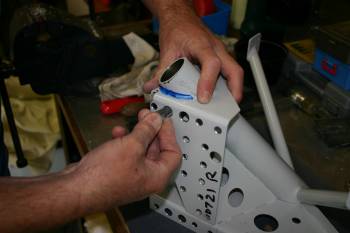
|
| Just to tidy the exposed steel, a little red-oxide primer was used. | 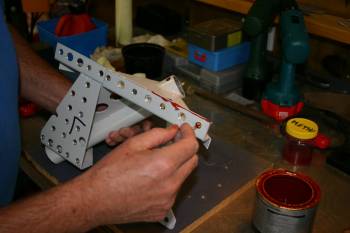
|
| Then Dad started looking at the empennage mounting | 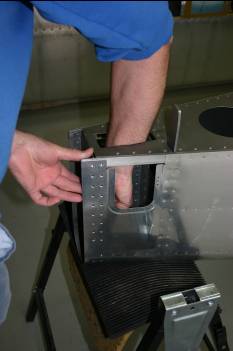
|
| The first step was to start the line up. Out of the box the HS tips were very close to perfect when triangulated to the firewall edge. | 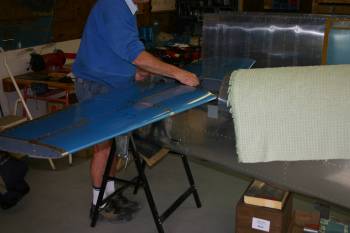
|
| After some investigation, one area that looks like a problem is the F-710 strengthening bars. The edge distance for the AN3 bolts looks like it is going to be very tight. An email to VANs has been sent...... | 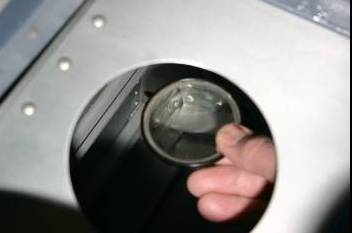
|


