Tue 28 December 2004 |
| Continued with elevator leading edge. Manage to identify a piece of plastic tube / wood core that didn't bend / flex / twist. Then added a couple of bolts as tommy bars to increase the leverage. | 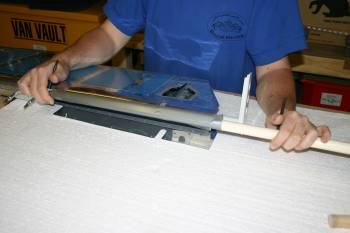
|
| After quite a bit of effort, we had the whole LE cleco'd together. Seems to be the 'best' method was to work with the separate sections one at a time and have one person providing the 'torque' on the tube and the other working the material by hand. With a bit of confidence it did end up going OK. | 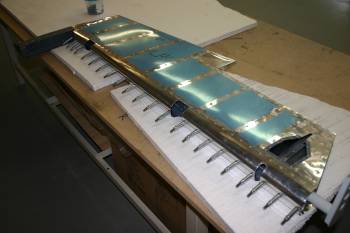
|
| The drill and pop-rivet was VERY simple in comparison. | 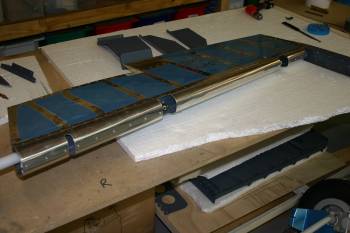
|
| Dad then got called away, so I went on to some bits and bobs. First up was riveting together some of the primed parts from yesterday. Fuel pump 'top-hat' was quick and simple, although did require both the rivet gun and squeezer. | 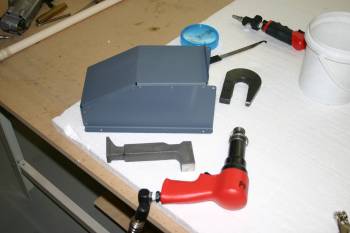
|
| Tunnel cover and rear bulkhead riveting. | 
|
| Then onto the forward cockpit covers. Multiple parts to rivet / nutplate / setup. | 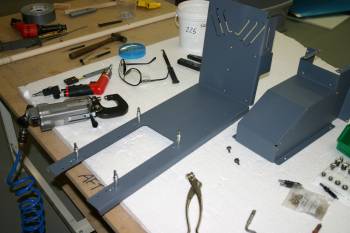
|
| I then went back to the wing tips. The inner metal strips for the nutplates needed to be final match drilled to the tips and wing skins and opened up for #6 screws. The problem is holding the strips to the fibreglass tips whilst everything is put into place. The easiest solution that I could think of was gaffer tape, a bit patchy but did enough to be able to complete the clecoing. | 
|
| Once everything was cleco'd together the nav light holes at the front of the tips provided a sight line to check the metal strips. | 
|
| Then simple drilling to #28's, just take it slowly so the 'tension' of the strip does the pressure against the drill bit, otherwise you can pop-off the cleco's (and bend the metal strip - don't ask me how I know) | 
|
| Then it is start the normal process, in this case 76 nutplates, with 2 rivets each. That is a lot of holes to drill, debur etc..... | 
|
| Normal edge preparations, then dimpling and prep. Didn't complete the riveting today. | 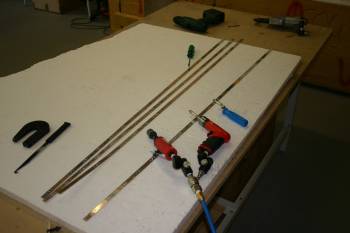
|
| Both of us were then back so we returned to the RHS elevator LE rolling. The little outboard edge rolled first time, the middle one was a real pig. | 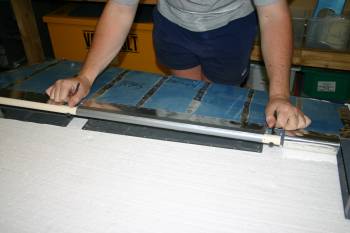
|
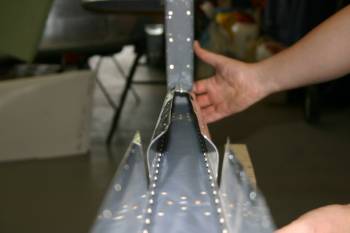
| You can see the principle, generally the meeting point is flat with a rolled component and then arcing to the spar. The trick is to not crease the skin along the spar line. | 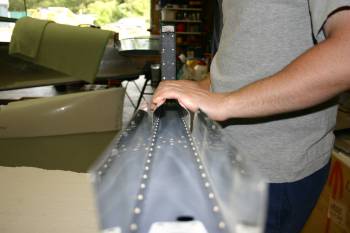
|
| | 
|
| Then it is the normal drill, debur | 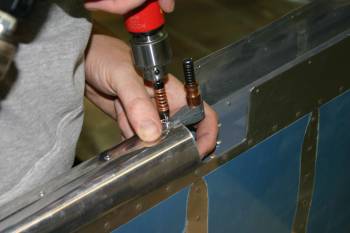
|
| and pop-rivet. | 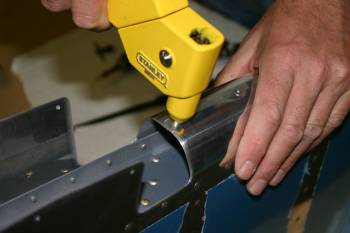
|
| The second finished product, added the rod end bearings and started looking at the mounting to the HS. The HS skin will need trimming, a job for tomorrow. | 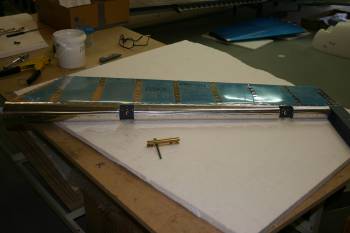
|


