Wed 19 January 2005 |
| Delivery of bits and bobs from Aeroware in Auckland | 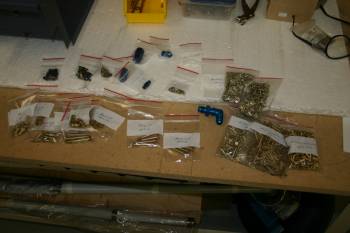
|
| Dad continued with the canopy latch system. The 'ball handle' has a taper slot which was a little problem to sort. Then drill and fix as instructed. | 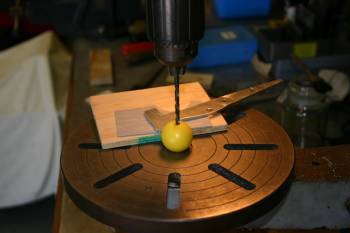
|
| I continued with the cockpit panel fittings. The air vents needed some brackets made and the plastic supports and vents needed trimming / shaping. | 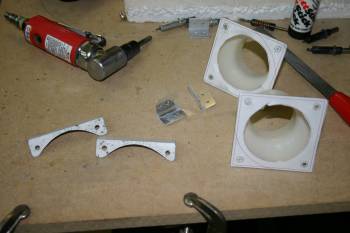
|
| The upper panel supports were no problem, however the lower brackets were difficult to drill. | 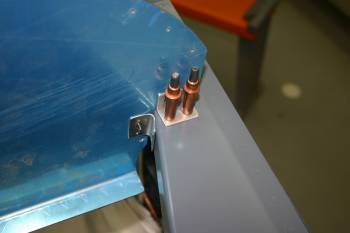
|
| I ended up using #40 pilots from measurements and marking and then back drilling with the angle drive and #30s. | 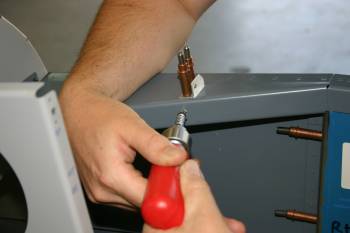
|
| The final combination of panel supports and air vents. The side brackets haven't been drilled to the skin yet. | 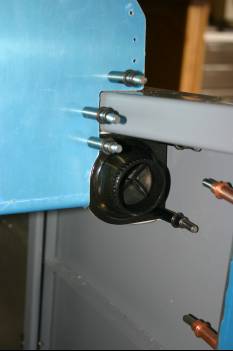
|
| I then went back to the canopy gooseneck system and finished drilling the 1/4" locations for the pins. Also did some clean up work on the P seal brackets - fiddly and boring! | 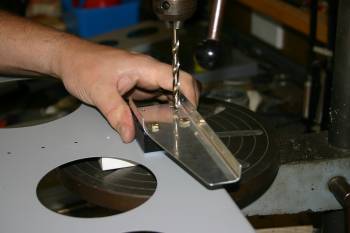
|
| Dad finished all the prep for the canopy latch along with a custom filer for the aft end. This provides a stop for the catch and hopefully might reduce the air / rain exposure a little also. | 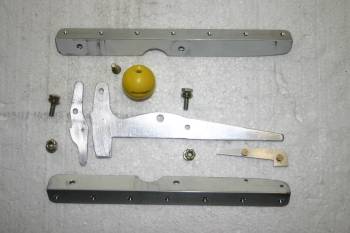
|
| To finish the day I sorted the conecting rod between the door latch and rear canopy latch weldment, just cut, drill and tap. | 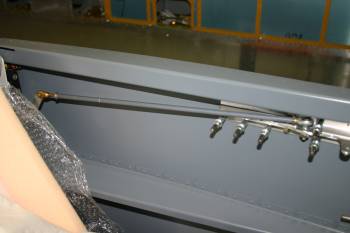
|


