Sun 11 September 2005 |
| Latish start with other commitments first thing. We removed the engine from the fuselage by undoing the 6 bolts that hold the mounting frame on. This worked REALLY well and I would recommend it as a method for getting the engine 'mounted' but still maintaning access to the rear area. | 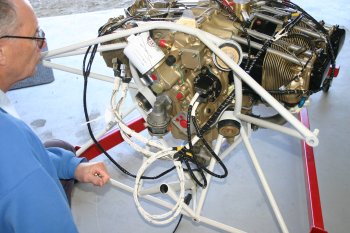
|
| After a email message with Mattituck I found out the govonernor studs are meant to be different and the longer 'wrong' threads where actually right for the pad threads. They are quite tight to get in, but a bit of EZ-Turn and take it slow and all was fine. | 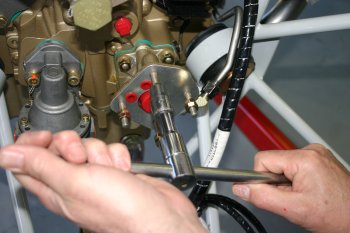
|
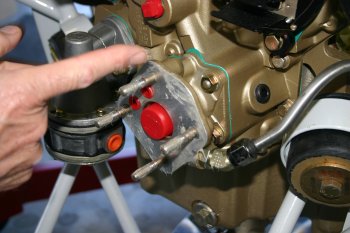
| Then it was a grease and prep the gaskets and mount of the governor. | 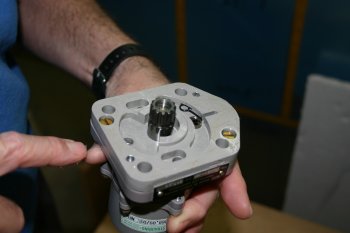
|
| | 
|
| Dad also sorted the SD-20 alternator. Same deal, grease, EZ-turn and mount. | 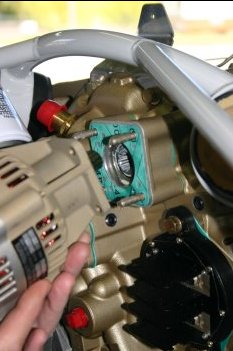
|
| However - if you have a Tach drive - you need to cap / sort this BEFORE you put the SD-20 on! Tach drive cover part number - Lycoming 62732. | 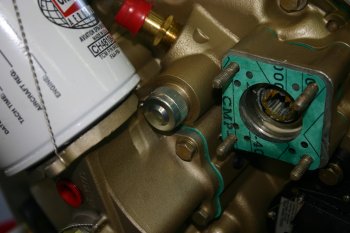
|
| I started with the VANs 60 Amp alternator. First problem is we don't seem to have any instruction on the mounting of it. After re-reading the preview plan instructions it mentioned having to push out the bushing. Things then started to make a little more sense. | 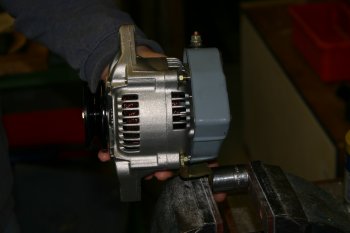
|
| Dad continued with the oil fittings. This is the oil cooler return line going back into the engine. The straight union is not going to work, either a 45 degree or a 90 degree elbow is going to be required, this is due to the oil filter having the angle adapter (which is a good thing). Another thing to add to the shopping list. | 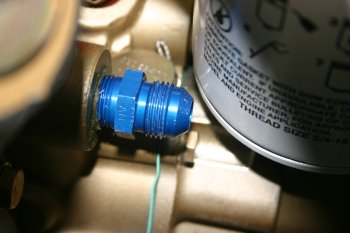
|
| After various rounding / cleaning etc, this is the alternator - it doesn't look like the adjustable arm is going to be long enough and the 'joggle' of the 1/4" bar is going to be interesting. Time to call it a day and worry about it tomorrow. | 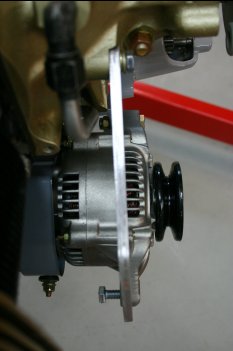
|
| Also spent a couple of hours trying to sort a shopping list for the next stage. We need two types of 'things'. General building supplies - eg. nuts, bolts, AL etc and specific electrical components eg. switches, wire, contactors, terminal blocks etc. With the shipping costs for us (USA -> New Zealand) I would like to combine the order - however I think the requirements are too diverse. | |
| Today has been one of those days where I felt like I spent a long time out in the shop, but relatively little progress made. I know it is part of the process and particually with the planning of the firewall forward / electrics, but still frustrating. | |


