Tue 13 September 2005 |
| After an email with VANs I confirmed the alternator bracket just needed to be 'tweaked' | 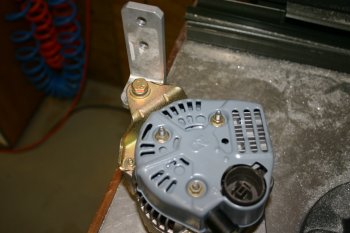
|
| The final result after trimming and smoothing. | 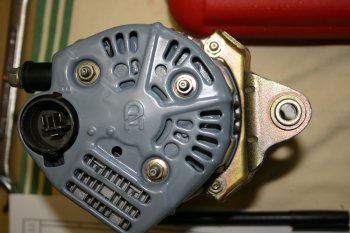
|
| The mounting bracket also needed key slotting the two aft most locations to get all the bolts to fit the engine casting. | 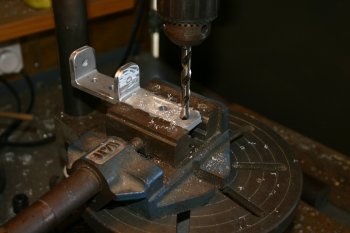
|
| The final result, all looks good, the only potenial problem could be the oil line / alternator clearance if the belt is too small. | 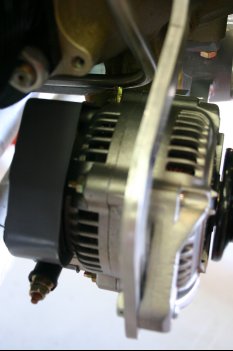
|
| I then went back to the exhaust mounts for a little while, more thought / experimentation. More confusion, I think this is roughly right but I've asked for some guidance via email. It still seems a little 'strange' to me. | 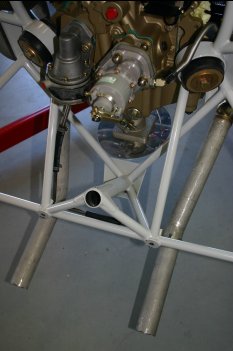
|
| Dad mean time spent some time on the governor mount. This is the stock part from VANs for a single control. | 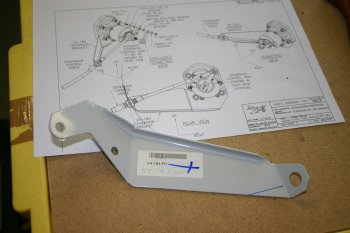
|
| Mounting was simple enough, just undo the lower nuts and insert the bracket. | 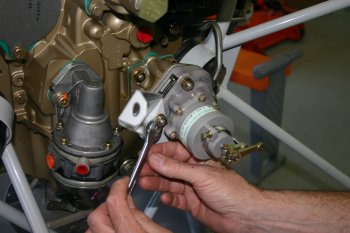
|
| After various discussions, the result was a little steel bracket with a angled upper segment. | 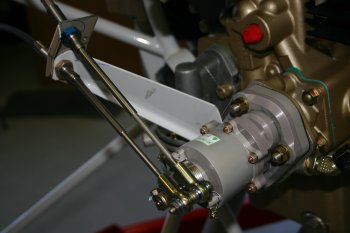
|
| This works OK, but the alignment of the bulkhead / arm movement isn't that great. | 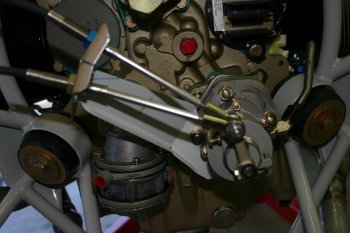
|
| The 'new' option that is going to be based on a simpler solution. | 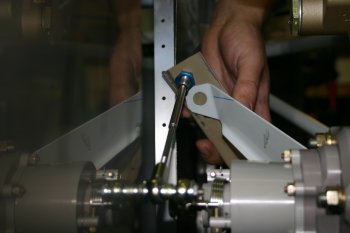
|
| I then moved onto the cowl hinges. The 1/8" hinge is supplied as "9 foot", actually it is supplied as a 6' and a 3' length. The solution is to use the 3' length for the two 11" lower hinges plus the RHS upper hinge (about 12"). The lower hinges wheren't that hard, just take it slowly. At this point I don't have the 0.020" spacer, but I'll get that with the next VANs order. I think I used them by mistake in the wing tip stiffeners. | 
|
| Then the side hinges - note the top cowl is taller than you may first think, so the lower cowl hinges stop about 2/3 of the way up the side.. | 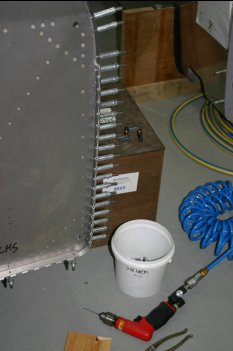
|
| Next was the upper forward skin. This allowed the drilling of the stainless steel firewall on the upper flanges. NB: Boelube works well as a lubricant here. | 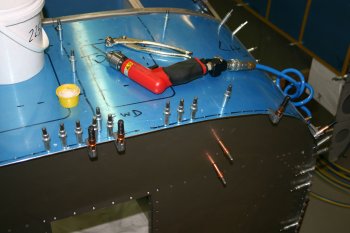
|
| To finish the day I clamped the hinges to the top surface of the skin. This should help shape / bend them a bit over night. Tomorrow I will dismantle and debur etc.... | 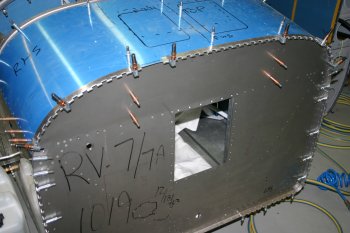
|


