Sun 18 September 2005 |
| The RHS from behind, you can see the trimming of the lip on the outboard lower cowl (upper in photo) has ended up in a small gap, I'm assuming that this can all be glassed later to make it look right. More use of the finger band sander and multiple fits / trims / fittings. | 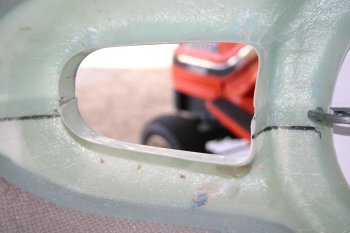
|
| The LHS was better but still needd a bit of tweaking. | 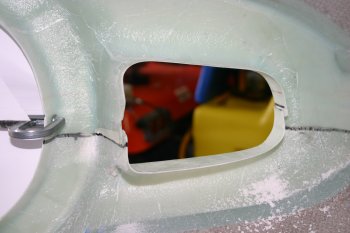
|
| Finally we got to a point where it was close enough for a locating cleco on both sides. Here you can see the gap needed to get a circular front plate - about 1/8". | 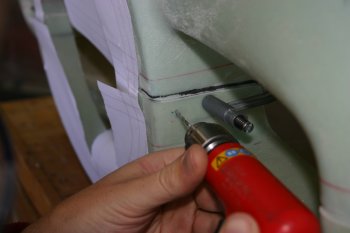
|
| Then it was positioning the upper cowl - a couple of blocks to position the top of the cowl about 1/8" lower than the spinner to allow the engine to sag over the first few flights. | 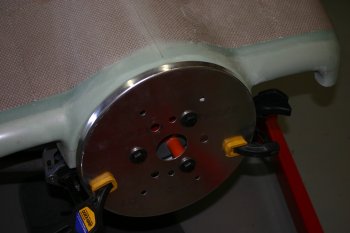
|
| A flood light worked to show the edge of the firewall throught the translucent cowl. Then it is a simple cut off wheel, sand, shape and trim. | 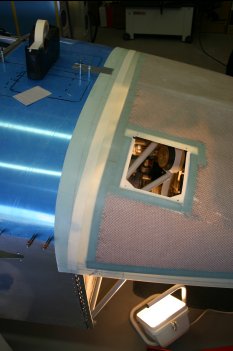
|
| Once the top edge was getting close, I made a small scrap tie plate (instead of using the piano hinge) and fixed a single point on the centre line. With this and the support at the front on the spinner everything else could then be trimmed. | 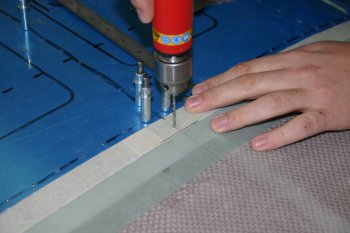
|
| The sides are re-trimmed as they are vertical (as opposed to the 8 degree angle for the upper section). | 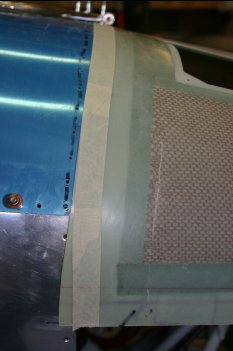
|
| More trimming and sanding and a couple more clecos this time in the long piano hinge. | 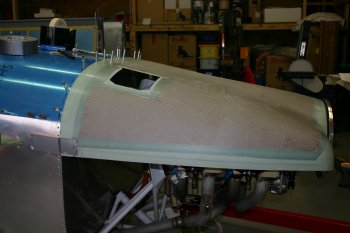
|
| The end result is pretty close - this is the RHS. | 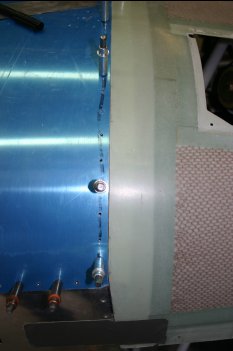
|
| And the LHS - slight gap at the angle point but nothing a bit of filler won't hide. | 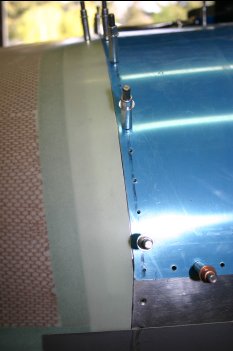
|
| As a bonus the front was in the right place also. | 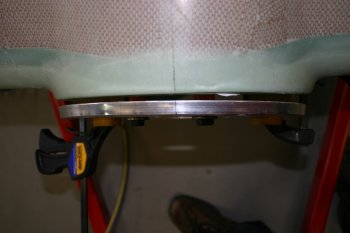
|
| Then onto the lower cowl. After some gaffer tape and more internal lighting. The first cut is the lower edge. | 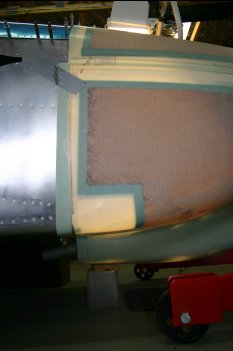
|
| I decided to not trim the exit area - I might consider keeping this but need to understand more of the impacts before deciding. It was getting late - so I stopped before I cut something I didn't want to..... | 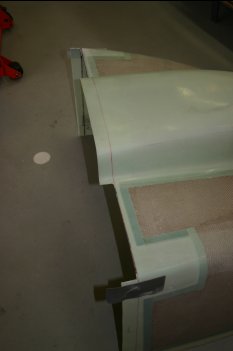
|


