Tue 20 September 2005 |
| Started the day by triming the upper / lower cowl join on the lower cowl. It ended up just above the moulded step. | 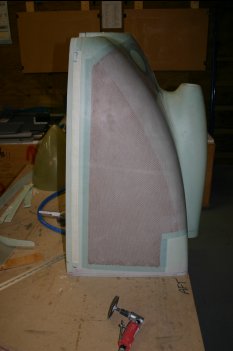
|
| Then after looking at the join I decided to firm up the lower mounting to the fuselage before drilling the cowl-to-cowl hinges. | 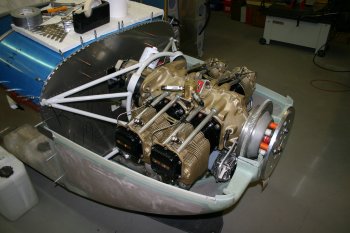
|
| The side hinges were interferring with the 'honeycomb' core. More sanding and shaping needed. | 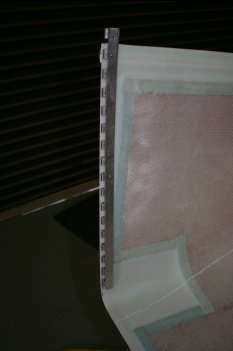
|
| More test fitting and trimming / sanding. | 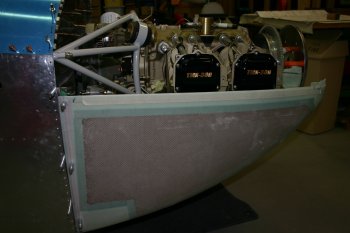
|
| Then lots of setting up and linning up of the long piano links. I followed the recommended upward slope fore to aft. Ended up with the front being level with the top of the hinge and the back being level with the edge of the 'body' of the hinge. I prill drilled the hinge and back drilled into the cowl. | 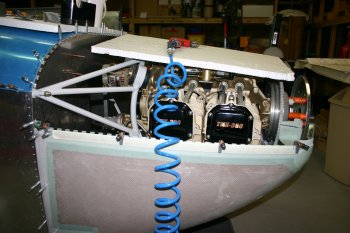
|
| I've decided to try something a little 'non-plan' and use a screw to fix the upper cowl to the top of the rear hinge on the lower cowl. This should tie both parts together very tightly. We will see if I've missed anything obvious here...... | 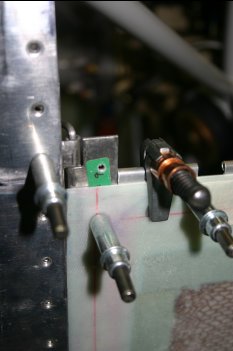
|
| I then removed the engine to make working with the remaining steps significantly easier. | 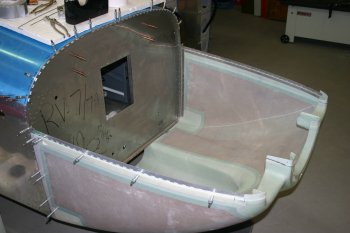
|
| Then I revisited the lower fixing. I'm not that keen on the hinge and it will require a reasonable amount of honeycomb trimming again so I'm considering an option that Dan used with nut plates instead. The other advantage is that we may be able to keep the extra exhaust / cowl exit that goes under the fuselage. I'm not sure if this is a good idea or not, but at least it is an option if we go with tie plate and nutplates. | 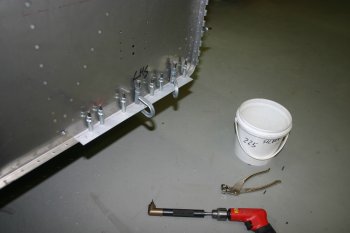
|
| Final step for the day was drilling the upper hinges to the upper cowl. Only 4 locations each side at this point, I'll re-check everything tomorrow and work the front access to the hinge pin. | 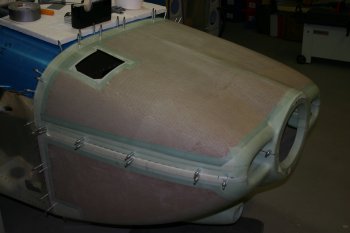
|


