Sat 24 September 2005 |
| Another day on the baffles.... This is the rear baffle. | 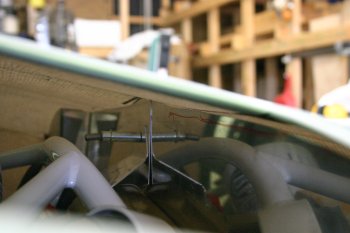
|
| The front RHS looking back over #2 & #4 cylinder. | 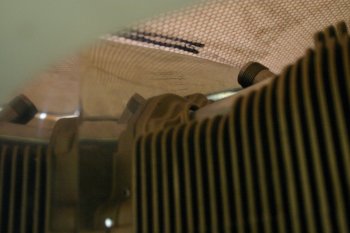
|
| The front LHS looking over #1 & #3. | 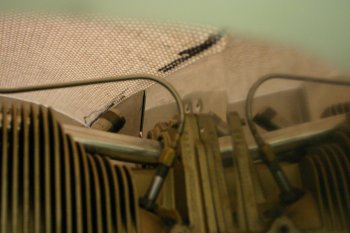
|
| Then we moved onto the baffle / cowl gap, this is meant to be between 3/8" and 1/2" - as I'm seriously thinking about a plenum so want as much height as I can get.. | 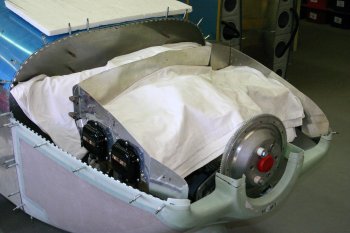
|
| A local pottery club had a source of fine grain clay. | 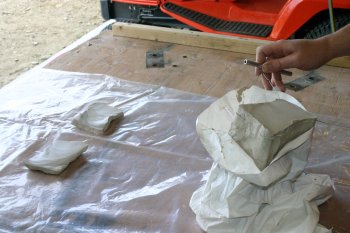
|
| It is sort of similar to putty to work with and I put a bead of clay along the top of the baffles. | 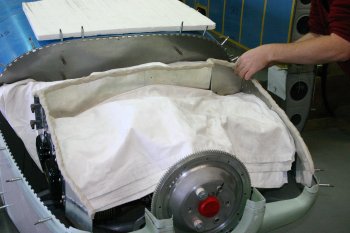
|
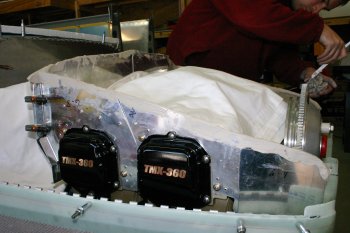
| Then the upper cowl was fixed into place and pressed firmly down. | 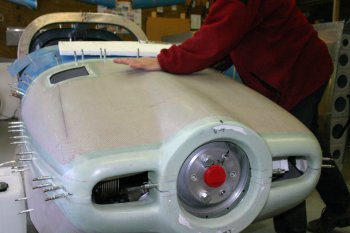
|
| That provided the shape of the cowl, but it was difficult to provide a shape line due to the 'width' of the clay. | 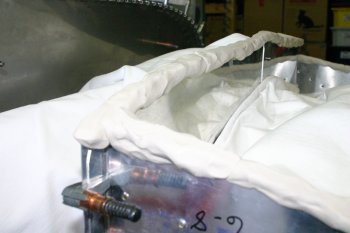
|
| Therefore this was trimmed along one edge. | 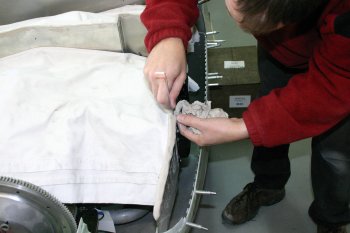
|
| | 
|
| It was then easy to mark a pre-set distance down around all of the baffle. | 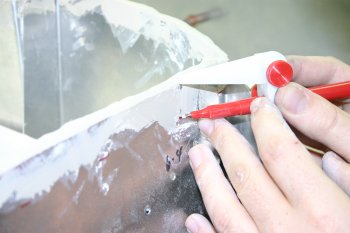
|
| Remove all the clay, wash and dry | 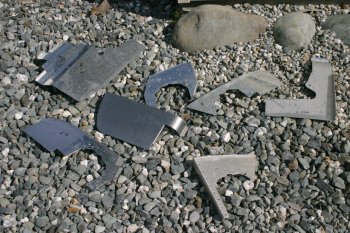
|
| A Dad worked around the edges with a 'flexi-curve' to produce a reference line which should have 3/8" clearance all round. | 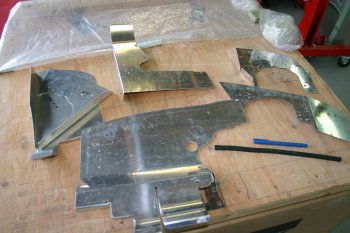
|
| The LHS floor baffle, needs bending and trimming, I used the cardboard template method again. | 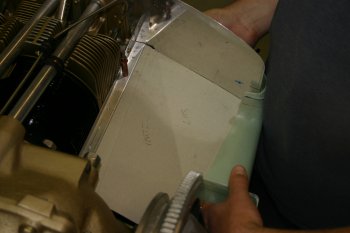
|
| More trimming and bending. | 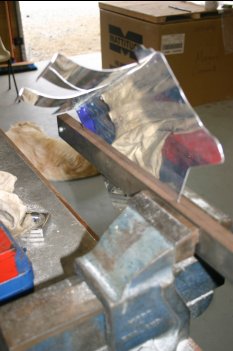
|
| The resulting baffle part looks good, although it will probably need more of a downward bend, more refinement can be completed as needed. | 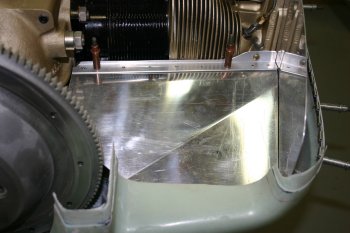
|


