Fri 14 October 2005 |
| First up Dad sorted the mounting for the mini-baffle over the oil-cooler inlet. This is now fixed so the forward face can be used for the plenum side plate mounting. | 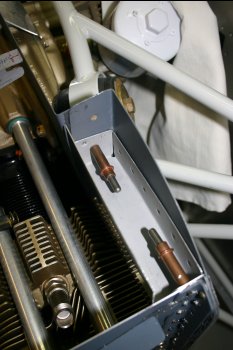
|
| Something that has been outstanding for a few weeks is the trimming of the canopy rear hoops. | 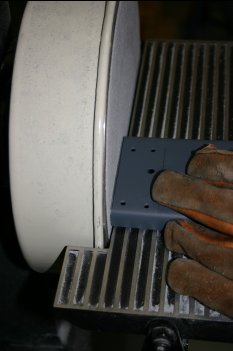
|
| The finished result - much better - everything now lays flat. | 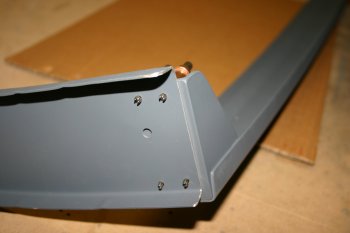
|
| I continued with the frame, more twisting to reduce the need for the parts to be "pulled" into play and trimming of the front baffles to the curved profile. | 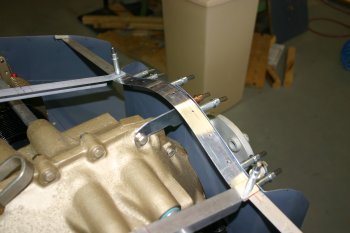
|
| Then I moved onto the top skin for the centre section. I made a rough cardboard template to start with and then went to AL .032" sheet. This may end up being a 'prototype' but we will see how right I can get it first time. | 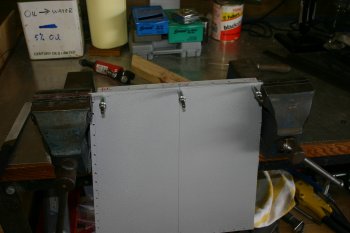
|
| After sorting the rear and front centre locations various options on how / what to do next. The sheet doesn't really want to go into multiple different curves at the moment. | 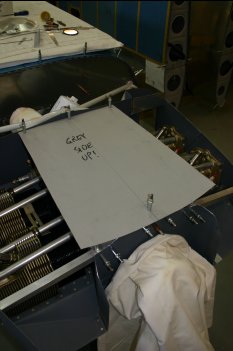
|
| Lots of trimming and shaping of the front edge, fit, mark, trim, repeat...... | 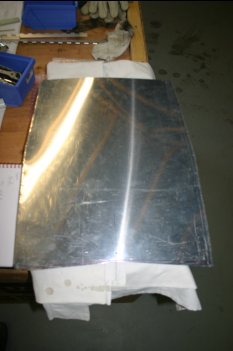
|


