Thu 27 October 2005 |
| I started by reattaching all the baffle and plenum parts to the engine. This enabled a check of the cowl clearance and also lets everything 'set' in the right shape. | 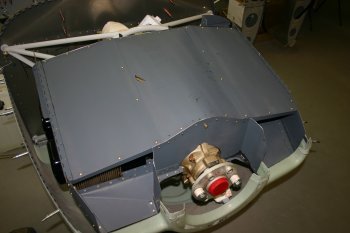
|
| Dad continued with the arm rest sections - we have decided to mount the mic / headset jacks on the lower outboard aft end of the arm rests. A doubler plate will provide the support for the jack sockets and also the base of the rear lower rib. | 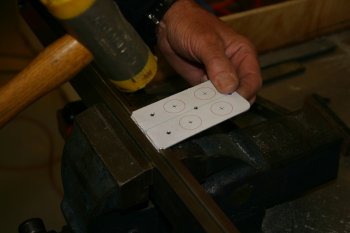
|
| Then a simple case of fitting and drilling. Enough space has also been left for future developments - eg. ANR power and O2 feeds - if and when we want them. | 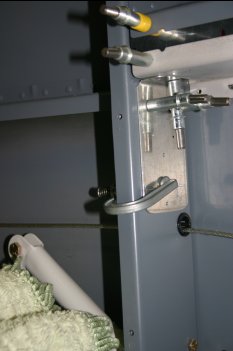
|
| The extra support - being final drilled and dimpled. | 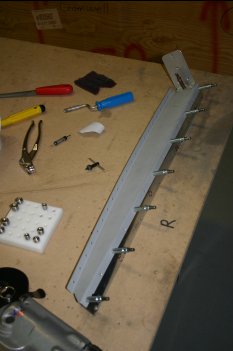
|
| I moved onto the Filtered Air Box (FAB). The vertical induction kit is pretty good, the instructions slightly less so. A single decent ISO exploded diagram would help greatly but I'm muddling through. VANs has just released a revised service bulletin with regard to the alternate air source - so I won't be making final decisions until I've seen that. | 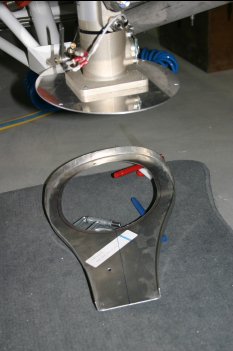
|
| After some initial fitting / layout the basic line up worked OK. The top plate was a little long (sander fixed that) and the centre line just requires multiple guess, clamp and try of the lower cowl. | 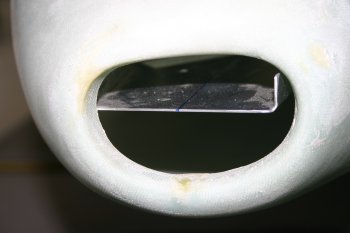
|
| I used two lines on both the pieces (1/4" and 1/2" from the edges) when the front lined up, and no lines showed on top or bottom surface I called it a winner. | 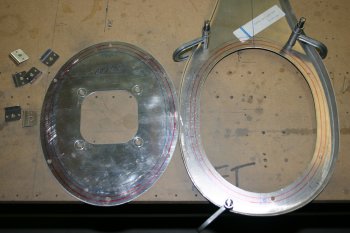
|
| Then the front of the plate needed bending by about 1/2" upwards, this is the after picture which I was quite pleased with. | 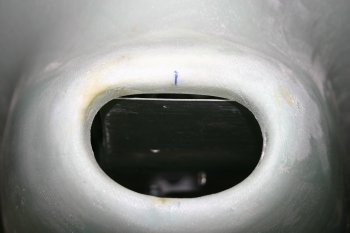
|
| This was the process - I used 3 big flutes on each side and everything worked great. I'm still not that confident with fluting but it seems to be going a little better as we get more experience. | 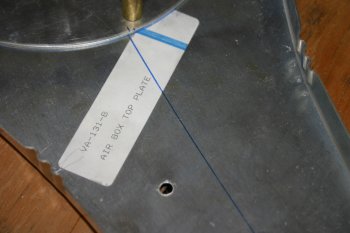
|
| Final step for today was making the retainer tabs, drilling the top and centre plate together and fitting the filter. I've left this over night and will look at the fibreglass shape / drilling tomorrow. | 
|


