Fri 04 November 2005 |
| The weather was poor (cool and windy) so some thinking about the rear window, but no actual trimming / work. | 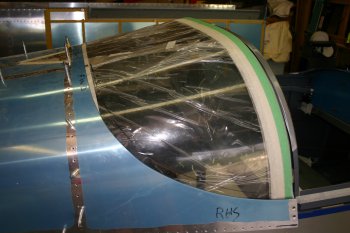
|
| Dad was also away today, so I pottered around doing bits. One thing on the list has been the 'nuts' for the quadrant friction controls. Basically we need 2 captive threaded sections that can be flush with an outside surface. Fairly simple contraction; got some stainless steel, put a stepped ridge on it of the right size, and centre drilled it on the lathe. | 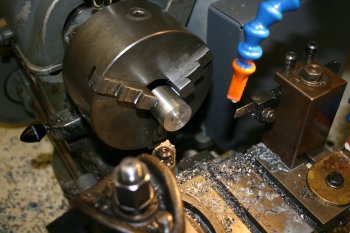
|
| Then removing the chuck from the lathe and putting it on the pillar drill made 3 outrigger locations for keeper rivets. | 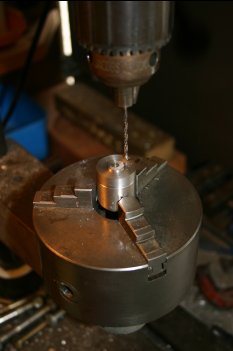
|
| Countersunk for the dimpled surface. | 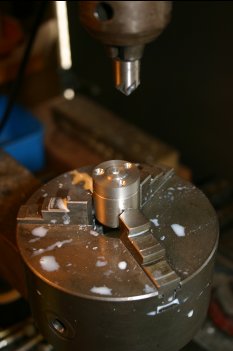
|
| Taped a 10-32 thread in the center. | 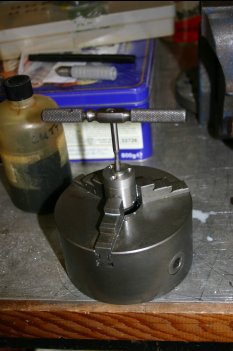
|
| And then parted about 1/4" off. Then repeat for the second side. | 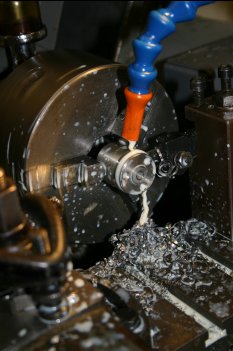
|


