Mon 07 November 2005 |
| I started by 'smoothing' the rivets on the outer of the roll bar. Most were pretty good, just a few pop-rivets that didn't go down properly. The scotchbrite wheel soon rectified the problems. I would advise others to make the roll bar countersinking slightly generous. This will prevent any rubbing on the window plexi and the rivet heads. | 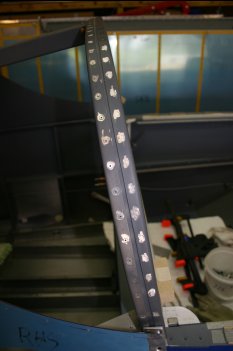
|
| Dad also started organising some pro-seal items. These are the fuel vents which need a mesh glued to them to prevent bugs crawling up into the fuel tanks. | 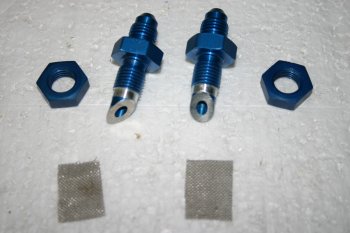
|
| To assist with keeping everything tight and preventing movement I drilled and pulled the pop-rivets on the angle brackets between the roll bar and C chanel. | 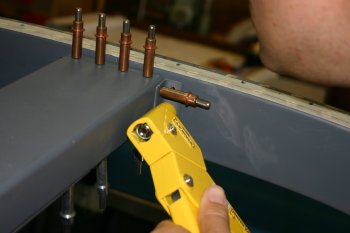
|
| Then it was back to the rear window. An almost perfect day, warm, sunny and very calm. The shed was getting up to about 28C and outside in the sun I would estimate the plexi was over 30C. All the prep yesterday meant the first step was to install / position the window and then drill the rear locations. | 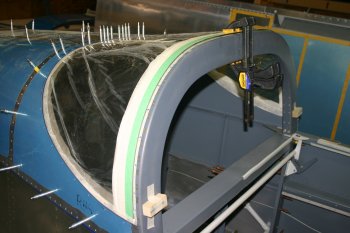
|
| As we didn't have a 'small (less than #30)' plexibit we couldn't drill and cleco the forward locations. Therefore we worked around the rear skin locations with a 1/8" plexi drill and clamped the forward edge. | 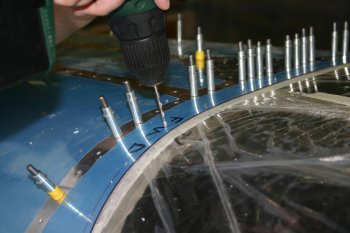
|
| This was then removed for carefull de-burring and clean up. | 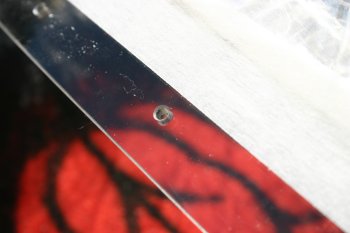
|
| The window was then put back onto the fuselage, the front locations marked and then removed for drilling to 1/8". This meant the locations were then clear to use a normal #36 drill for the rollbar drilling ready for tapping for #6 screws. Everything seems to be pulliing down well and the forward edge will only need a small amount of trimming / shaping. | 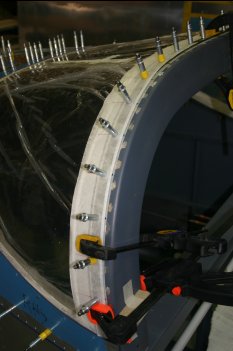
|


