Thu 24 November 2005 |
| I started by rough sanding the end counter weights of the elevators. 60 grit sand paper on the palm sander removed some of the really high peaks, then 100 grit by hand. | 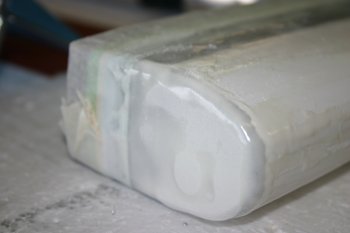
|
| Then started work on the upper / lower intersections. The idea is to slowly remove the micro-balloon filler down to the electrical tape - this provides a clean edge to the filler and the surface should be good and smooth all over. | 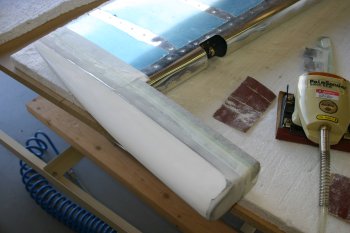
|
| After a couple of hours of sanding, Dad got home and we returned to the elevator trim tab. The key piece was the drilling of the hinge for the elevator. In hindsight I positioned the rear section too far forward, this meant the edge distance is very tight on the elevator. After some careful layout it did all work in the end. | 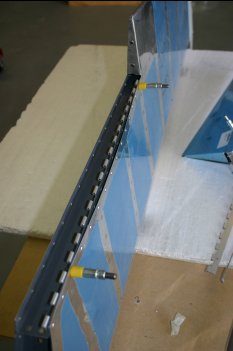
|
| Then I went on to make the trim tab end 'half-ribs' and Dad deburred and counter-sunk the mini-spar. NB: Only the top of the spar needs to be counter-sunk! | 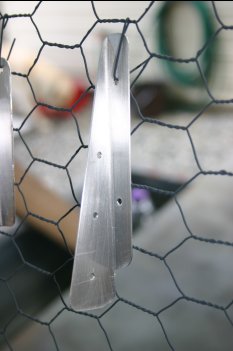
|
| Then it was edge, scuff, etch and prime. | 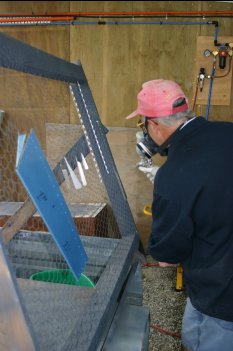
|
| Dad also cleaned up the edges of the fuel vents after the pro-sealing the mesh screen. | 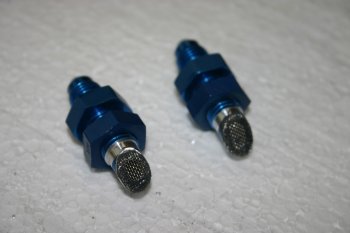
|
| I returned to the elevators - lots more sanding and shaping - slow iterative stuff. Once I was getting close I removed the electrical tape (just the green masking tape left) and feathered further. This is only a first cut - at least one more micro-balloon session will be required and then probably filler/primer compound. The end result should be completely smooth with no visible joint. | 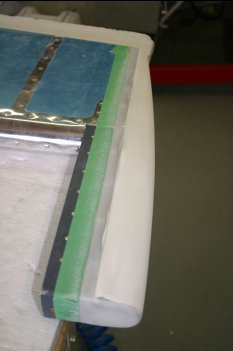
|


