Mon 19 December 2005 |
| Later start with some youngest education on the project first, then the wind dropped so we went into spraying mode.... De-oxidine etch and wash then wipe and dry in the sun. | 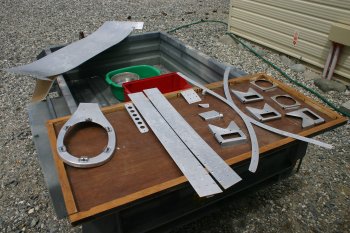
|
| Then priming and some top coat for the underside of the canopy forward skin. The primer work I'm reasonable happy with now, but the top-coat still need a little refining. Generally not enough paint which is good for weight but doesn't provide a smooth finish. | 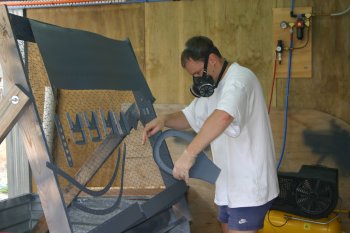
|
| The rear splice plate was riveted on. | 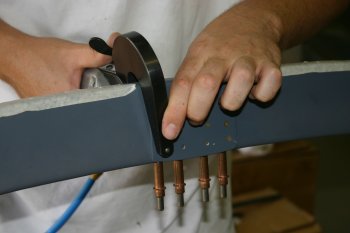
|
| However, the canopy frame didn't 'fit' as well as previously. It seems to be about 1/16" too wide at the lugs. Not a big issue and like a lot of the final fitting work for the canopy I'm going to finish putting the plexi onto the frame and fibreglass has been completed at the front. | 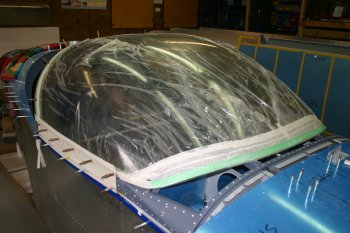
|
| Finishing up the day I pop-riveted the crotch strap brackets. A bit of a pain to get the puller into the gaps but solved in the end. | 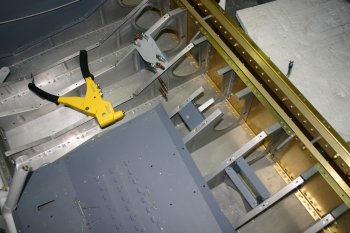
|


