Tue 20 December 2005 |
| The canopy frame needed a little primer touch up and then partial top-coating. This is for the areas that will become inaccessible after riveting the skin / stiffeners. | 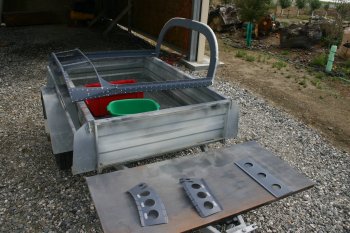
|
| The top coat went on much better today - more paint, less air pressure - not perfect but getting a smooth layer rather than a rough surface. | 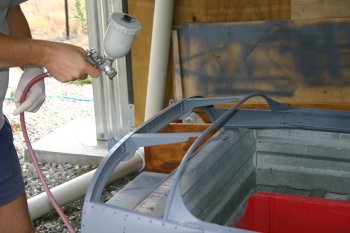
|
| Dad knocked up 4 spacers - 2x 1/8" and 2x 1/16". | 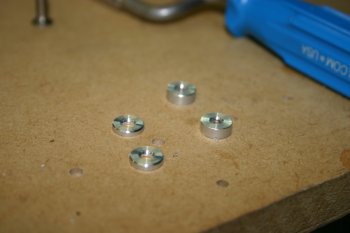
|
| These are used to provide support between the skin and the rear tube part of the frame. | 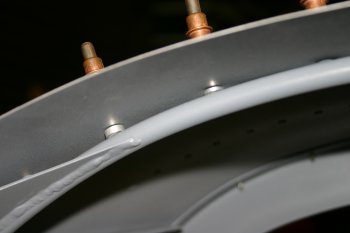
|
| Then it was riveting. We started at the front middle and worked evenly outward, also doing the aft pop rivets as we progressed. | 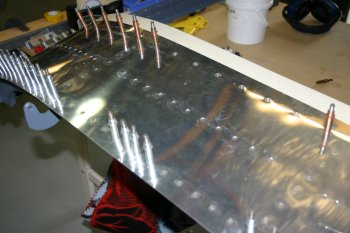
|
| We put the frame back on the fuselage and squeezed the skin aft most locations. | 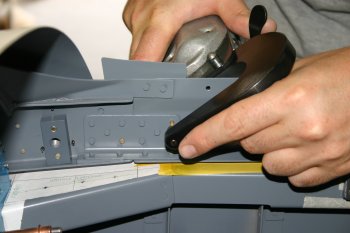
|
| The finished result - a few tricky rivets but first stage complete. Stiffeners cleco'd in and can be shot / bucked tomorrow first thing. | 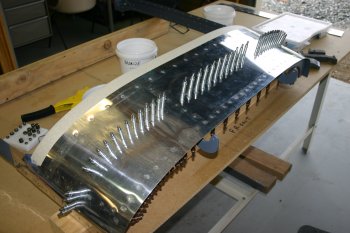
|


