Thu 05 January 2006 |
| First I cleaned up the tail light mounting, the final result I'm pleased with. | 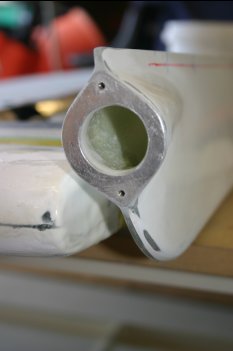
|
| Then it was lots of sanding.... slow iterative process. | 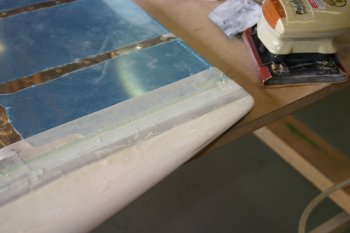
|
| With the rear light sorted I laid out the rivet patten, deburred and countersunk as needed. I also added an AD3 on the forward side of the control horn. | 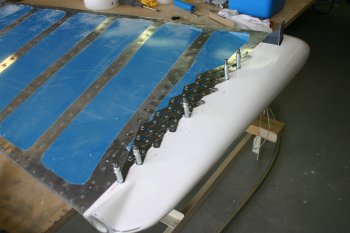
|
| Everything was openned up for CS4-4 rivets and normal misc shaping / edge clean up. | 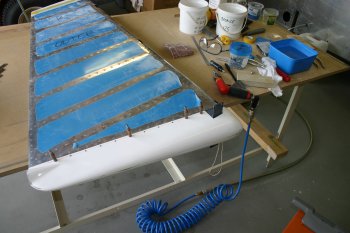
|
| Also sorted the masking - this is the technique we are using for all the fibreglass resin edges. First a 'finish-line' of green masking tape, then a wide band of normal masking tape for protection and finally a sacrifical edge of electrical tape. After laying up a resin / filler film I sand back with 80-150 grit to the electrical tape, then 150 sometimes remove the electrical tape, but then re-apply a new replacement. This means the green masking tape will only be used on the final edge / feathering. | 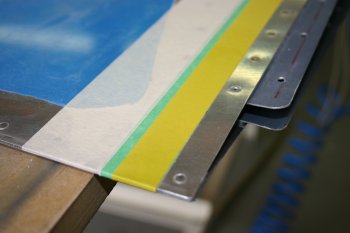
|
| To finish the afternoon I started back with the wing tips. The trailing edge rib is going to be a challenge and will need the ailerons mounted to get the alignement and I think having the screw locations bonded to the tips is also a pre-requisite. | 
|


