Thu 26 January 2006 |
| Back on the project today and back to the canopy fibreglassing. We started by removing some more of the 'lip' on the forward edge of the plexi - this should help the flow of the glass ply lay up. | 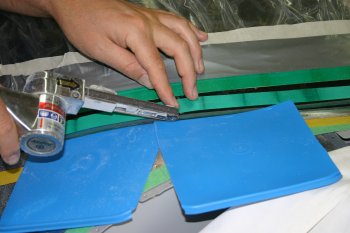
|
| Then it was a good scuff with 280 grit paper for the plexi and AL skin. | 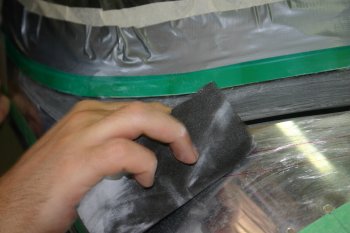
|
| Clean down was just air and damp cloth. | 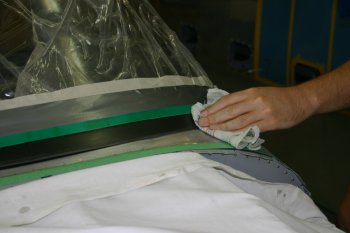
|
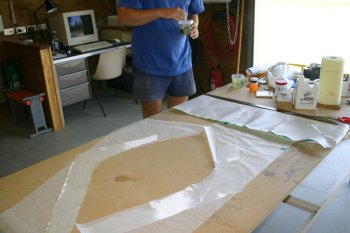
| Then we made some paper templates on baking sheet for the 'first' and 'last' versions. | 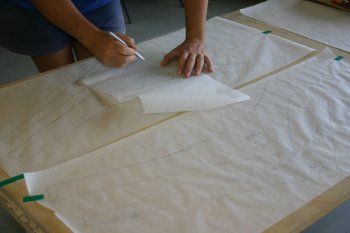
|
| | 
|
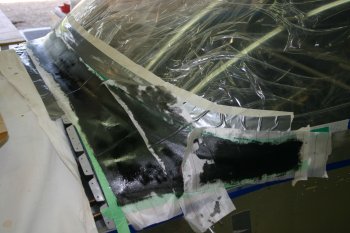
| Then lots of masking, again we used green masking plus a couple of layers of electrical tape. | 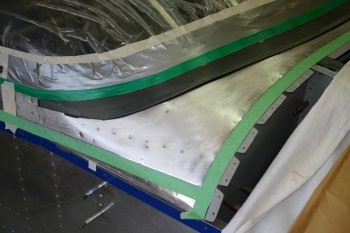
|
| Then a really stiff mix of silca (5 shots to 2 pumps of resin) I filled the lower gap between the plexi and skin. | 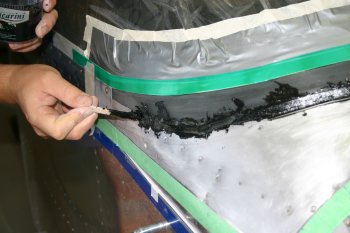
|
| Then the forward surface was roughly smoothed. I also brushed some resin / black paste on the forward plexi - next time I'm not sure if I would do this, I think the colour may have seeped slightly - but I won't curse and swear until I know...... | 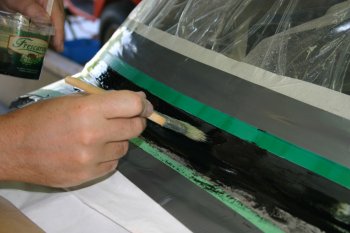
|
| I pasted some 6oz cloth up with resin and Dad cut it into strips. It was then slid off the backing and laid onto the work area. | 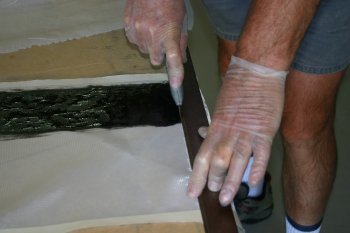
|
| The first few layers were thin 1/2" / 1" strips and progressively got bigger and wider. | 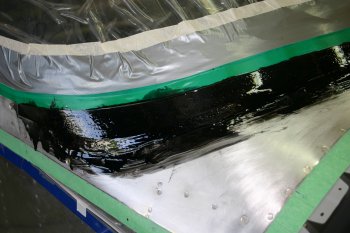
|
| About 6 layers in total were put on and then a final 2oz wide strip. | 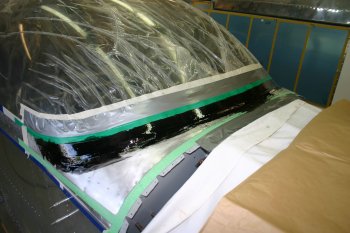
|
| The finishing was done with peel-ply - first time I've really used this, but in theory it should help smooth the final surface and reduce / remove excess resin. | 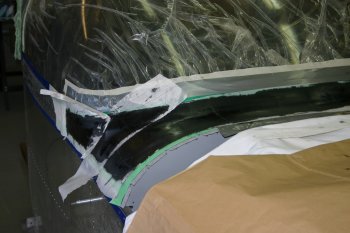
|
| | 
|
| This is the finished result at the front - not perfect, but a good first stab. More filler and lots of sanding will be needed to get a finished transition from skin to plexi. | 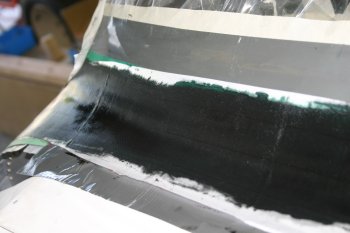
|


