Mon 30 January 2006 |
| With the cool of the start of the (mid 20s) I got the glass work underway. | 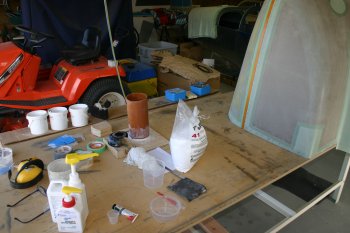
|
| This is the lower cowl sides being builtup. | 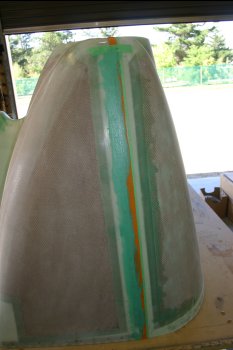
|
| I was fairly generous and then removed the first tape layer to get rid of the excess resin/micro-balloon mix, this leaves an edge in 'nearly' the right place. | 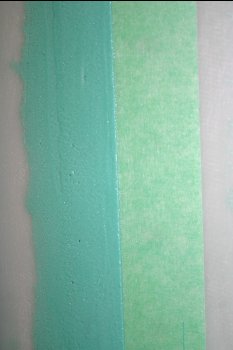
|
| Then it was back to sanding - more slow iterative work. Managed to the whole basic shape complete to the green masking tape. | 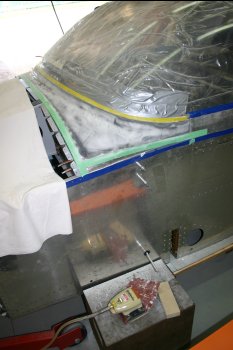
|
| Some parts of the resin / filler seem to be setting slightly quicker than others, the RHS in particular seems to be rock hard already, so I continued with the delicate sanding down to the green masking tape on the plexi. The challenge is to remove / feather the fibreglass well enough that the green tape isn't trapped under the glass, but not going through the masking tape which would mark the plexi.... Careful balance needed. | 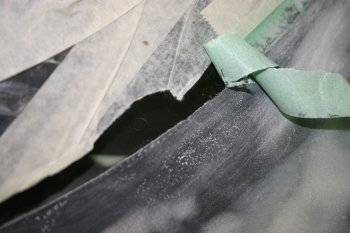
|
| Dad continued with the rear spinner plate, drilling and prep'ing for the nutplates. | 
|
| Back to cowl / plenum connection - the new plan is to use two 2" long AL 4" tubes in each of the lower cowls and then join those to fibreglass transitions attached to the plenum / engine via baffle material or something similar. | 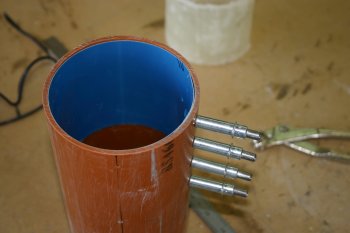
|
| More experimentation (as we don't really know what we are doing!), this time with a clay forma on the wooden exit template that I made yesterday. | 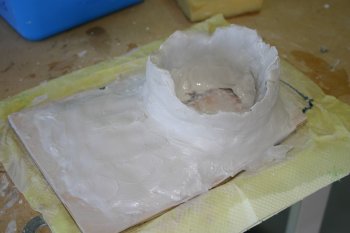
|
| The finished forma after more smoothing - left to dry a bit over night. | 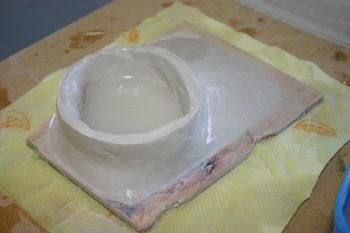
|


