Fri 03 February 2006 |
| Continuing with the cowl, I sanded back some of the excess oozed flox. | 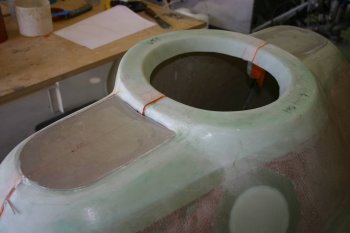
|
| Then pasted up some resin and put a couple of 2oz layers on. | 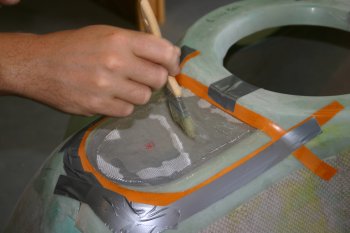
|
| The peel-ply to remove the excess resin and get a flat finish. | 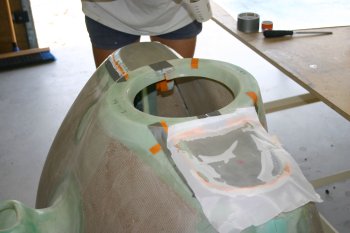
|
| Misc bits completed, nutplates installed for the baggage tie downs. | 
|
| Then lots of edging, scuff and preping for spraying. We have a reasonable size batch for both primer and probably some top-coat parts to. | 
|
| Then with the wind coming up, we moved onto other things. I've been trying to work out were to keep the fire axe for a while, I want it close to the P1 side, but out of the way in normal operations. This is the rough planned location. | 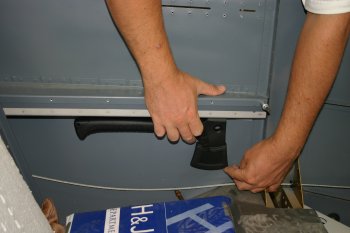
|
| Dad sorted the RHS arm rest with some backing plates for the P2 control stick. | 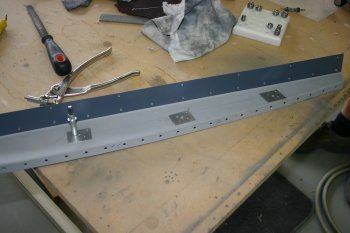
|
| And I came up with a couple locations to be beefed up for the axe mounting. As always, a minor modification or 'bit' ends up taking an hour or more to fabricate / sort! | 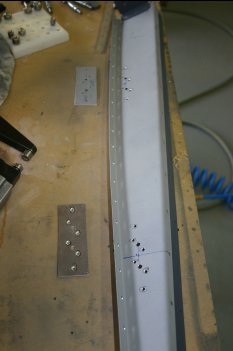
|
| To finish the day, more sanding - a day wouldn't be the same without sanding. I removed the excess material and blended the glass edge back to the cowl surface. Next stage is to let the glass cure and then a large 4 3/8" hole saw...... | 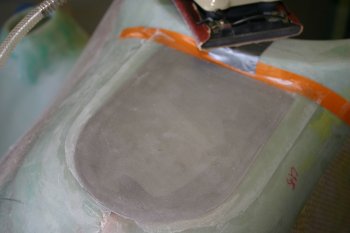
|


