Sat 11 February 2006 |
| First step for me today was removing most of the cockpit components. The panel and associated structures came out and some cleaning / tidying. | 
|
| This provided access to the fuel system covers and the nutplate locations were drilled. | 
|
| Dad continued making big holes for snap bushes. | 
|
| A couple of firewall components have been on the list for a little while - the governor recess needed to be match drilled and dimpled after I removed the engine / frame on the hoist. | 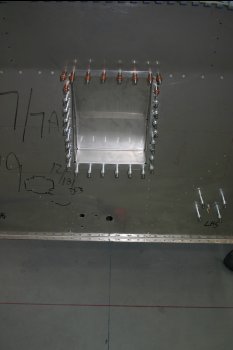
|
| And the brake valve bracket needed some nutplates. We are trying to use ONLY nutplates on the firewall rather than having to worry about access to nuts / bolts combinations which will hopefully reduce some of the maintenance pain. | 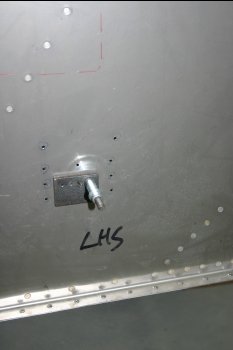
|
| Also added a couple of additional fore/aft pass through the main spar. This was the mini-jig that Dad made (note the red cross is where we don't want the hole!) | 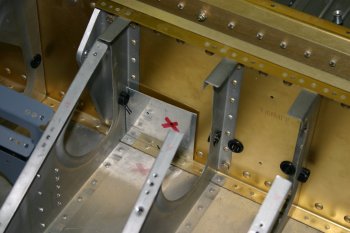
|
| Before the firewall recess could be completed, the rudder pedal bracket need sorting - riveting was a bit of a pain - the structure wasn't really stable enough for shooting/bucking and squeezing was difficult. In the end squeezing was used - some careful selection of dies and a bit of 'persuasion'. | 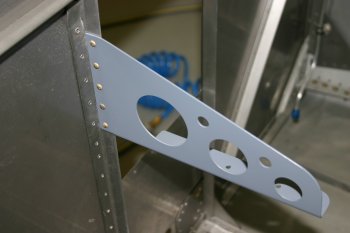
|
| Then a pro-seal session to finish. The original material is starting to go off a bit - not a problem for this work, it is mainly being used as a 'glue'. The new batch will be kept for the fuel tank / senders joint firstly. | 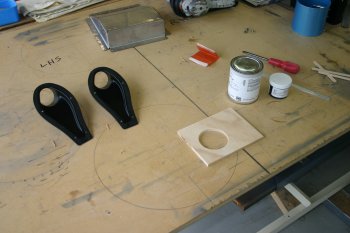
|
| Dad did the messy bit again - NACA vents were first. We ended up using pop rivets with small stainless washers as a backing plate - worked well, I'll worry about if I want to fill / dress the external surface later. | 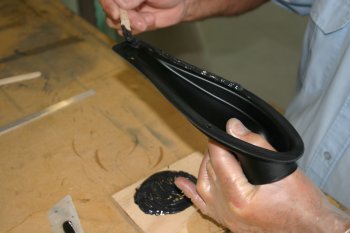
|
| Then onto the main recess - generous provision to seal the joint. | 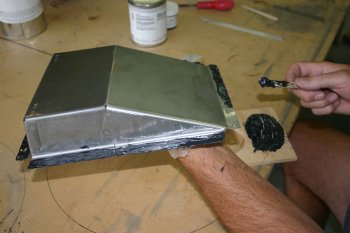
|
| Some masking to remove the gross excesses helps make the job look respectable at the end. | 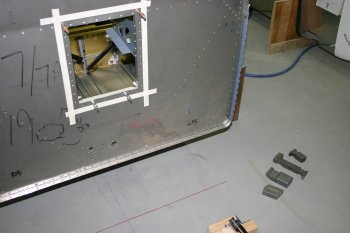
|
| The shooting / bucking is messy with Pro-Seal, we ended up doing a few locations then cleaning the tools. The VANs callout for the side rivets (AD426 3-4's) are rather marginal, I would probably go for -5 'next time'. Also gooed the brake bracket and cleco'd it on, I'll worry about that riveting later. | 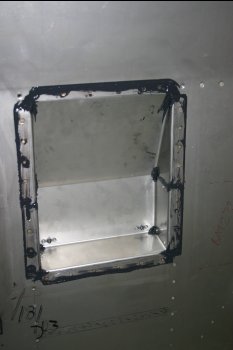
|


