Wed 15 February 2006 |
| Half day for just me on the project. Starting on the resin work from yesterday, the peel-ply left a reasonably good surface. | 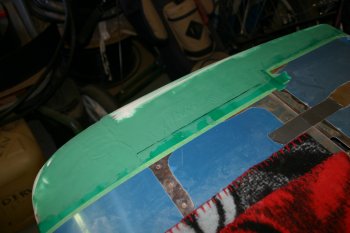
|
| Then onto sanding. Upper surfaces of both sides were done with 60 grit and then 100 wet and dry. | 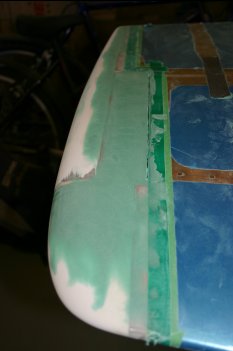
|
| Most of the shape is pretty good, but more is needed in some places - another batch of micro-balloons.... | 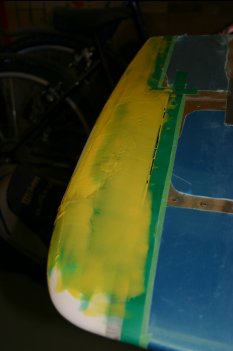
|
| Then back to the floor pan stiffeners. The original intention was for the "J" to go aftwards but this leaves a 'barb' going aft which I didn't much like and the very front edge didn't seem to be getting that much extra support.. | 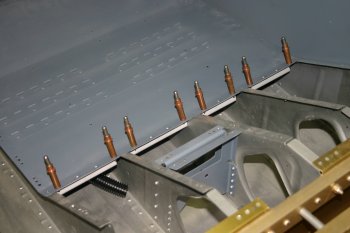
|
| Therefore I flipped the parts around and re-trimmed for the floor ribs. | 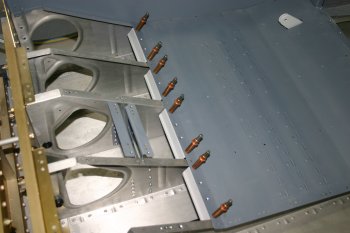
|
| After re-fitting I realised the two locations just aft of the crotch strap attach point where going to be too tight. Therefore 3 face forwards and 1 aft per side is what I finished with. | 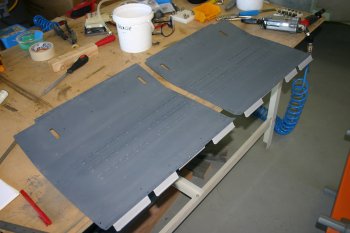
|
| The last hour or so was spent on the cowl, doing some clean up on the lower half and shaping on the upper. Not quite done but progress. | 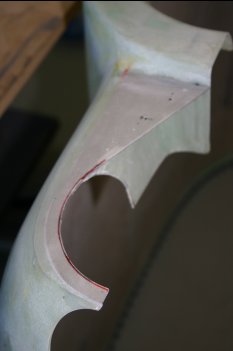
|


