Thu 16 February 2006 |
| First up - more sanding..... Got both sides upper surface to a reasonable finish - good enough for now - EP spray filler will probably be next, then hand rub down. | 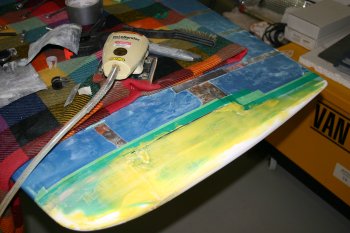
|
| Before de-rigging the HS, we put the rudder on to check the VOR antenna clearance - no problems. | 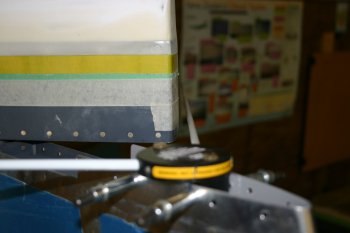
|
| and the rudder stops - although I made them slightly oversize, the RHS is still rather tight. The slight left bias of the VS seems to be enough to reduce the clearance so I'll need to sort a new one at some point. | 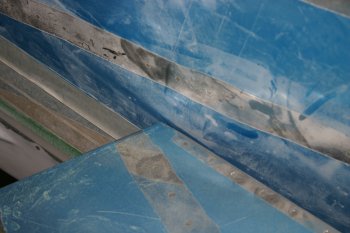
|
| Misc delivery of 'snake skin' braided sleeving and the 2.5mm tap / dies from Blackwood / Packels in Dunedin - good service, fast delivery. | 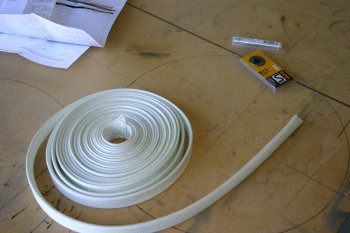
|
| Dad sorted the #6 tapping on the rear longerons ready for the fairing. Not much material to tap in places but should be OK. | 
|
| Then setup and matched the cockpit side rails and arm rest ready for pop-rivetting. The canopy latch spring location was also drilled. | 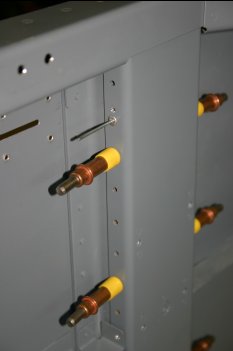
|
| With the new dye available I finished the custom spring assembly. | 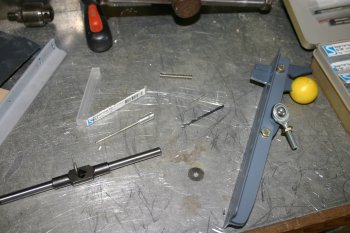
|
| The end result - I'll need to sort a new pivot screw and probably a new shorter spring. The shipped one works - but it is almost a two handed job to move the catch lever.... | 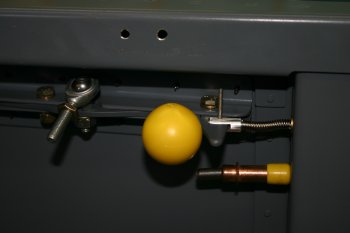
|
| Then just for a change - more sanding and resin work. I fliped the HS / elevator combo over and started on the lower surfaces. Main sanding was the HS tips from the original flox / fill. | 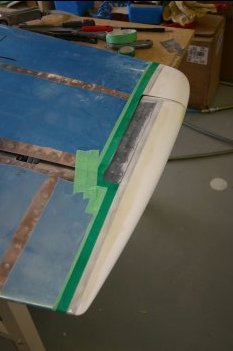
|
| Then a thickish batch of micro-balloons and light smoothing. Tomorrow - more sanding! | 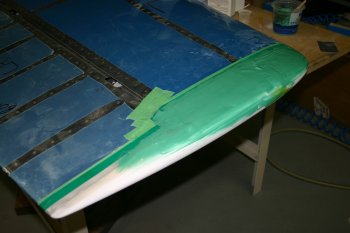
|


