Fri 24 February 2006 |
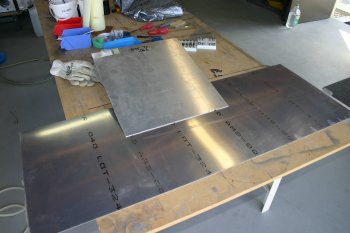
| First half of the day was 'shopping', including some sheet materials and #6 nut plates from an engineering arm in Queenstown. | 
|
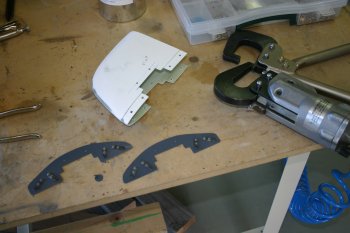
| Sorted the VS tip plates - now ready for a flox bonding when I'm next doing some resin work. | 
|
| Finished the step installation and AN3 bolts. | 
|
| Then masked up the fuse for internal spraying. The plastic bags worked well and was eaiser than the paper that I used previously. | 
|
| The only tricky bit was masking the gear legs as I couldn't easily rub down / top coat those parts. | 
|
| Then it was musical fuselage's and we emptied the shed and setup in the carport for spraying. | 
|
| I rubbed down the internal surfaces with 1500 / 800 grit to get a good clean rough surface, | 
|
| and cleaned up with some acetone. The weather then started to cooperate nicely, with low 20Cs and dropping wind, although it was getting latish we decided to press on. | 
|
| Meanwhile Dad started mixing up the paint batches. | 
|
| Then a light prime over any exposed areas and then masking. | 
|
| Black top coat for the front section, | 
|
| And then a re-mask for the main cockpit area. The flood lights worked well but still hard to see some of the working lines. | 
|
| The internal grey top coat went on well, I'm getting steadily better at using the paint systems, it definetely is more art than science! | 
|
| Some of the major masking was removed and then it was just left to dry / cure over night. | 
|
| From initial inspection - it is looking good. If I was doing it 'again', I would clean the whole cockpit area as soon as the QB fuse arrived and then prime it. Then do as much work as possible and fit / drill etc as many components as possible (like the current state), then touch up prime and top coat. The top coat could then be rubbed down lightly and second coat applied for some of the key area if desired. Of course this isn't completed yet, so it is only a current best guess.... | 
|


