Tue 28 March 2006 |
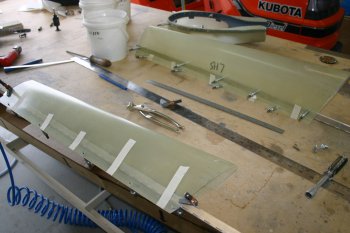
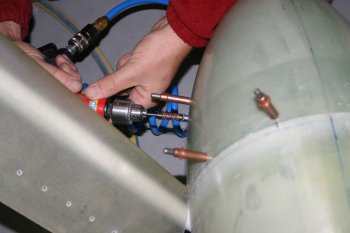
| I continued with the fairings. The hinges are now drilled and everything is countersunk. I'm planning on not using flox to bed this as I think the risk of blocking the 'lugs' is too high. | 
|
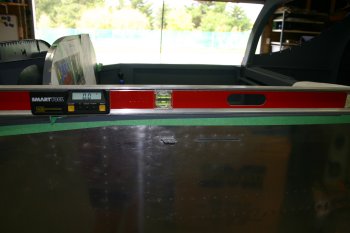
| Then we re-levelled the fuselage, a small block of foam on the tail and wood block on the nose. | 
|
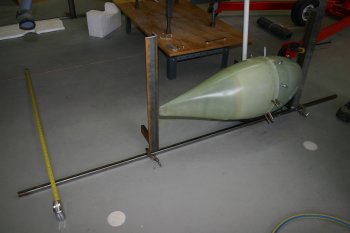
| The wheel pant alignment took a while, we used a selection of steel offcuts we had around to make a measuring jig. Everything seems to be within 1/16" and it all moves around a bit anyway on the sprung steel legs. | 
|
| Several more hours for openning up locations for the nutplates, rechecking etc. | 
|
| Dad continued with the new FAB mounting - I think we will end up with it being about an extra 5/8" forward. | 
|


