Mon 12 June 2006 |
| First up was peel-ply removal and rough trimming of the edges. All in all, it has worked well and should sand down well for finishing. | 
|
| Then onto the other main fairing and side of nose leg. | 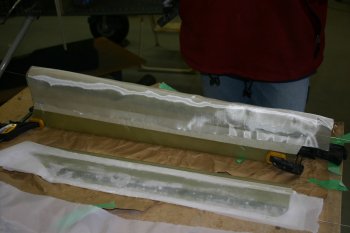
|
| With the temperatures dropping further today (high of about 4 degree C's in the shed) the resin is taking quite a while to cure. Squeegy works well and peel ply finishes the surface. | 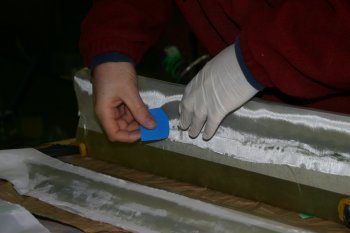
|
| The finished glassing, ready to cure, I'll leave until tomorrow morning for trimming the edges. | 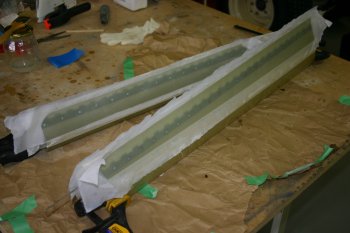
|
| Then back to the plenum inlets - I decided the LHS was the prefered starting point, there is slightly more room and a things are just a little easier to work. First up major trimming of the baffles - mixture of snips, sabre saw and finger file. | 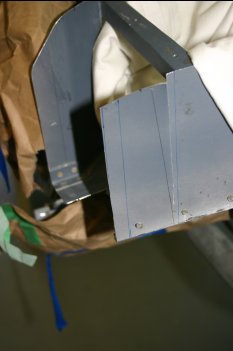
|
| As a slightly different track on the mounting of the diffusers, I've decided to make a AL 'ring' as the backing plate for the fibreglass work and then screw / rivet that to the plenum. Not sure if a good / bad idea yet, but an approach! Added a couple of #40 clecos on the top bar. | 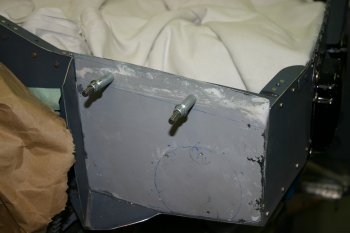
|
| And then lots of templating, cutting, trimming and shaping. The basic form was done on card, then CAD conversion. Seems to work quite well, the wrap around on the bottom should be simple to drill, the 'tongue' on the inboard edge provivde vertical 'stiffness'. | 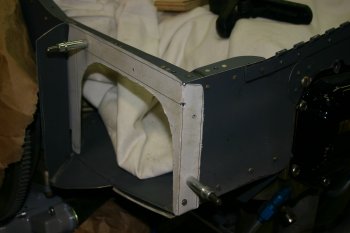
|
| Dad re-visited the FAB and alignment. We are continuing to try and move the whole structure forward to clear the nose leg. | 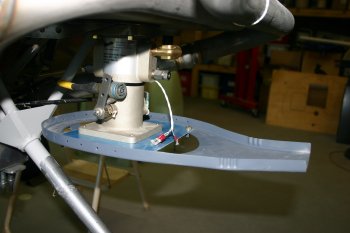
|


