Wed 14 June 2006 |
| Dad continued with the FAB (in between other things) and made a new support plate. | 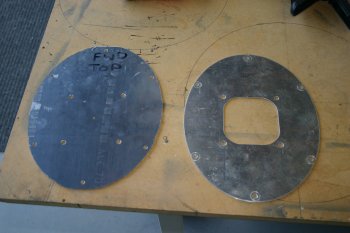
|
| The center location we ended up with a circular hole rather than a shaped one - makes no difference to the throttle body inlet. More tweaking of the alignment and height of the front needed. | 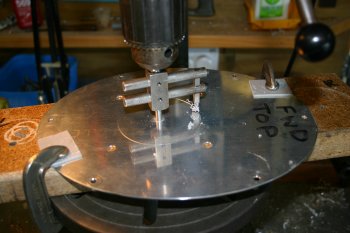
|
| I was still on the plenum diffusers. A small amount of clay to finish the outer edges and then release wax which went on well for a finished surface. | 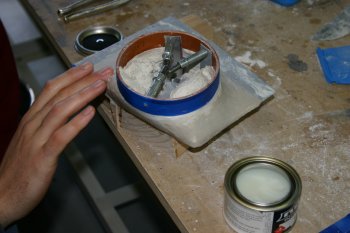
|
| Then using PoP again, a negative mould was mixed. | 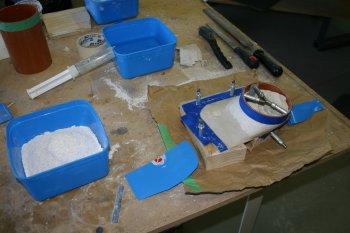
|
| I was quite generous with the edge build up and also added two dividers to split the mould. | 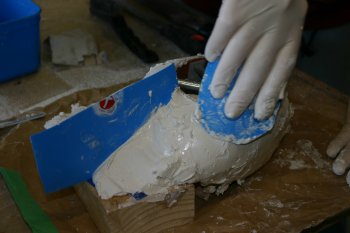
|
| Getting the mould to release was tricky (and not bending the metal ring), I just took it slowly and work everything through. | 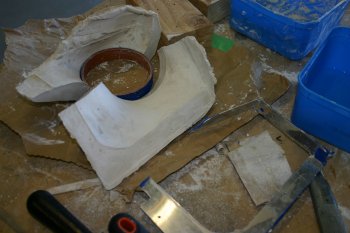
|
| The result is pretty good, not completely smooth but fine for the exterior of the diffuser. | 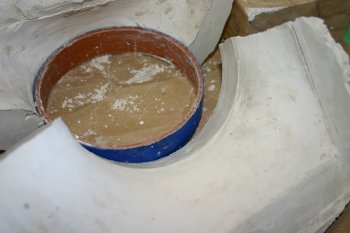
|
| Once everything had dried off a little, the negative mould was drilled for the cleco locations and the AL ring protected with electric tape (to help the release process). | 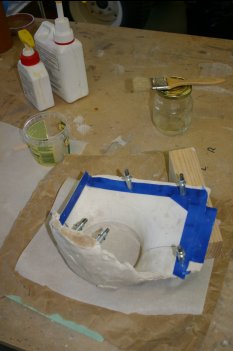
|
| Then multiple triangles of 6oz glass + resin was added, plus some strips for the round forward edge. | 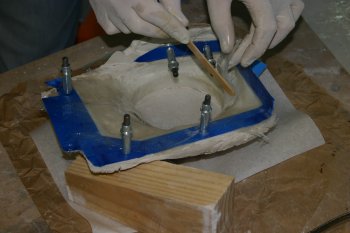
|
| The edges were held down with cleco and the layout left to start curing. | 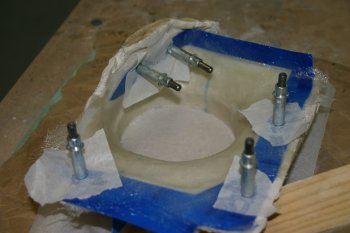
|


