Sat 17 June 2006 |
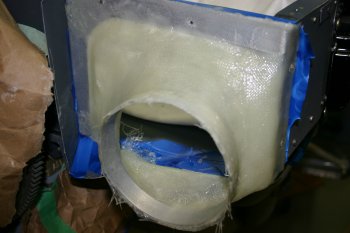
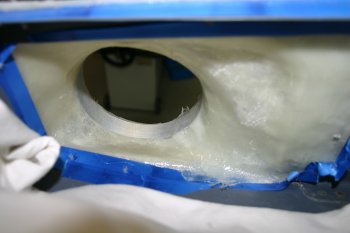
| The balloon worked well and the shape looks good, a couple of small lips to worry about but the basic structure is good and strong. | 
|
| The problem was I couldn't get it off the plenum - the electrical tape wasn't providing a good release and the 'green' resin was sticking very well. After more thought and taking some time / patience with a putty knife I did manage to extract it and remove all the tape. I decided not to add any additional glass today and let it cure further - I'll add a final layup tomorrow and then worry about microballoons on the inner surface for smoothing. | 
|
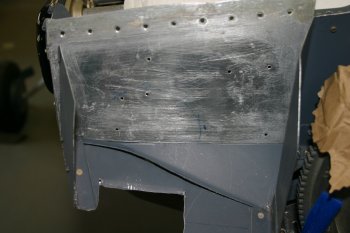
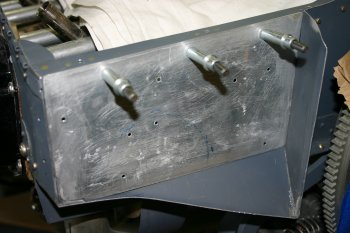
| One down, one to go. Onto the RHS inlet, extracted the AL from the old PoP mould and drilled the upper and outboard locations. | 
|
| Spent the rest of the afternoon making a new AL ring, some interesting bends and folds for the lower corner and normal templating / forming process for the front. Goes quicker second time around as I have some idea what I'm aiming at! | 
|


