Sat 15 July 2006 |
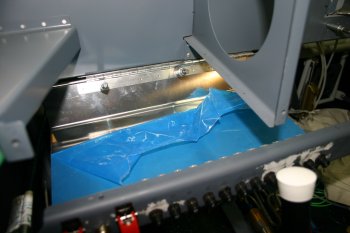
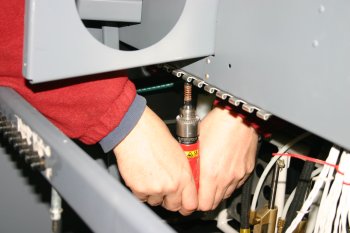
| The P1 side is slightly wider (the master switches) but same principles - second instance, as per usual, was quicker. | 
|
| If you are going to do anything similar - don't rivet the lower location on the sub-panel. A spacer was used on both sides to adjust for the step between centre and outboard sections. | 
|
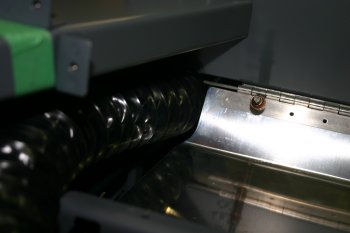
| Once the basics were done, more trimming / shaping was needed to clear the fresh air inlet ducts. | 
|


