Tue 14 November 2006 |
| Dad removed the VS and worked on the rear spar penetration for the lights. After discussion with VANs and finding what others have done, we elected to go with the removal of a single rivet and use a snap bush. Both the strobe and the nav lights can go through the single location. | 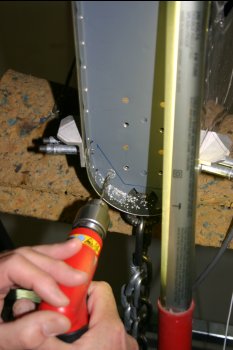
|
| Then the HS locations for the trim wires. | 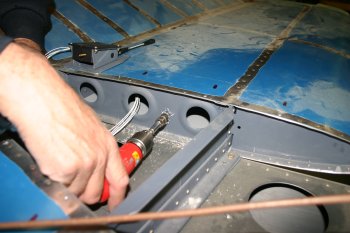
|
| We knew the conduit going to the rear of the fuse was too long, but rather than just cutting it off Dad tried a different approach and made a 'hatch' for the NAV aerial and trim lines and allowed the other lighting to continue after. Difficult to get a photo, but he used an old soldering iron bit to melt the hole. | 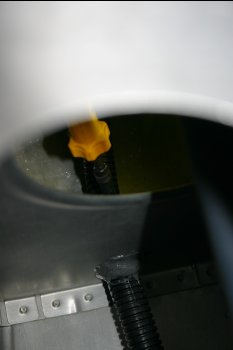
|
| The result before pulling the cables back through. | 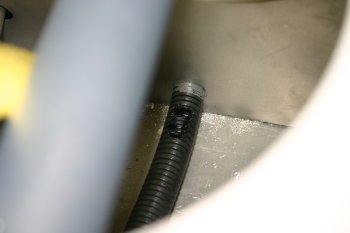
|
| Final result, the termination of the plugs can't be done until the rudder is mounted for the final time, but I may cut and prep just to reduce the trip hazard. | 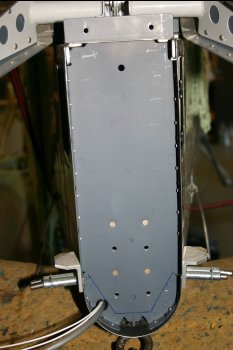
|
| I spent most of the day sorting the circuit diagrams / designs and the alignment plate for the 'control' switches. | 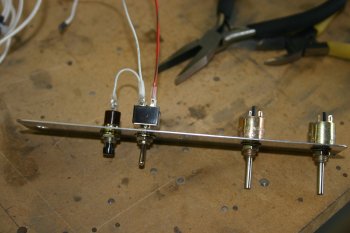
|
| This is the location for the new upper switches and dimmer controls, it includes the mute switch for the 'un-switched' audio input to the GMA340 and the buzzer feed. | 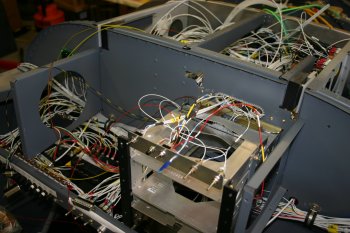
|


