Sat 02 December 2006 |
| The replacement LED board for the AoA system arrived from Rob - thanks. | 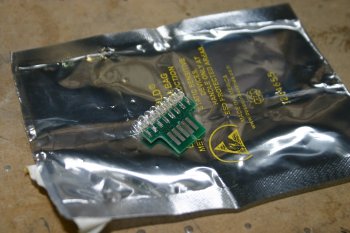
|
| The lower cowl bottom edge has a stiffener strip, I finished counter sinking and prep'ing the cowl. | 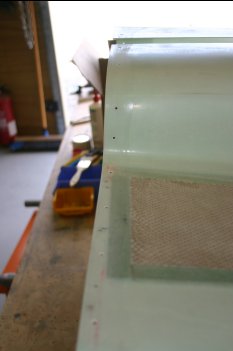
|
| Then more fibreglass work, a couple more layers on the oil cooler duct. | 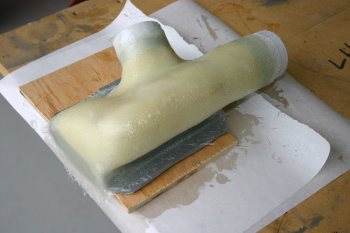
|
| The two 2" outlets are roughly equal to the exit area of the cooler - one outlet we are planning on using as the feed for the heat muff / cabin heat, the second is a straight vent but potenially can be throttled down if we need to increase oil temps which others locally are doing. | 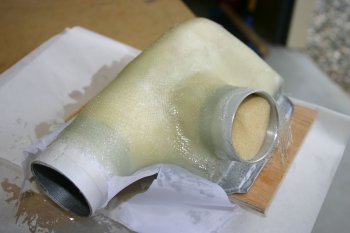
|
| The cowl bottom was flox'ed and stiffener squeezed on - I made one mistake in that I should have put a layer of tape on the inner surface which would have made cleaning it simpler! | 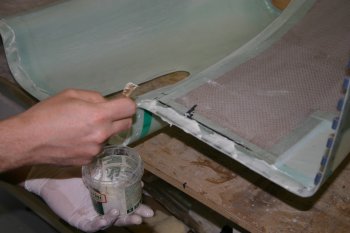
|
| I also added a 2" strip of 2oz cloth on the outside which can be feathered later - peel ply on top of that although not much resin was coming through. | 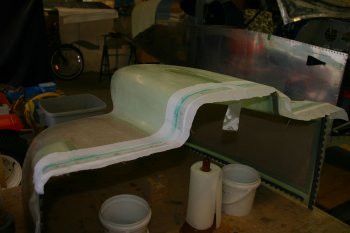
|


