Mon 11 December 2006 |
| Dad started modifying the FAB for the nose gear leg - starting with a hole saw and then sanding / shaping by hand. | 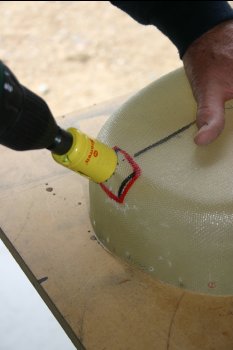
|
| This shows the area with gear leg. We have minimised this as mush as possible via the positioning of the connecting plate - I guess this is one of the areas where the tail dragger would be easier..... | 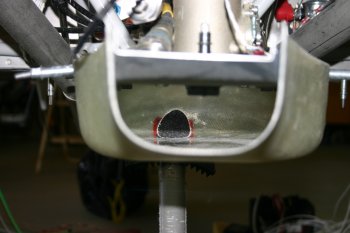
|
| I continued with the glass work, cleaning up yesterday's session and starting the sanding / smoothing. | 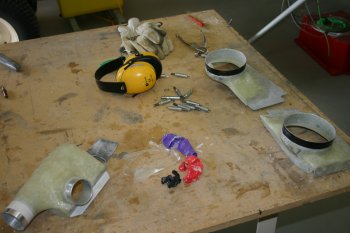
|
| I squeezed the nutplates on the joints for all the fairings and then more prep work on the nose wheel. | 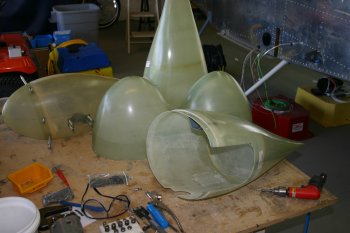
|
| Finished the day glassing some additional support and the aft brackets. I ended up using CS4-4 pop-rivets rather than trying to shoot / buck with fibreglass. It pulled down really well. | 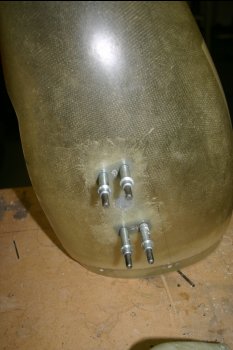
|


