Thu 14 December 2006 |
| This is the current thinking / possible option for the baffle penetrations - gang up multiple plates together and make a bigger hole in the middle. A quick bit of CAD work. | 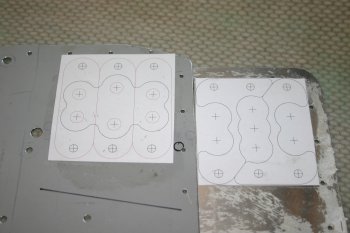
|
| And some scrap AL sheet. Seems to work OK, although I need to modify my drawings slightly. | 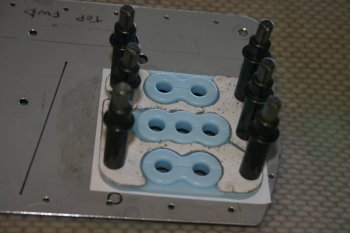
|
| This is the other side - I should be able to get the 1" connectors thought the gap ;-) | 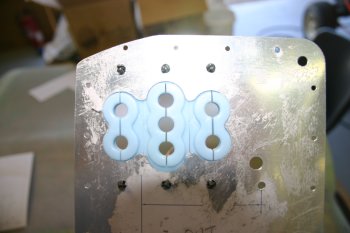
|
| Then onto the oil door - more drawings, this time for the hartwell latches. | 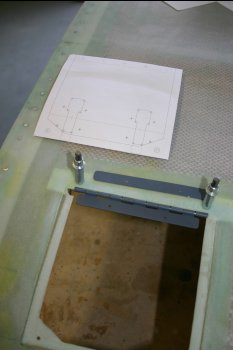
|
| Drill, sabre-saw and files. | 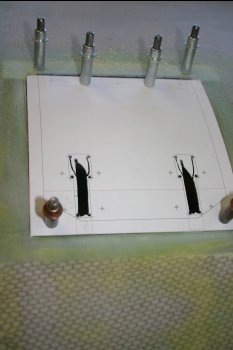
|
| After cleco'ing the hartwell latches on, it is obvious the 1/32" step for the catch isn't going to be enough. I marked the inside of the cowl and decided to just remove the material and build up as needed. | 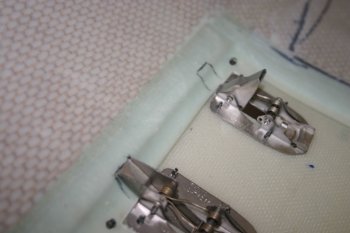
|
| I tried to just cut back the 'latch' areas, but in the end took out a larger area and added some .020" AL stricker plates. | 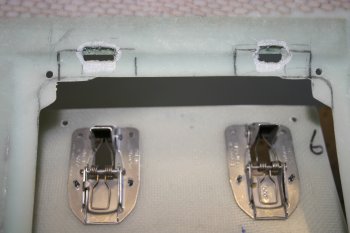
|
| Masked up / protected the cowl and latches for glassing - a double layer of electrical tape seems to work really well, one cured - sand back to the first layer is removed, then peal bak the second (lower) layer for a fine finish. A third layer of tape can be usd to remove excess resin if that is needed. | 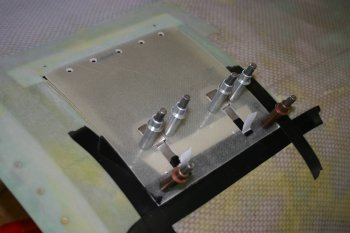
|
| Dad glassed in the mini-half round previously made into the FAB - a little flox around the edges helped greatly in getting a smoothing contour - hopefully the whole of this will be outside the line of the K & R filter. | 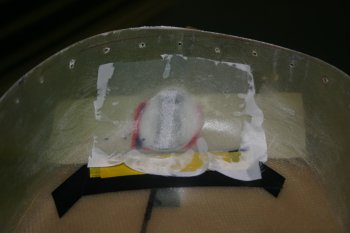
|
| I rivetted the one half of the piano hinge to the oil door and topped with a small piece of 2oz cloth and peel ply. | 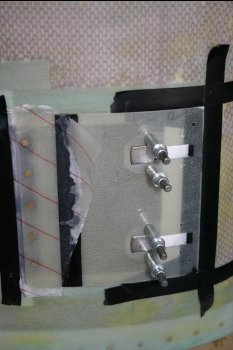
|
| Then the latch recesses - difficult to see in the photo, but a AL strike plate bedded on flox with a layer of 2oz over it. Then I just waxed the latches and cleco'd everything up. Tomorrow hopefully I'll be able to still open the door! | 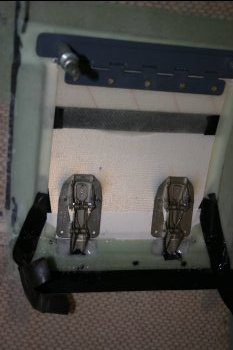
|
| Dad also spent a few hours working on some gear stands that can be jacked up - more photos once complete. | 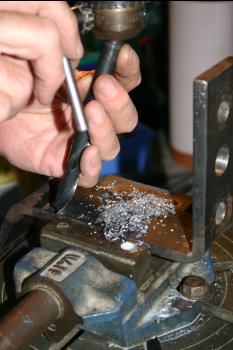
|
| The second part of the ACS order got delivered - a 'huge' box, with lots of worms and box in it, which contained lots of foam and a REALLY small vertical card compass. It cost US$70 to ship this large box (3lbs weight) to me - rather frustrating to be spending money on shipping 'air'. | 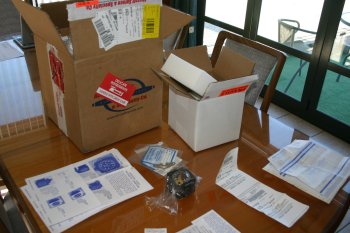
|


