Thu 22 March 2007 |
| Dad spent a couple of hours working on a spring system for the canopy latch, this will hopefully provide a solution to locking the handle in the 90 degree positions. | 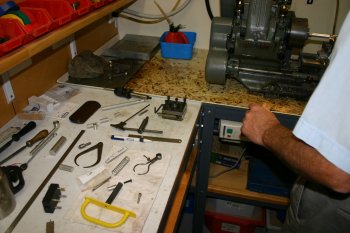
|
| The first step of the solution. For the actual clocking we have a few ideas, but will wait until things are mounted up. | 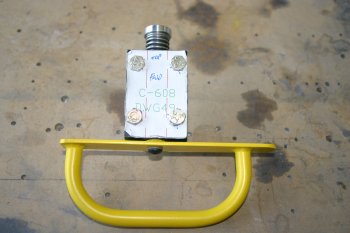
|
| Misc bits completed, including tidying the aft section of the fuselage, flap mounts torqued up and everything vacuumed out. | 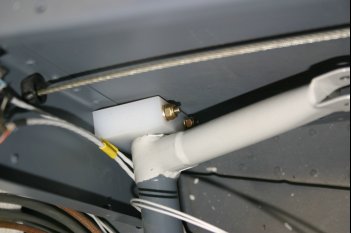
|
| I went round and tapped the #6 roll bar locations. | 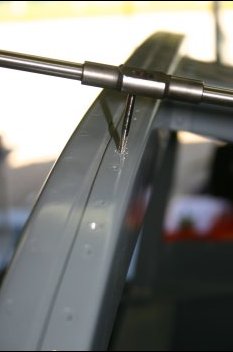
|
| The rear plexi window needed quite a bit of cleaning up from the sticky masking tape. Kerosene worked well again but took quite a while to do carefully. | 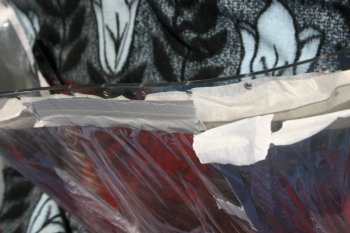
|
| There was one 'dodgy' rivet in the upper fuselage, I had already tried to drill out and re-rivet but that just created a bigger mess. In the end I decided a screw and nut was going to be the cleanest solution. | 
|
| Warm soapy water and then rinsing removed the remaining sticky residue from the plexi. Cleco - just loves to 'help' as much as possible. | 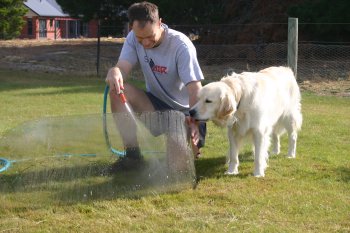
|
| The actual insertion of the plexi under the rear skin was something that both Dad and I feared would be really difficult and problamatic. However, in the actual event it slipped in very smoothly. Then it was a simple case of working out from the upper center locations out evenly to the sides. | 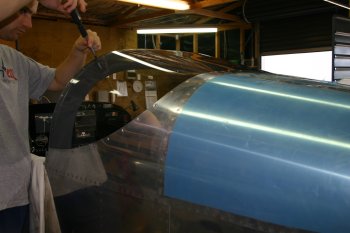
|
| The 'optional' inside doubler strips worked really well and provides a neat finished surface. | 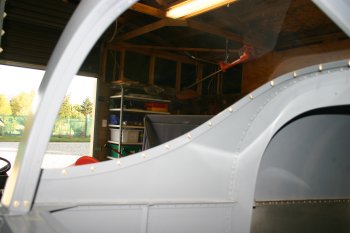
|


