Mon 26 March 2007 |
| I had two known area on the plenum which were a problem. The first is the fuel spider in the middle panel - I've already cut a simple smiley for it, the second was still to be decided. The number 1 cylinder top spark plug has a conflict with the upper plenum cover. The options considered were; simple grommet and spark plug lead through the surface or another 'bubble' to allow it to stay below the surface. I chose the second option so back to cutting holes with the rotorary burr and finger files. | 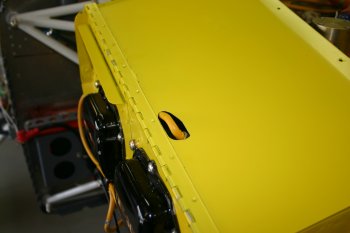
|
| Then plastic / tape to protect the paint work and clay moulds to provide the cover shapes. This was then finished with some release wax and left to dry before glassing. | 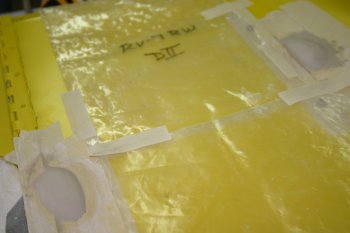
|
| The filtered air box also needed another outer layer of glass around the gear leg recess, so I prep'ed and smoothed this. | 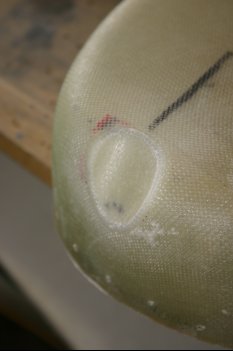
|
| Then onto glass work again - nice temp to be working in (~23C) - things don't go off too quickly, but will harden overnight. The bubbles were simple enough - the challenge was to keep the glass patches small enough. | 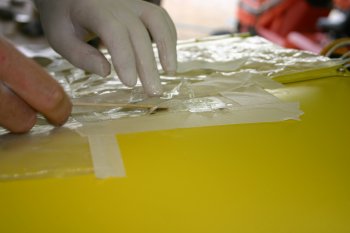
|
| Mainly 2oz was used, with a layer of 6oz cloth in the middle for strength. | 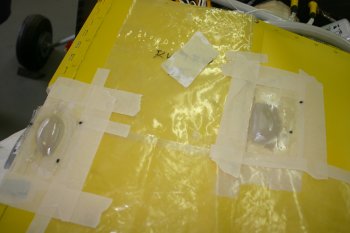
|
| Also spent another couple of hours re-doing the LED annunciator PCB layout. I think I have a workable solution using a double sided board. | |


