Decals & PCB construction |
|
| | 
|
| | 
|
| | 
|
| | 
|
| | 
|
| | 
|
|
| | 
|
| | 
|
|
| | 
|
|
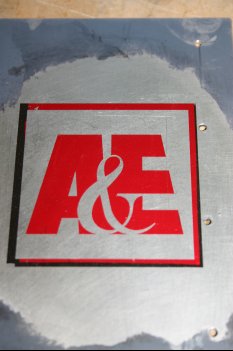
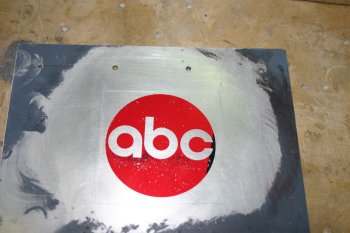
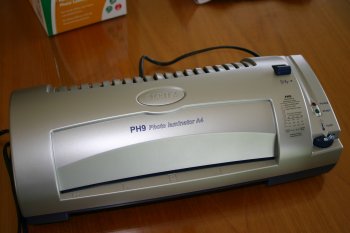
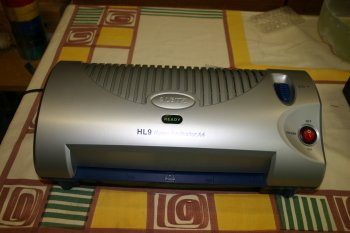
| Continuing with the Decal's process, the laminator / iron still doesn't seem to be getting the white pigment to bond cleanly with the tonner. I'm continuing with the supplied examples / test pieces until I've got a better handle on the problems. | 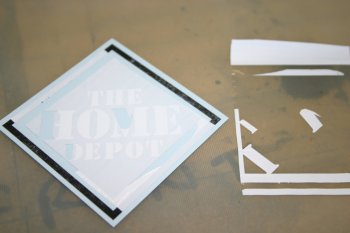
|
| This was one of the better ones, you can see the patches of 'double' white TRF vs the single layer (less dense white). The Sullivan spray glue seems to be working well, although I'm not that keen on the use of wax as a bonding / release agent - it seems to end up on the finished surface which isn't really acceptable for us. | 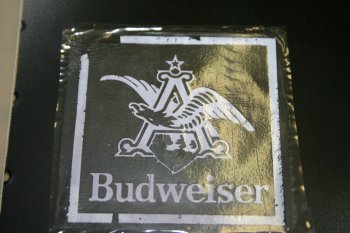
|
| With things progressing OK, I decided to have a go at a couple of custom bits - firstly a nice simple large font ZK-VII and secondly the NZ CAA 'airortiness' (sic) words to advise passengers that they are flying in an 'experimental' aircraft. The white TRF bonded ok, but also left a lot of 'negative' space as well - an air gun seems to help, but still not that clean. | 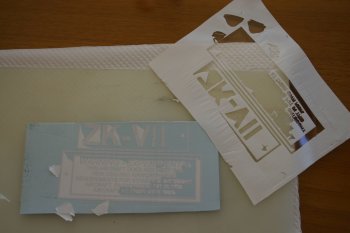
|
| Close up of the problem. Emails off to Frank / others. Frank replied over night - and confirmed one of the techniques we were using - light tack 3M tape removes the 'negative' areas and leaves the proper areas alone. All part of the learning process. | 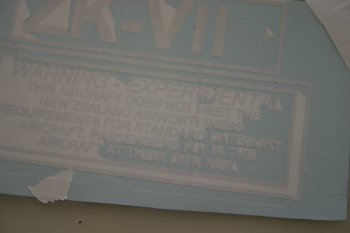
|
|
| First thing today - I bit the bullet and printed the majority of the panel labels onto the special blue Decal paper. | 
|
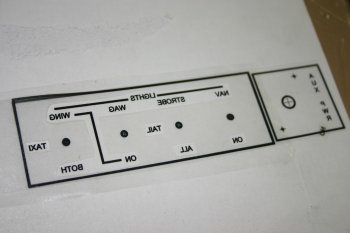
| Starting with something simple I did the white TRF and Mylar transfer for the P1/2 PTT labels. So far so good. I left the border on the Mylar just to keep the physical size senible but it does cause 'extras' which didn't look good. | 
|
| The second side I got a little smarter and masked the 'lines' with the low tack 3M tape. This provided a good method of alignment without worrying about the lines. | 
|
| Then lots of pressure and a slow peel back. | 
|
| End result - REALLY good - feel like we are making headway in an area that was a major concern. | 
|
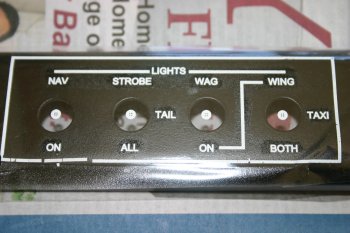
| So then back to more White TRF & Mylar transfers - slightly more difficult as they were bigger areas and seemed to be suffering from too much / not enough heat from the laminator / iron. Got the panel switches / dimmers section sorted, masked up and transfered. | 
|
| Not perfect, but probably acceptable, the areas where the TRF wasn't staying could be touched up later. The problem was during the Mylar removal some of the alignment markings got stuck to the panel. | 
|
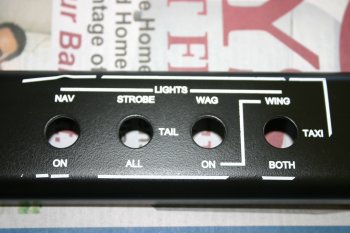
| I tried various things to remove it, but Meths (denatured alcohol) was the only thing that was going to work and the panel surface just shows it up too much. I debated for a while whether just to rock on and ignore it but it just doesn't look right. The problem is with the amount of labels needed it is highly unlikely that they will all go on without an issue - therefore removal has to be an option. With this paint - I can't do that without leaving a mark. | 
|
| So after a good start, a rather backward step and slightly depressing day. The conversations with the local paint suppliers seem to be heading in the right direction, I think the solution is to use acetone to take the whole panel back to raw metal, sand and re-prime / top coat. A bit of work but not too bad - in the end I'll be able to work on the labels and not worry about having to change / fix the odd bit. This isn't a problem with the Decal system as such - more that it has highlighted the limitations that I've been working within and now need to exceed. | |
|
| | 
|
| | 
|
| | 
|
| | 
|
| | 
|
| | 
|
|
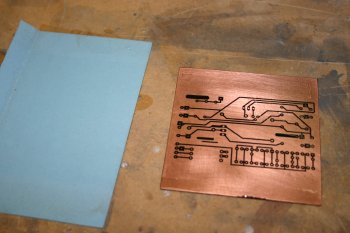
| Spent a few more hours on the PCB design layout work. | |
|
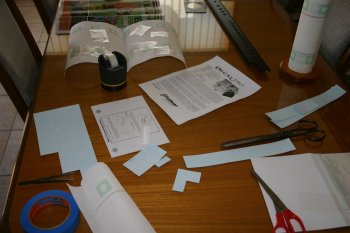
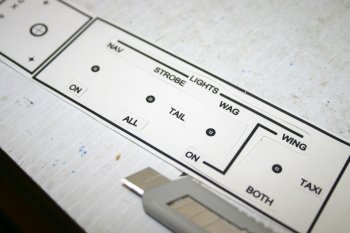
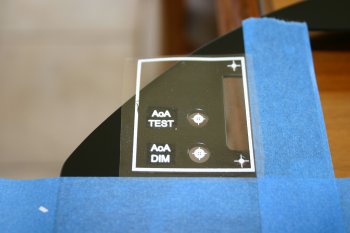
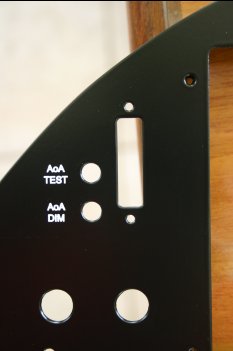
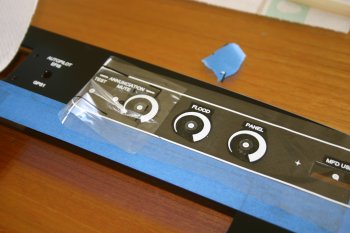
| Had a day inside working on the decal labels for the panel. This is fiddly process and a bit hit and miss but the final result does look quite good. Some various photos to follow: | 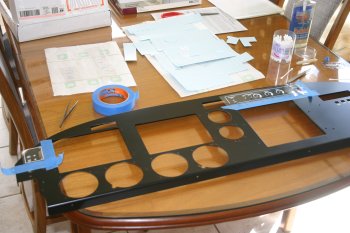
|
| | 
|
| | 
|
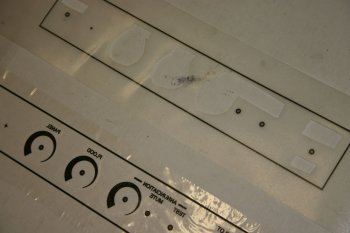
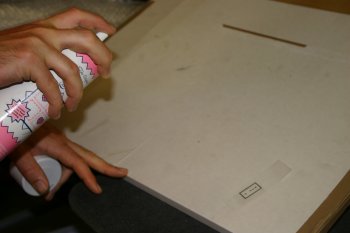
| One thing that worked well was using an acetate sheet cut out to restrict where the glue went. | 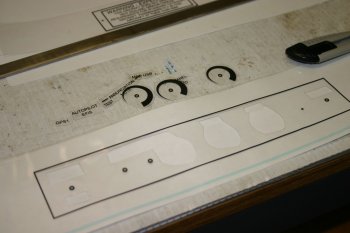
|
| | 
|
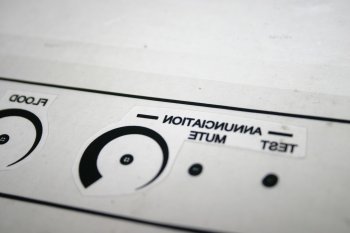
| Difficult to see, but only the center 'text' area actually have spray glue on them. | 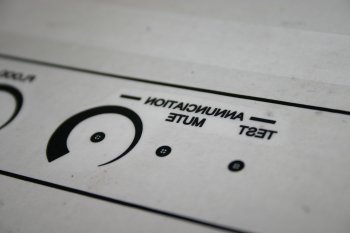
|
| | 
|
| | 
|
| Some bits needed reprinting. | 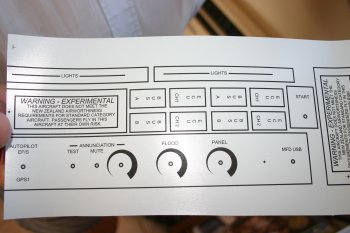
|
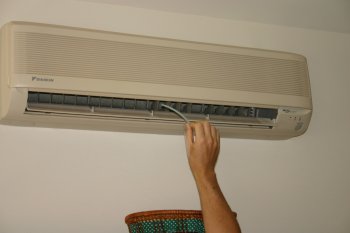
| We found airing the paper and pigments over the air conditioning helped dry and cool the materials before using them. (Cleco interested as ever!) | 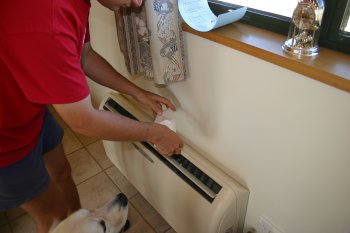
|
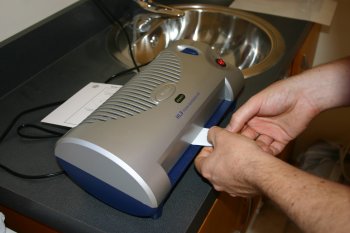
| | 
|
| | 
|
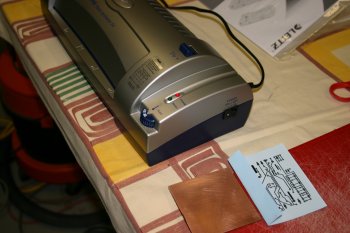
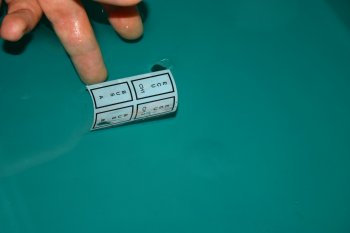
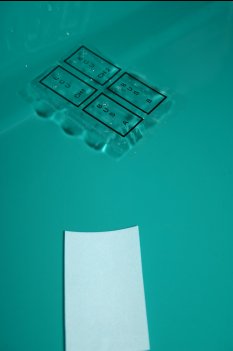
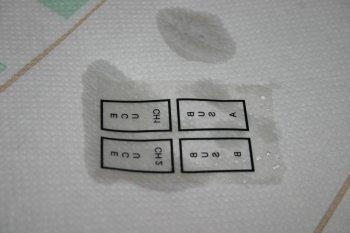
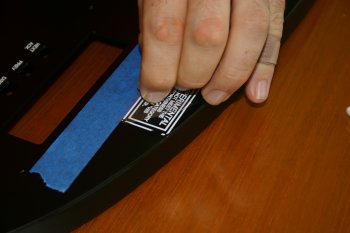
| We struggled to get enough heat / pressure into the mylar transfer process and used an iron successfully - I think we might be in a minority here! | 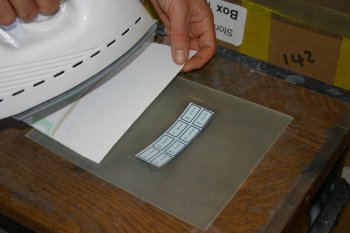
|
| | 
|
| | 
|
| | 
|
| | 
|
| | 
|
| | 
|
| | 
|
| | 
|
| | 
|
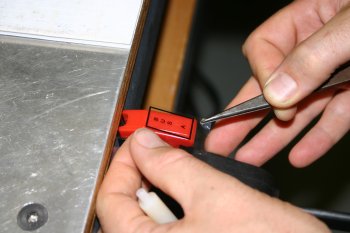
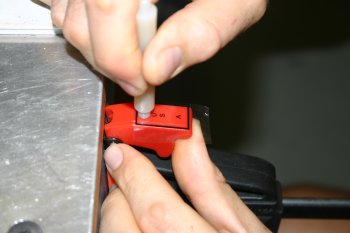
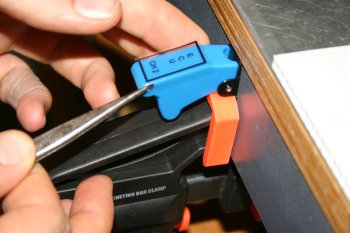
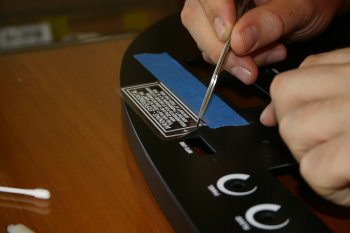
| I wasn't very happy with the annunciator labelling, so used some citrus cleaner to lift the bad labels and remade them. Looks better now.... | 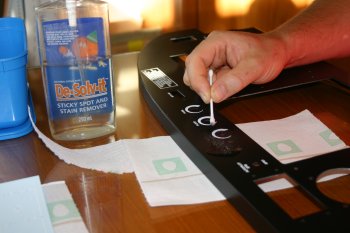
|
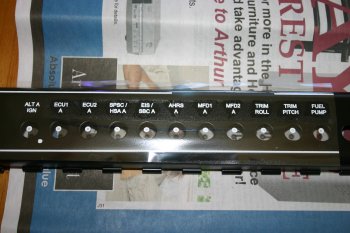
| Difficult to see from the photo - but everything is labelled up and looks OK. 'Next time' I would powered coat the panel, I would also think seriously about getting them engraved - but it is difficult as you don't know what you need until you need it - and the flexibility of DIY is actractive. Maybe a grey panel with black text would be better - it would definitely be simpler! | 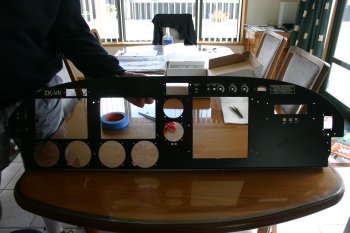
|


